
If you’re an Android user, you may have heard of rooting an Android device. If not, rooting an Android device is a process that unlocks superuser permissions, allowing you to so all sorts of things that are impossible otherwise due to restrictions. You can learn more about the term root on the XDA Developers website, a trustworthy community of Android developers.
Note that unlocking these restrictions can be dangerous, as they can lower the security of a device without proper security apps, and can possibly brick a device, a word which here means to make a device as useful as a brick because it won’t boot (turn on) any longer.
There are many ways to root a device.
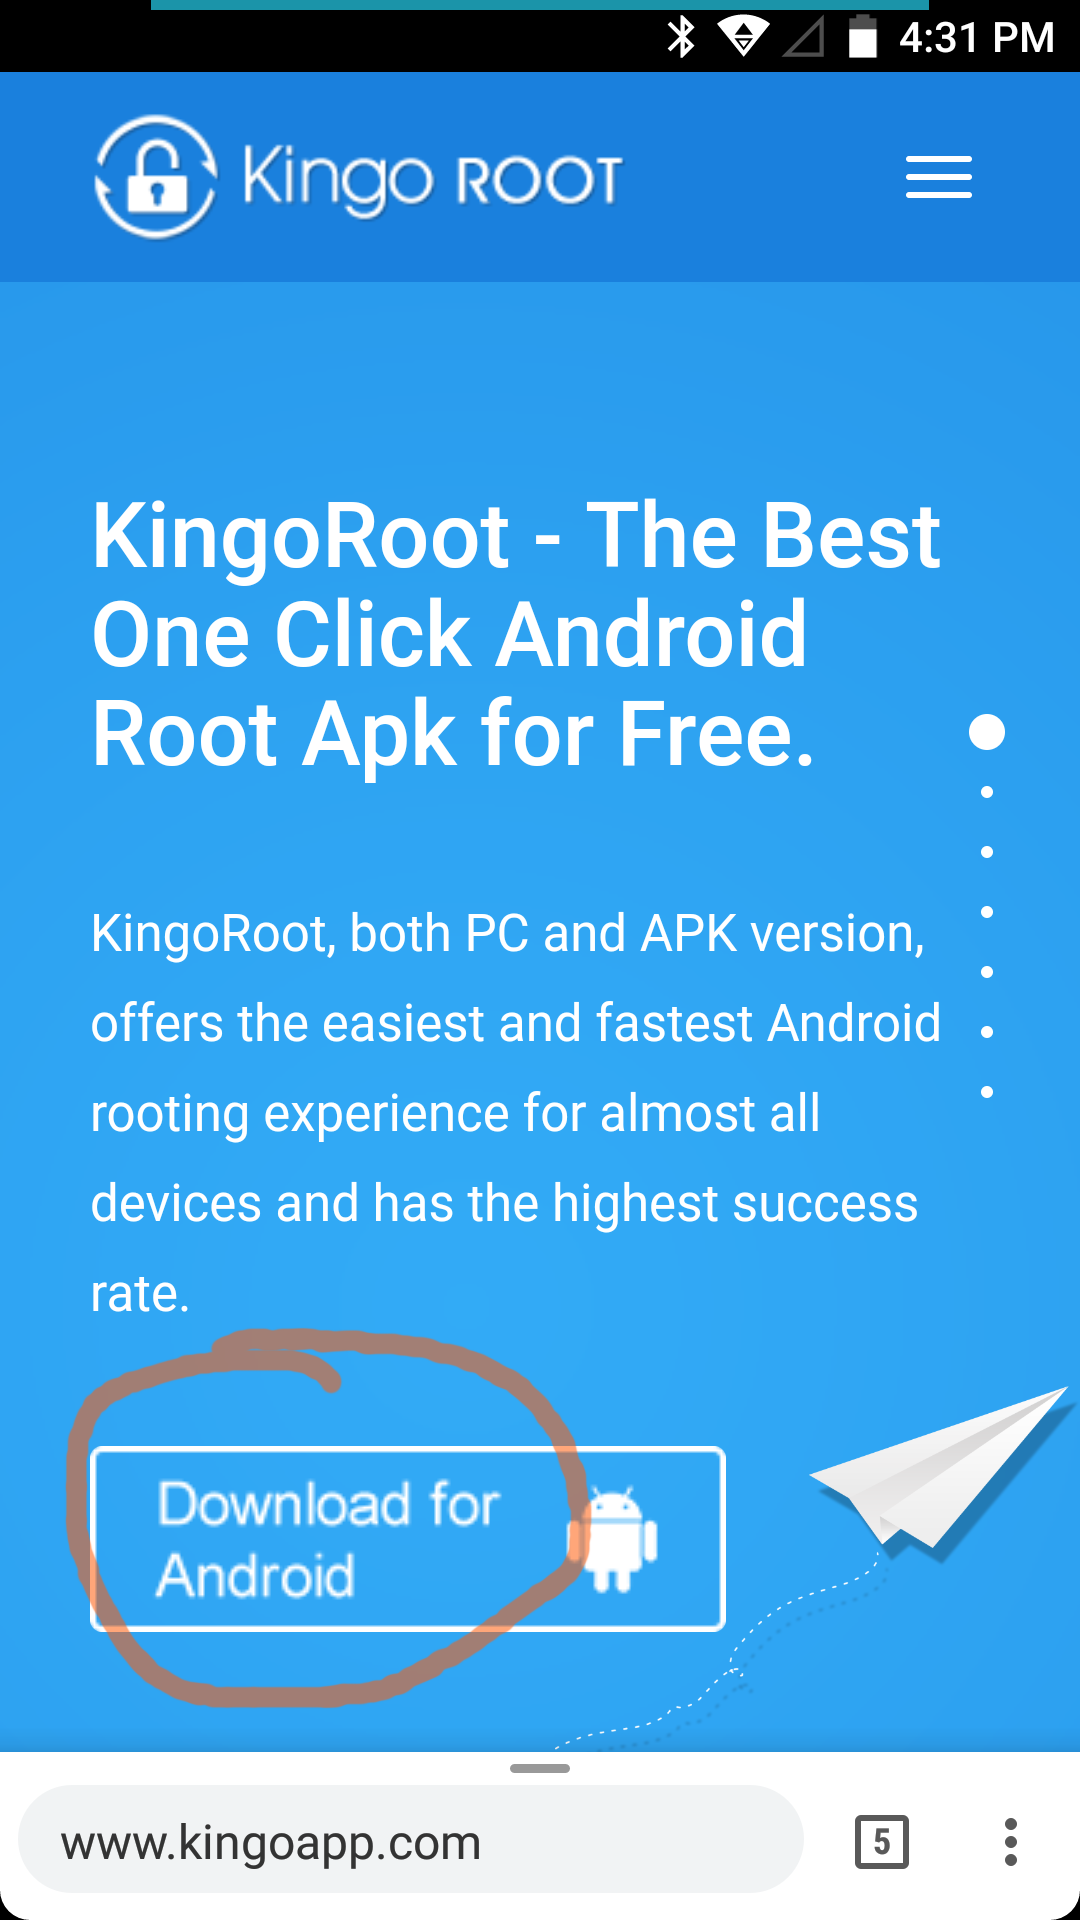
Today, I’m using an app called Kingo Root. You can download it from its website as seen in the screenshot.
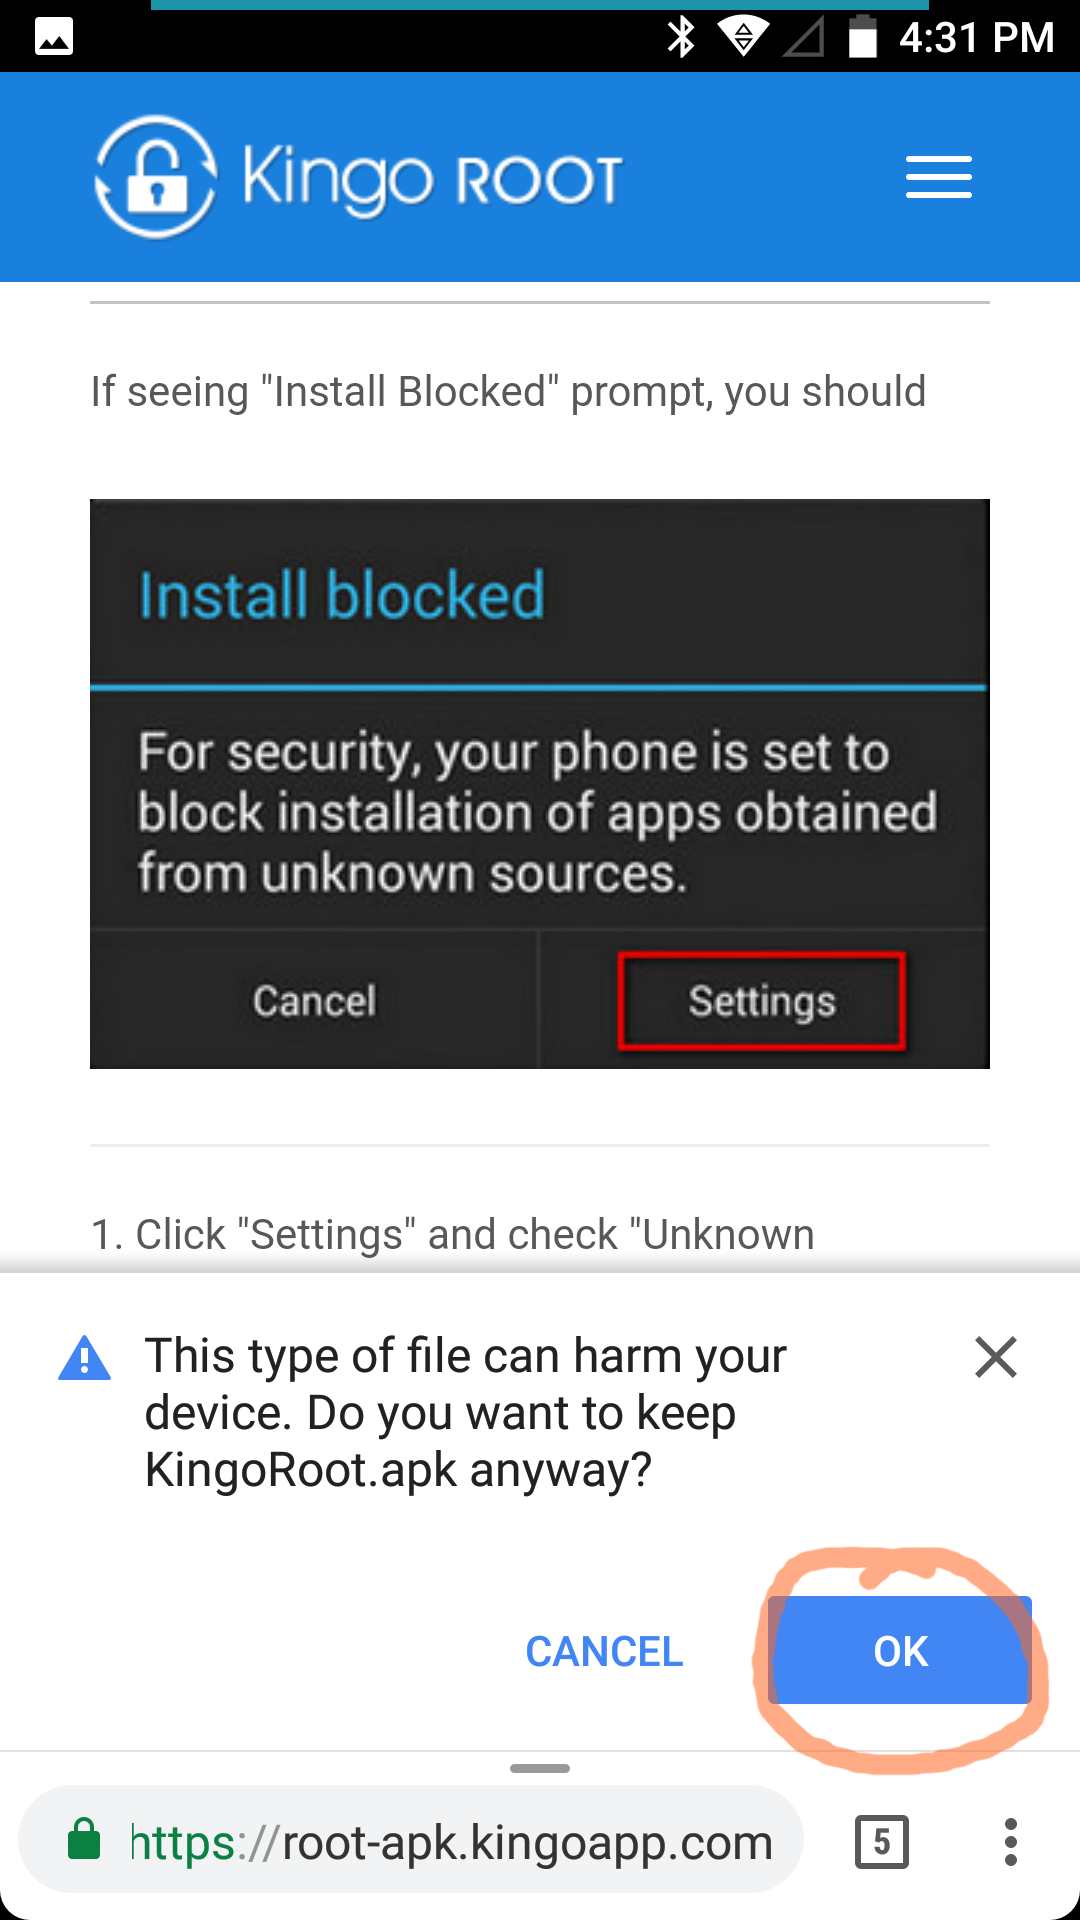
Your browser may ask you if you want to download the app package (.apk) file. Tap “OK” to confirm the download.
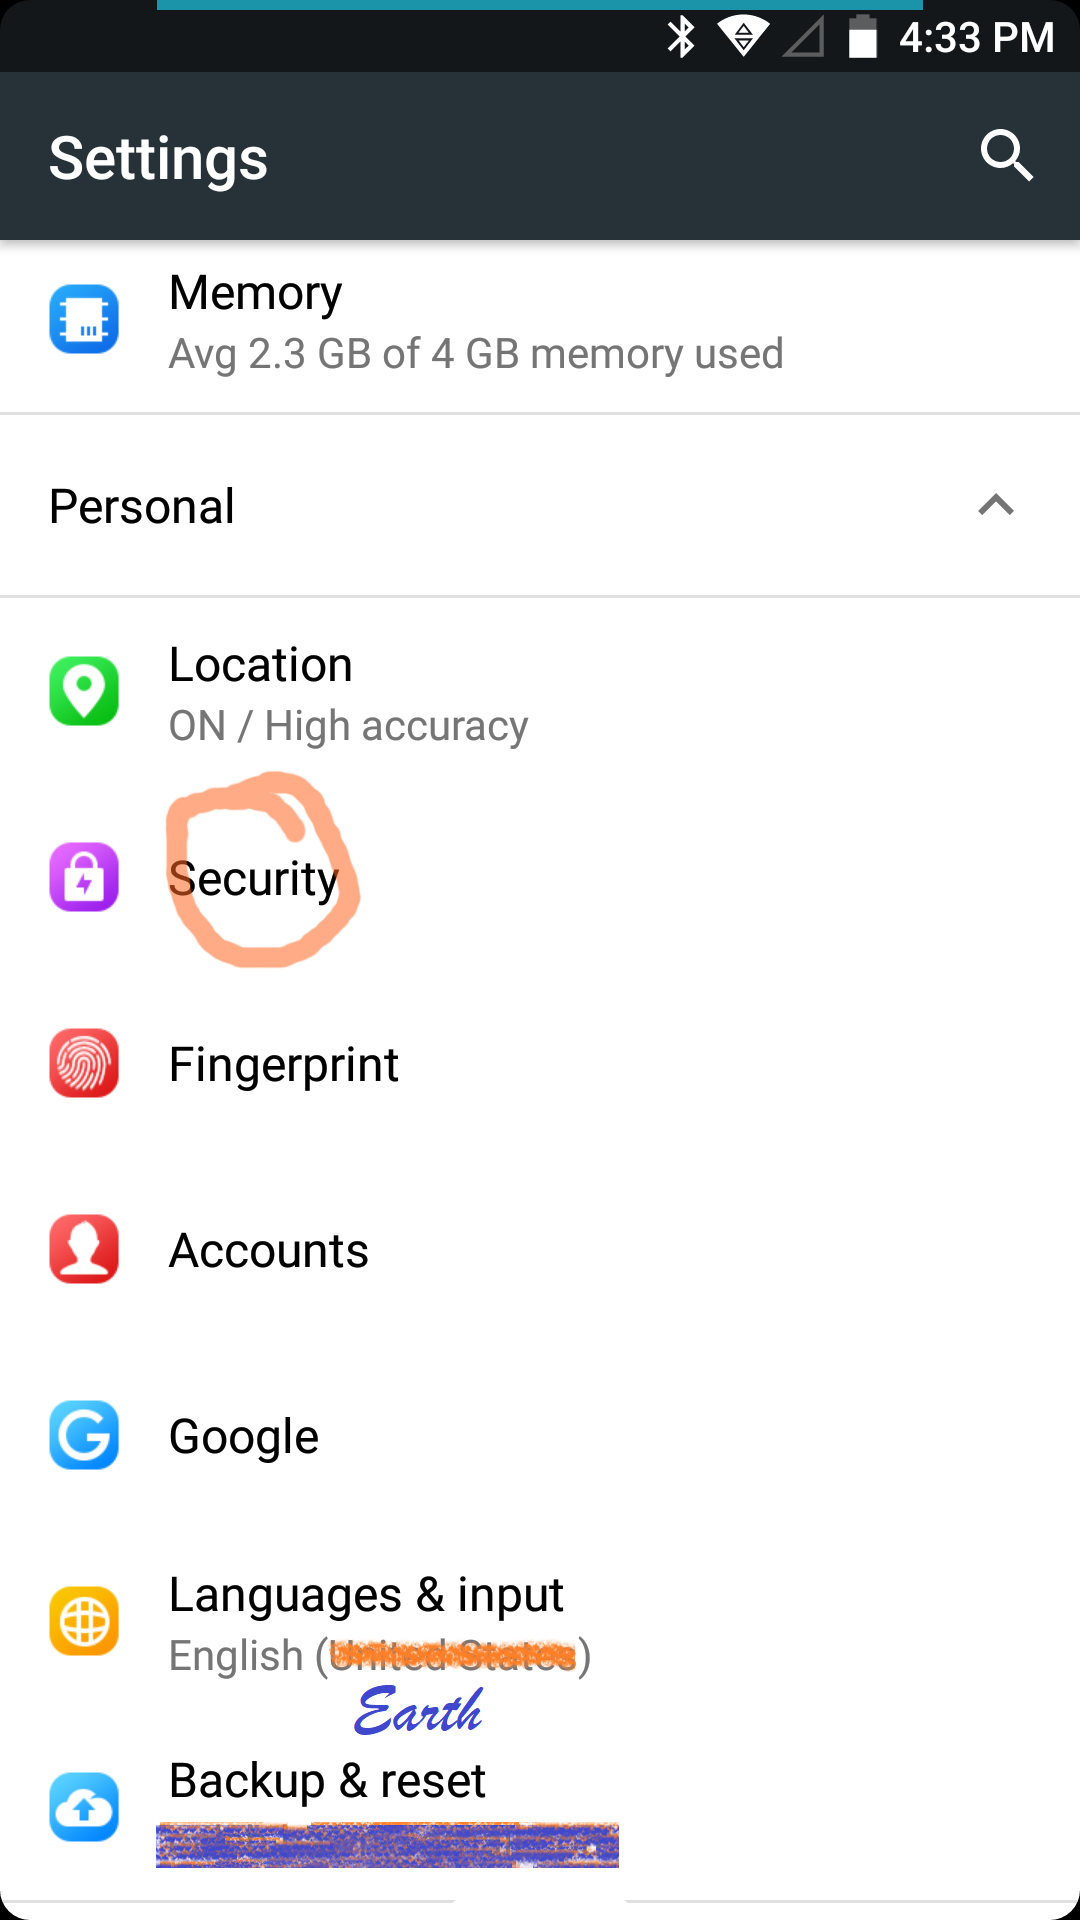
While you wait, there’s something you gotta do before installing the app. Go to the security section of your settings.
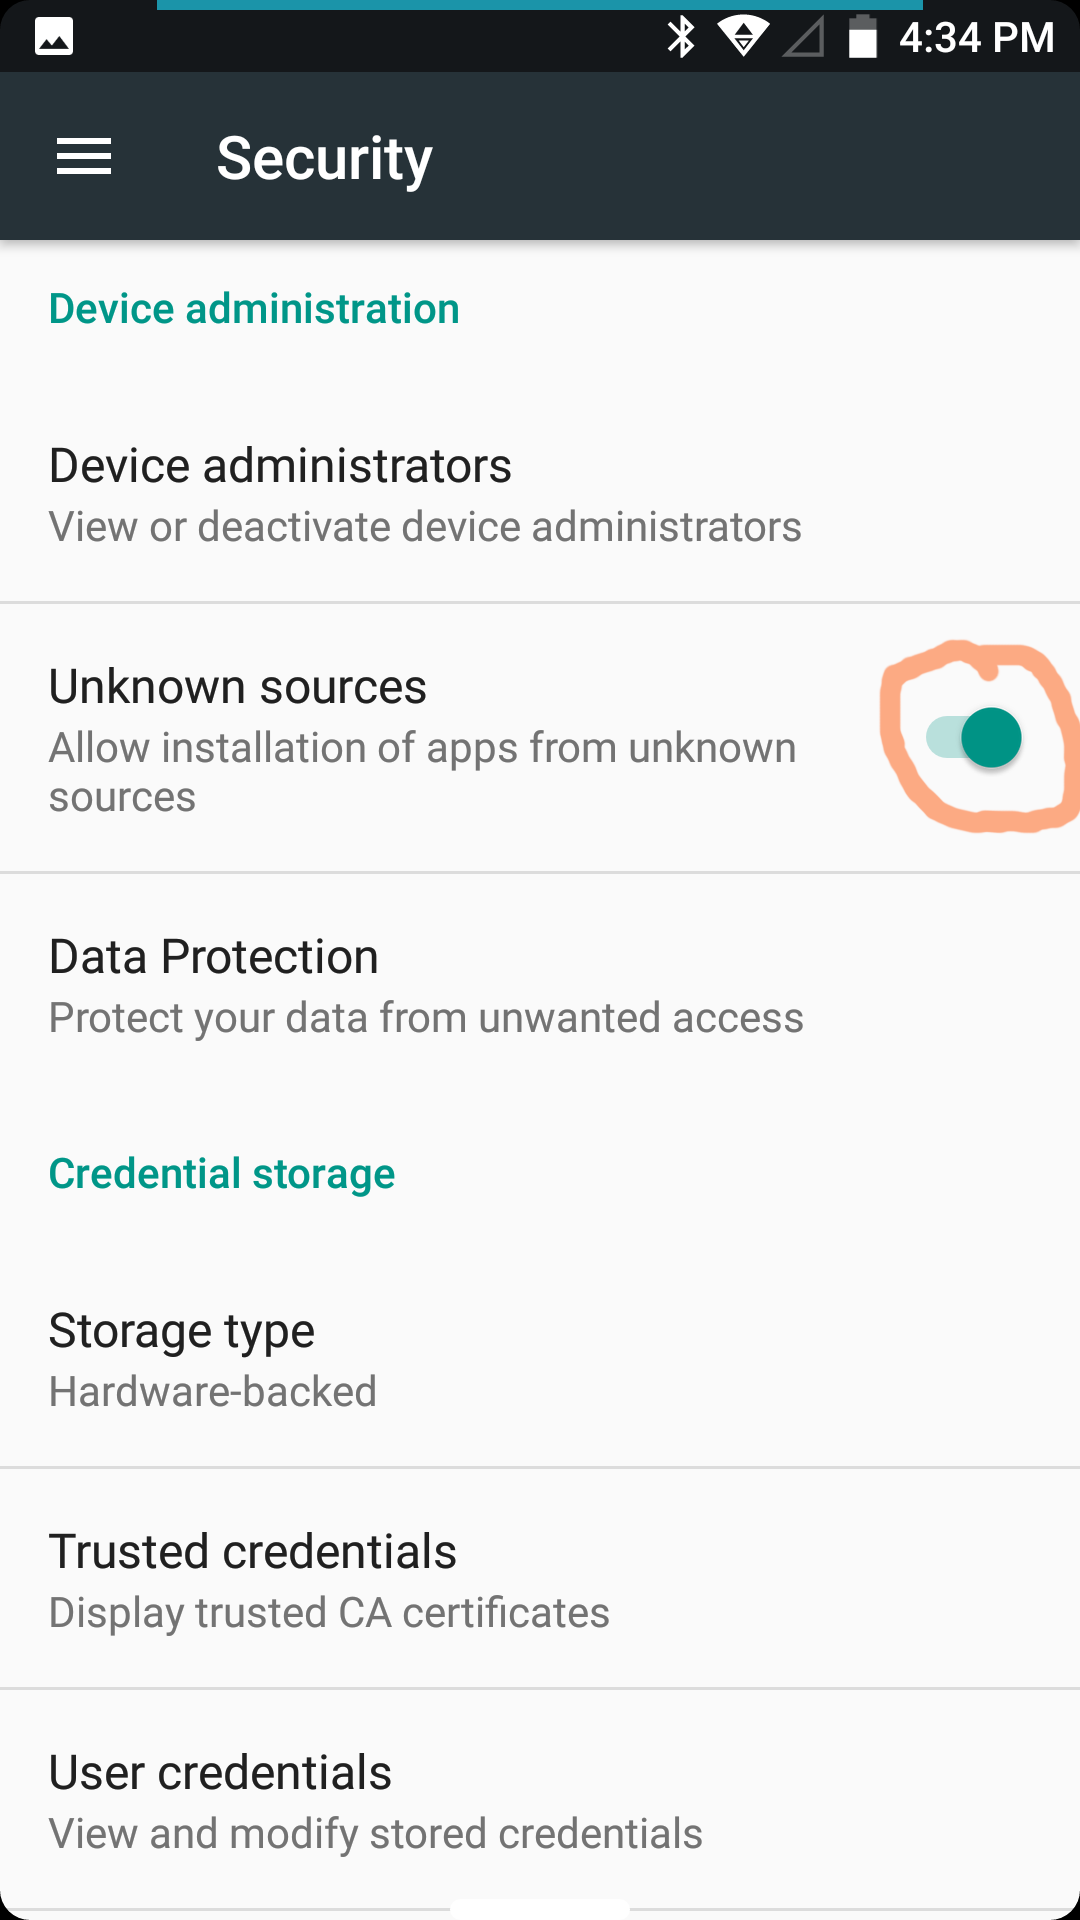
In your security settings, find and turn on the option “Unknown sources” if it isn’t already. This is so you can install apps that are not from your default app store. It’s recommended to keep this off otherwise. You can turn it back off later.
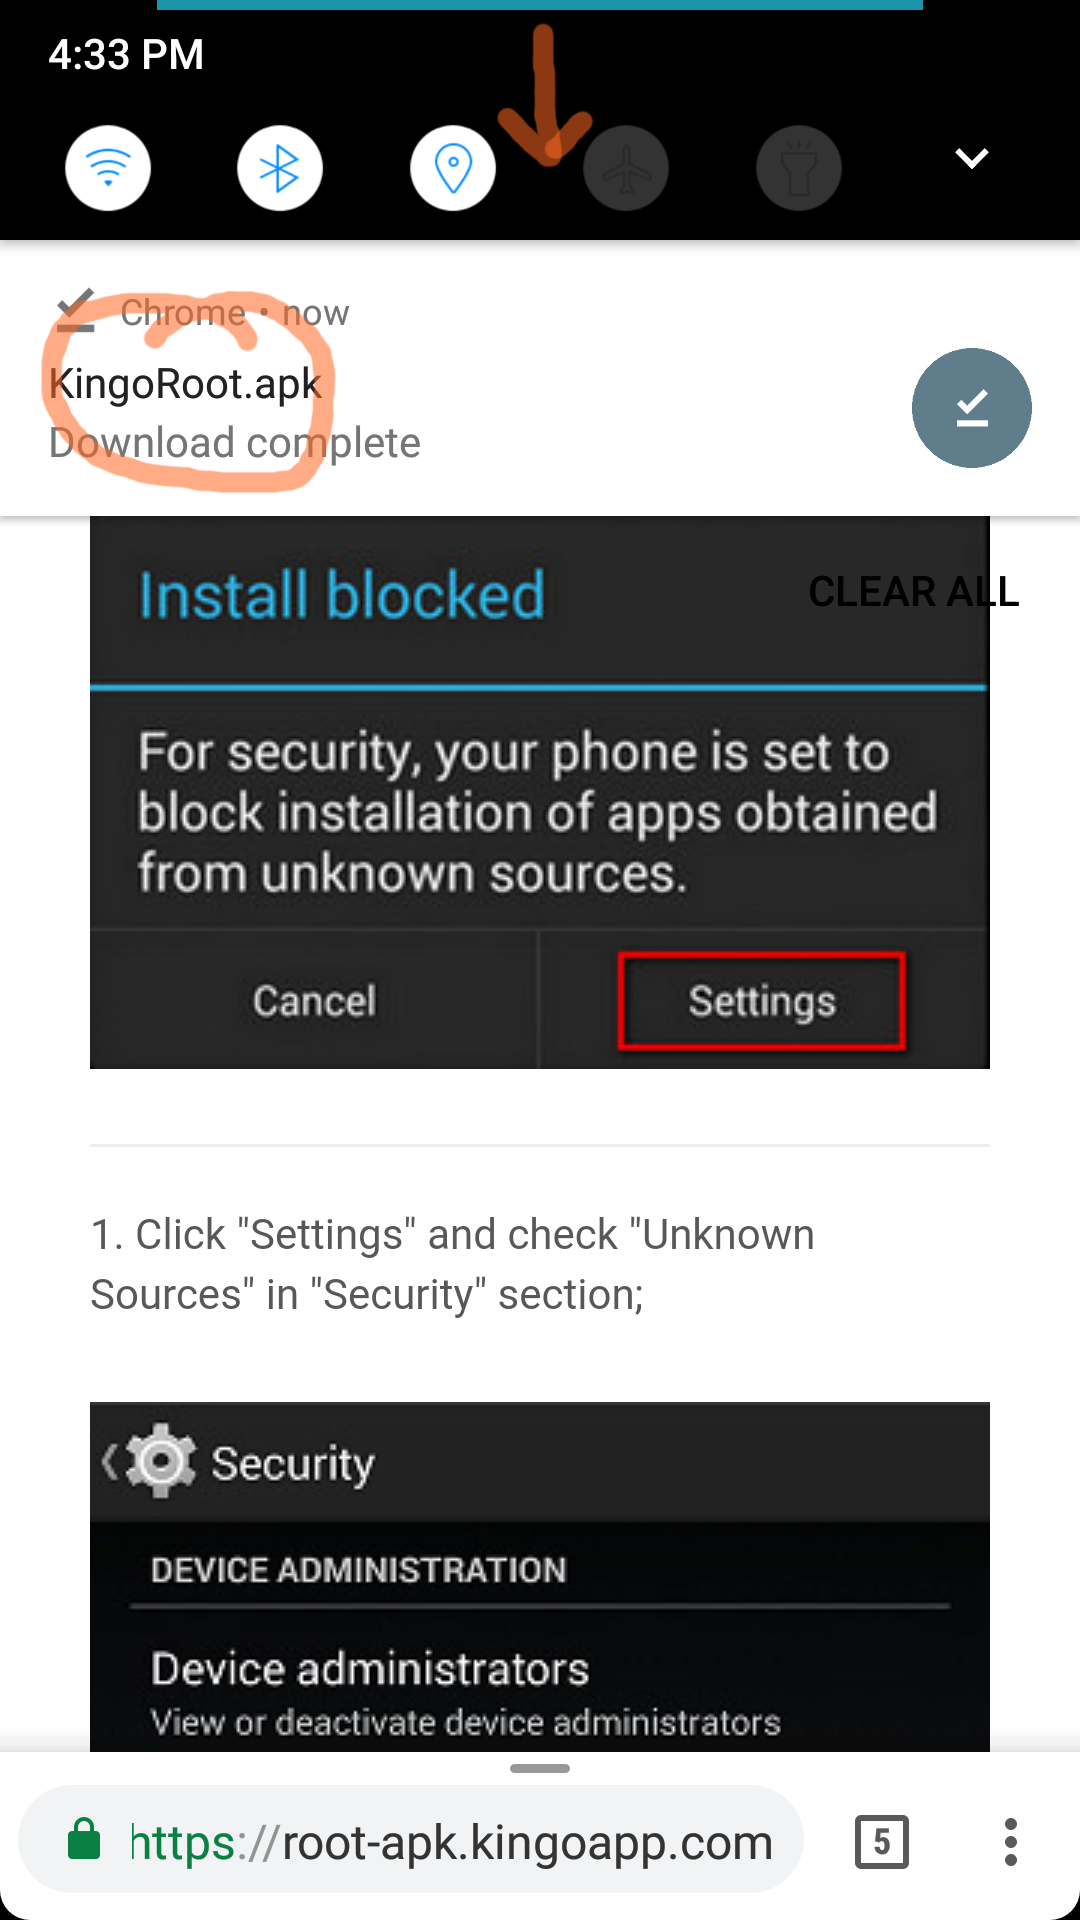
When the .apk file is finished downloading, you should receive a notification. Drag down from your status bar at the top of the screen and tap on the notification to open the file. If not, you can alternatively find the file in your download folder, or your Downloads app.
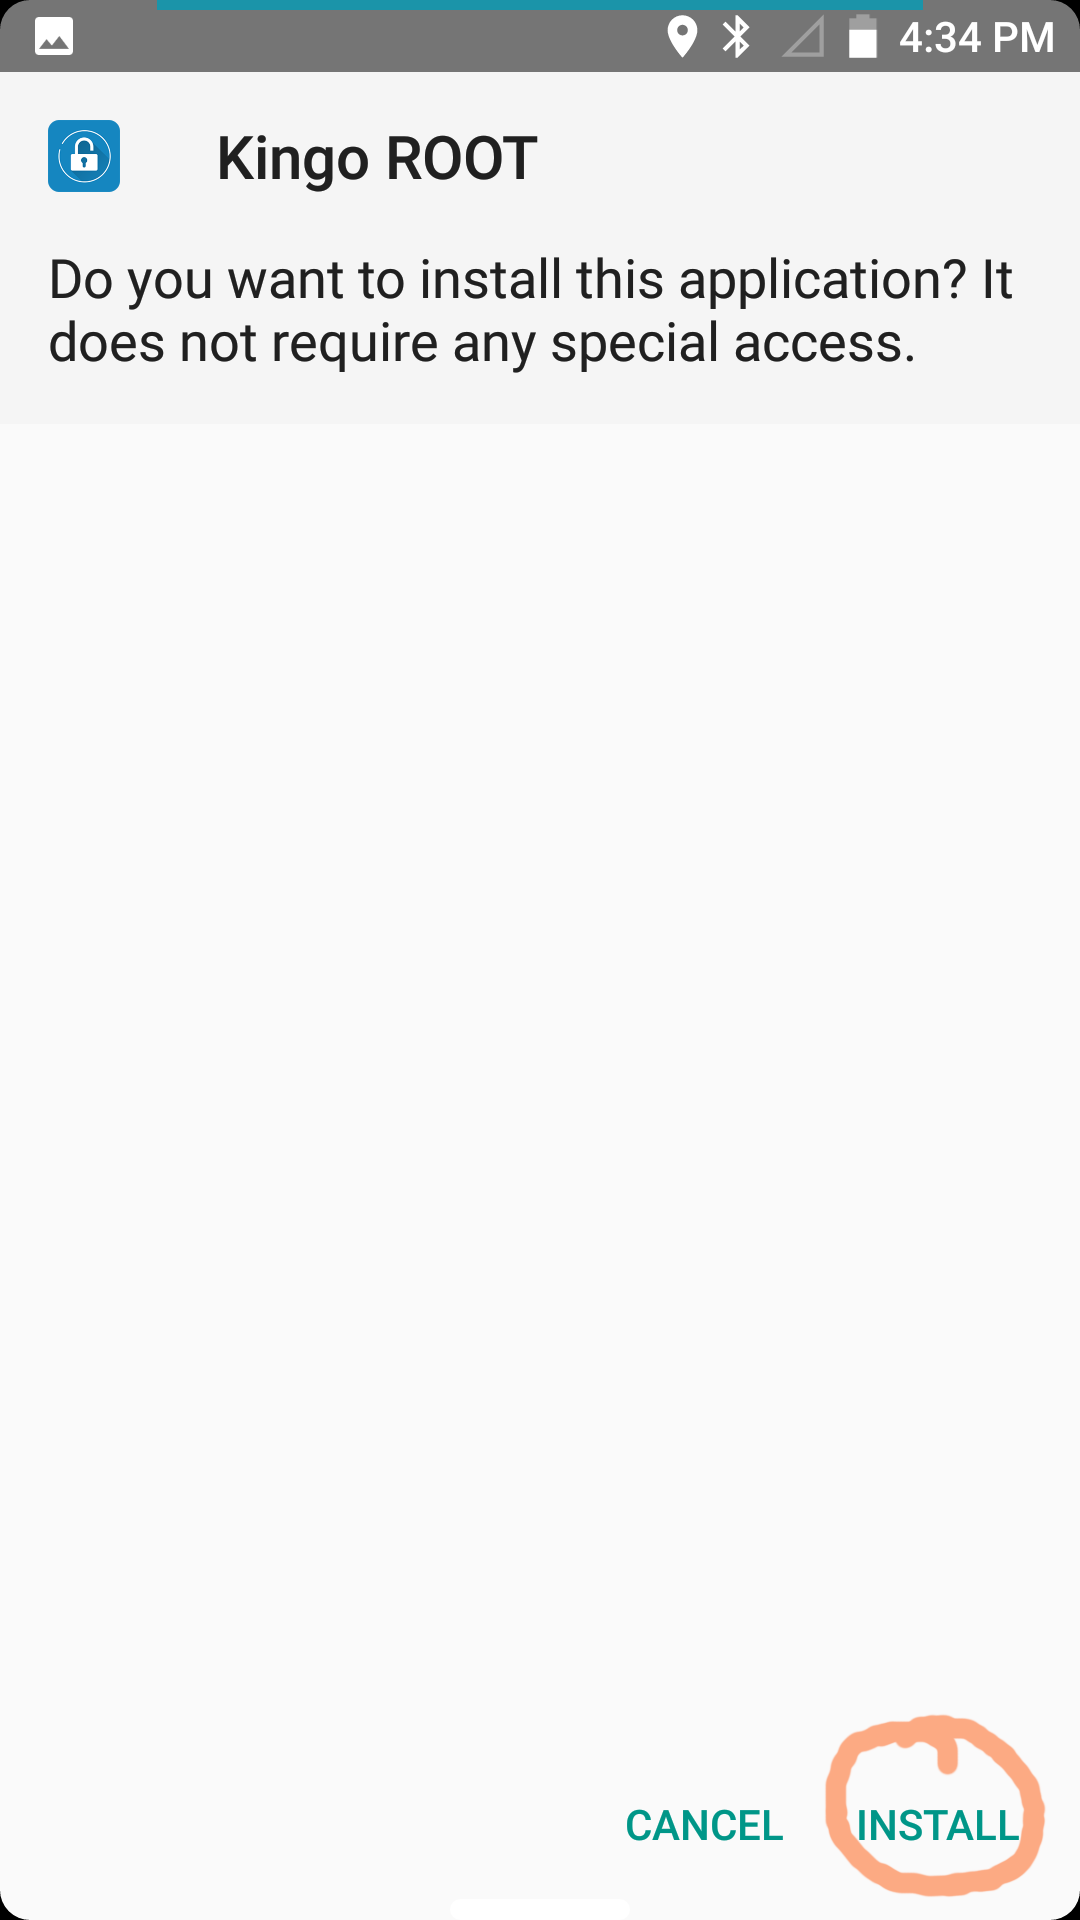
When you open the .apk file, the app installer will open asking if you want to install the app. Go ahead and tap “Install.”
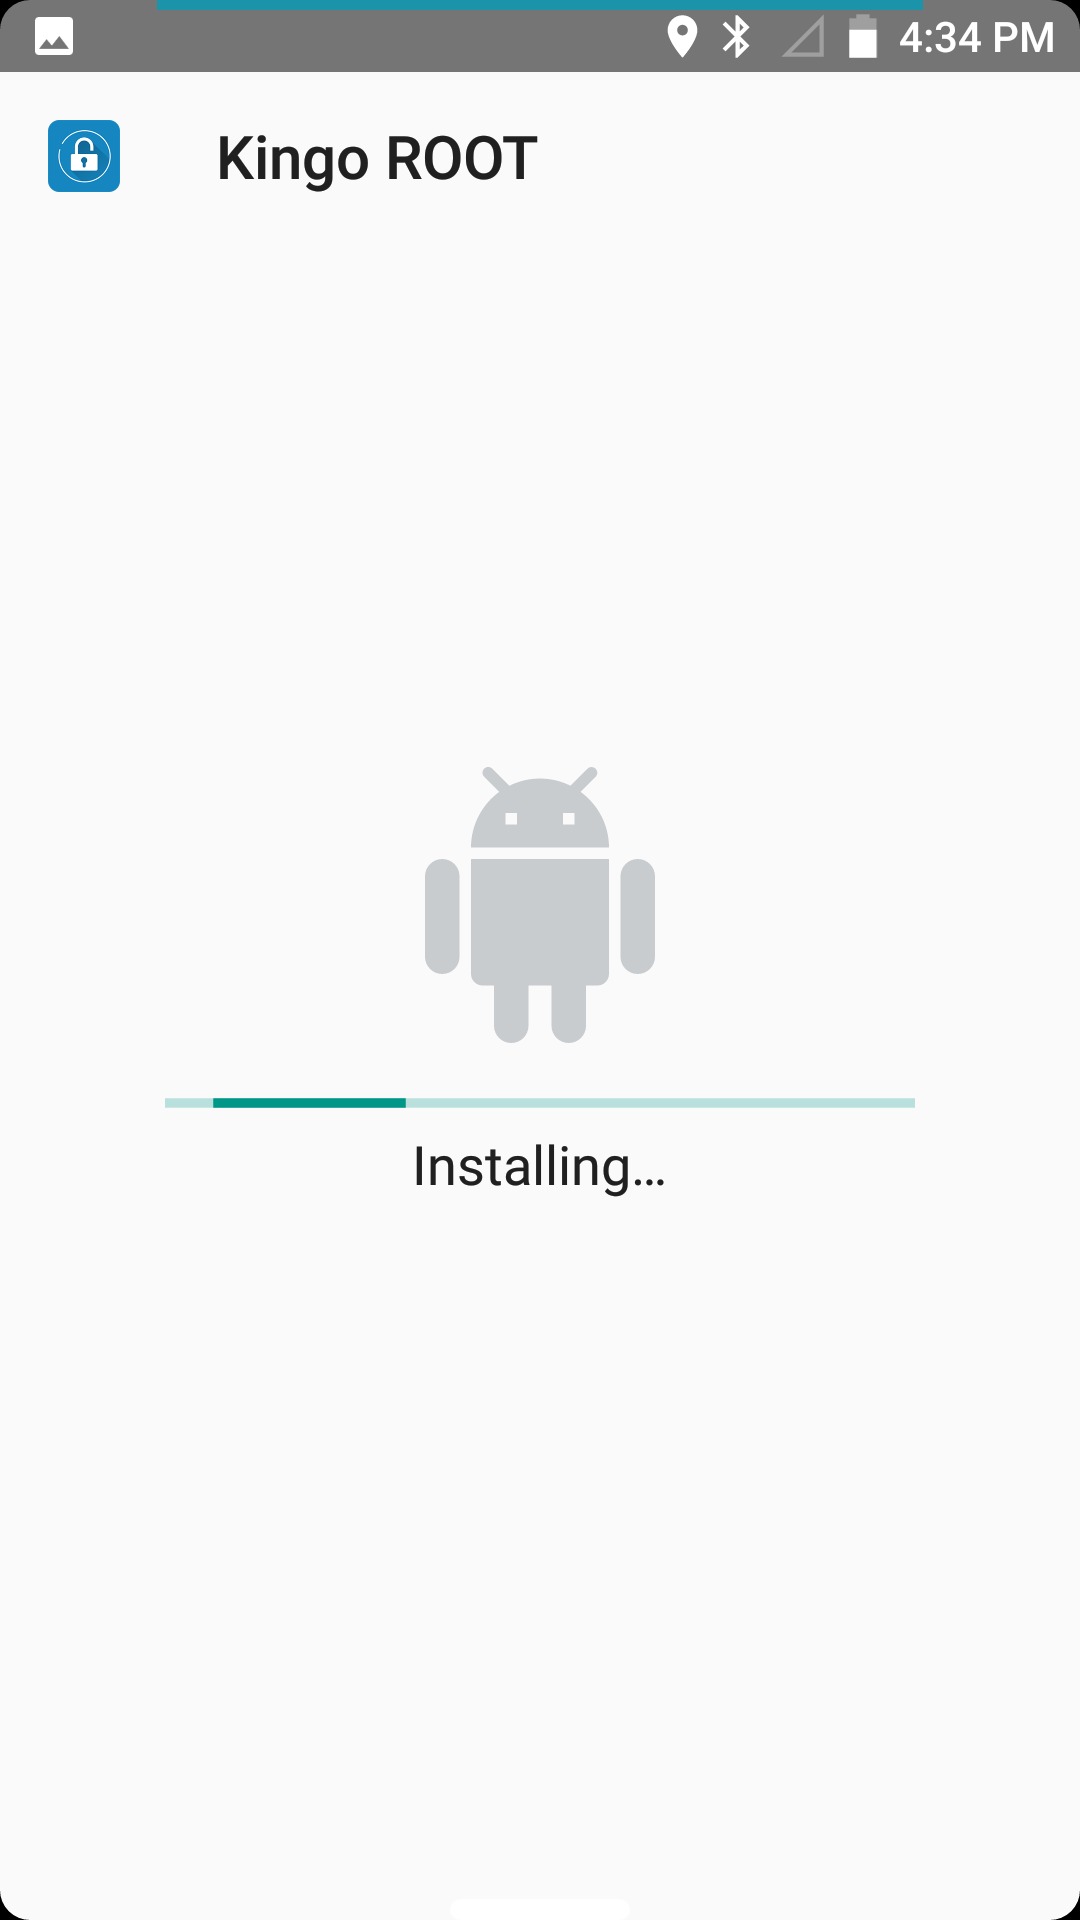
Now just wait while the app installs.
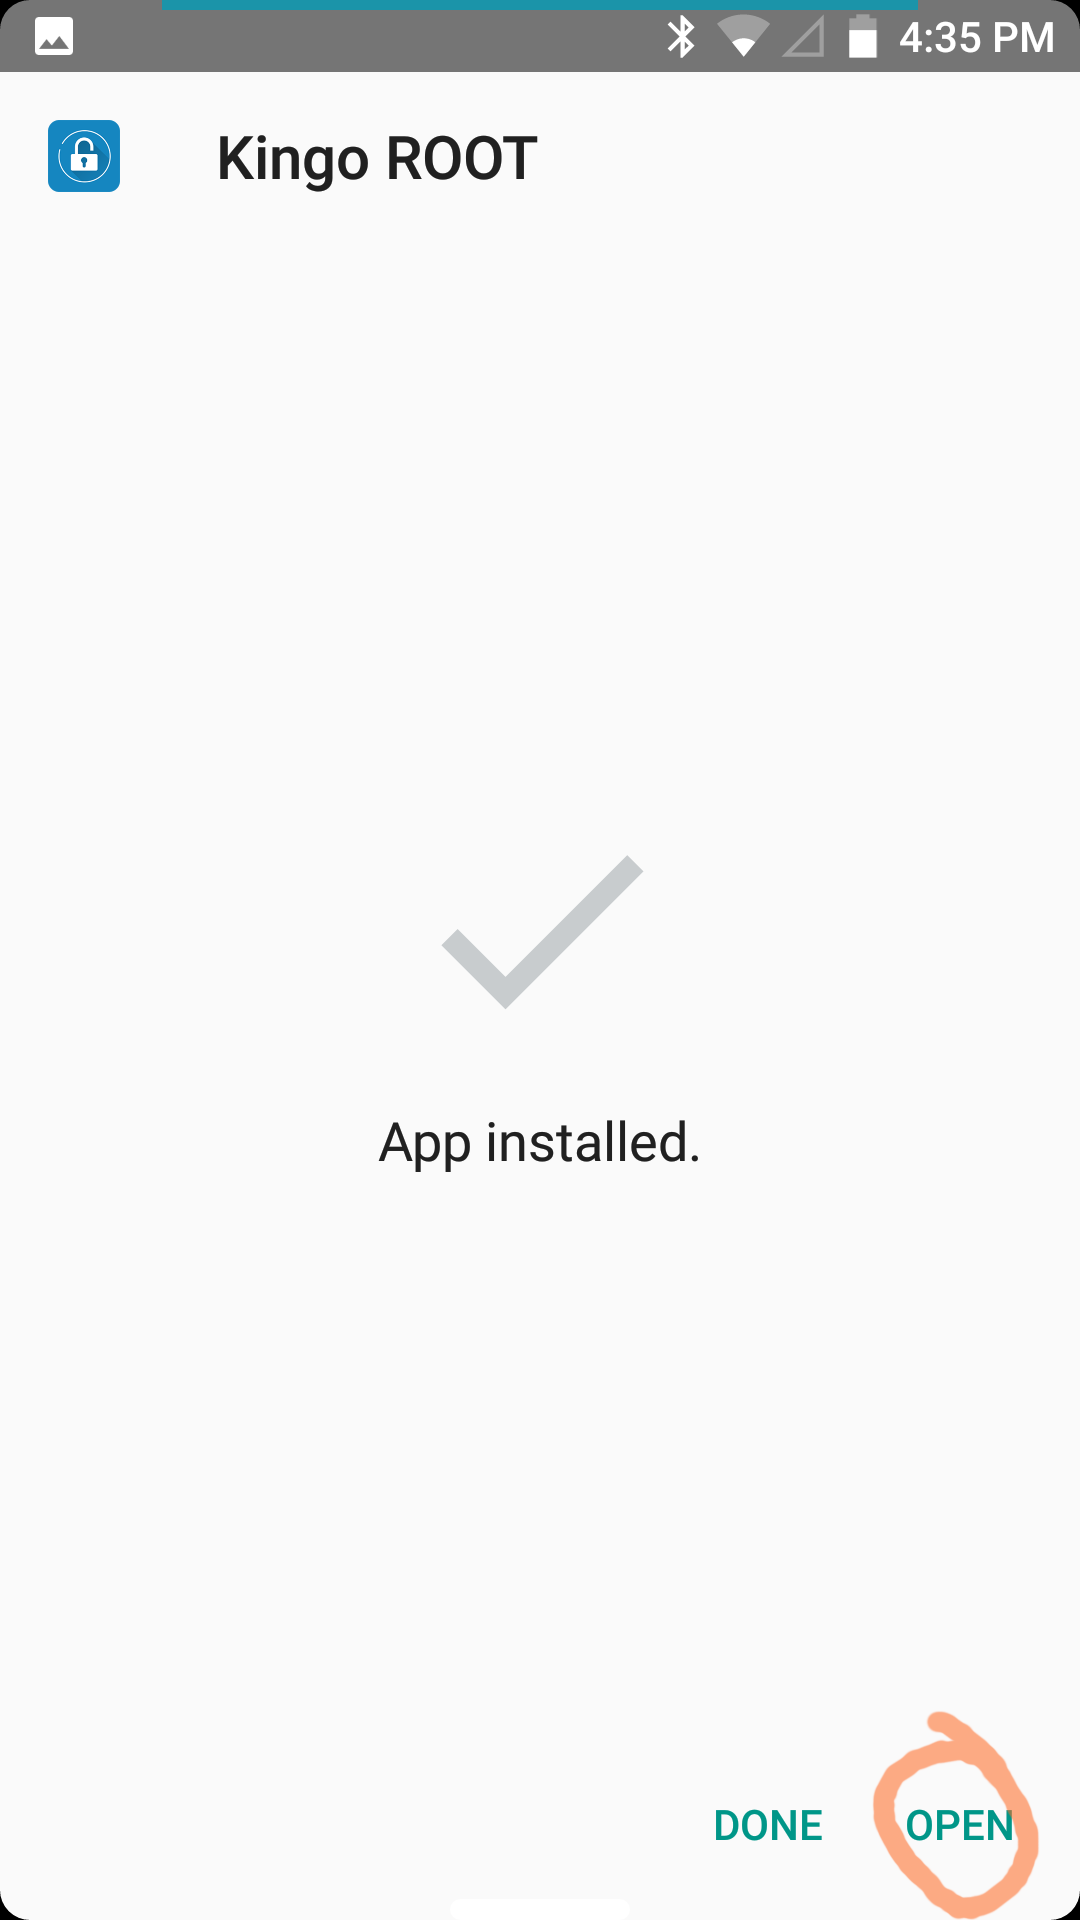
When the app is finished installing, tap “Open.” You can tap “Done” if you want to wait until later to open KingoRoot.
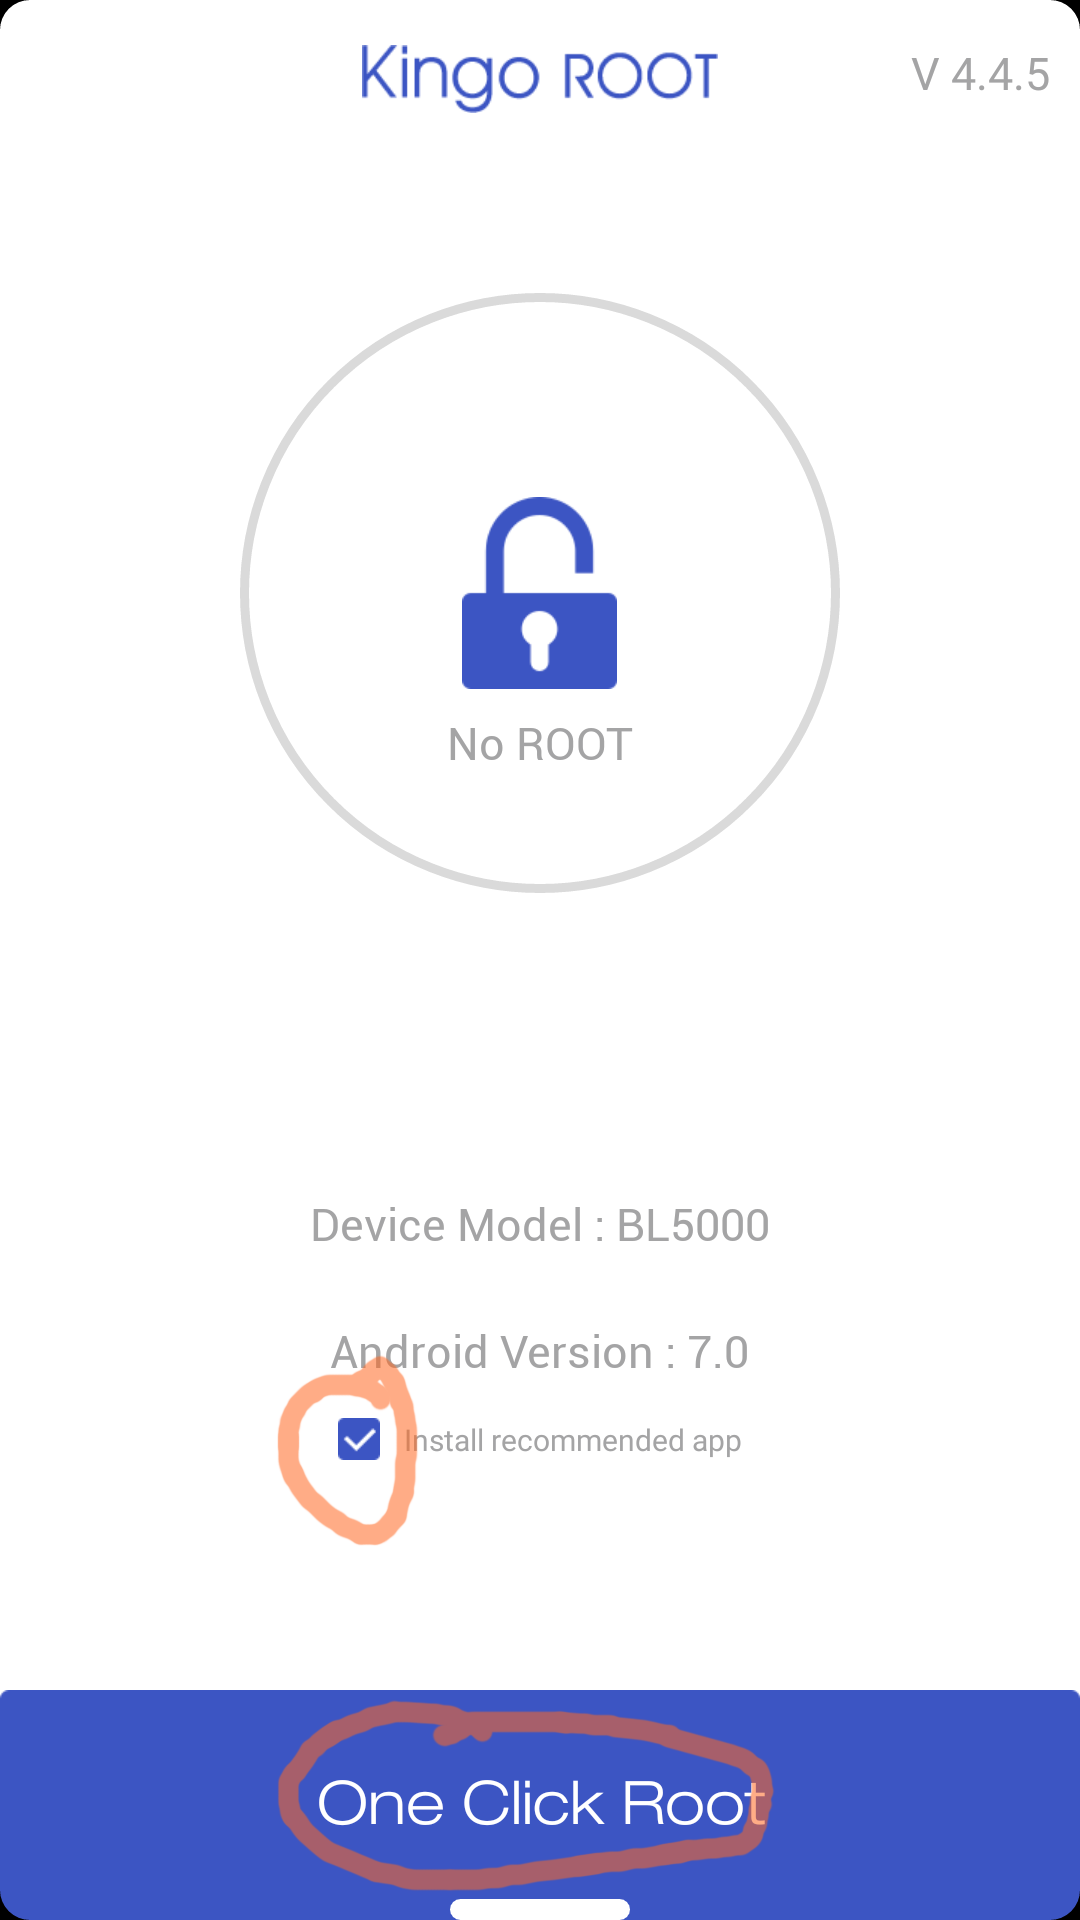
When you open KingoRoot, it’ll check if your phone is already rooted. If it isn’t, you can click “One Click Root.” You can optionally leave the check box checked to install an app called SuperUser, which helps you to manage your superuser permissions. I recommend leaving it checked unless you prefer another superuser app.
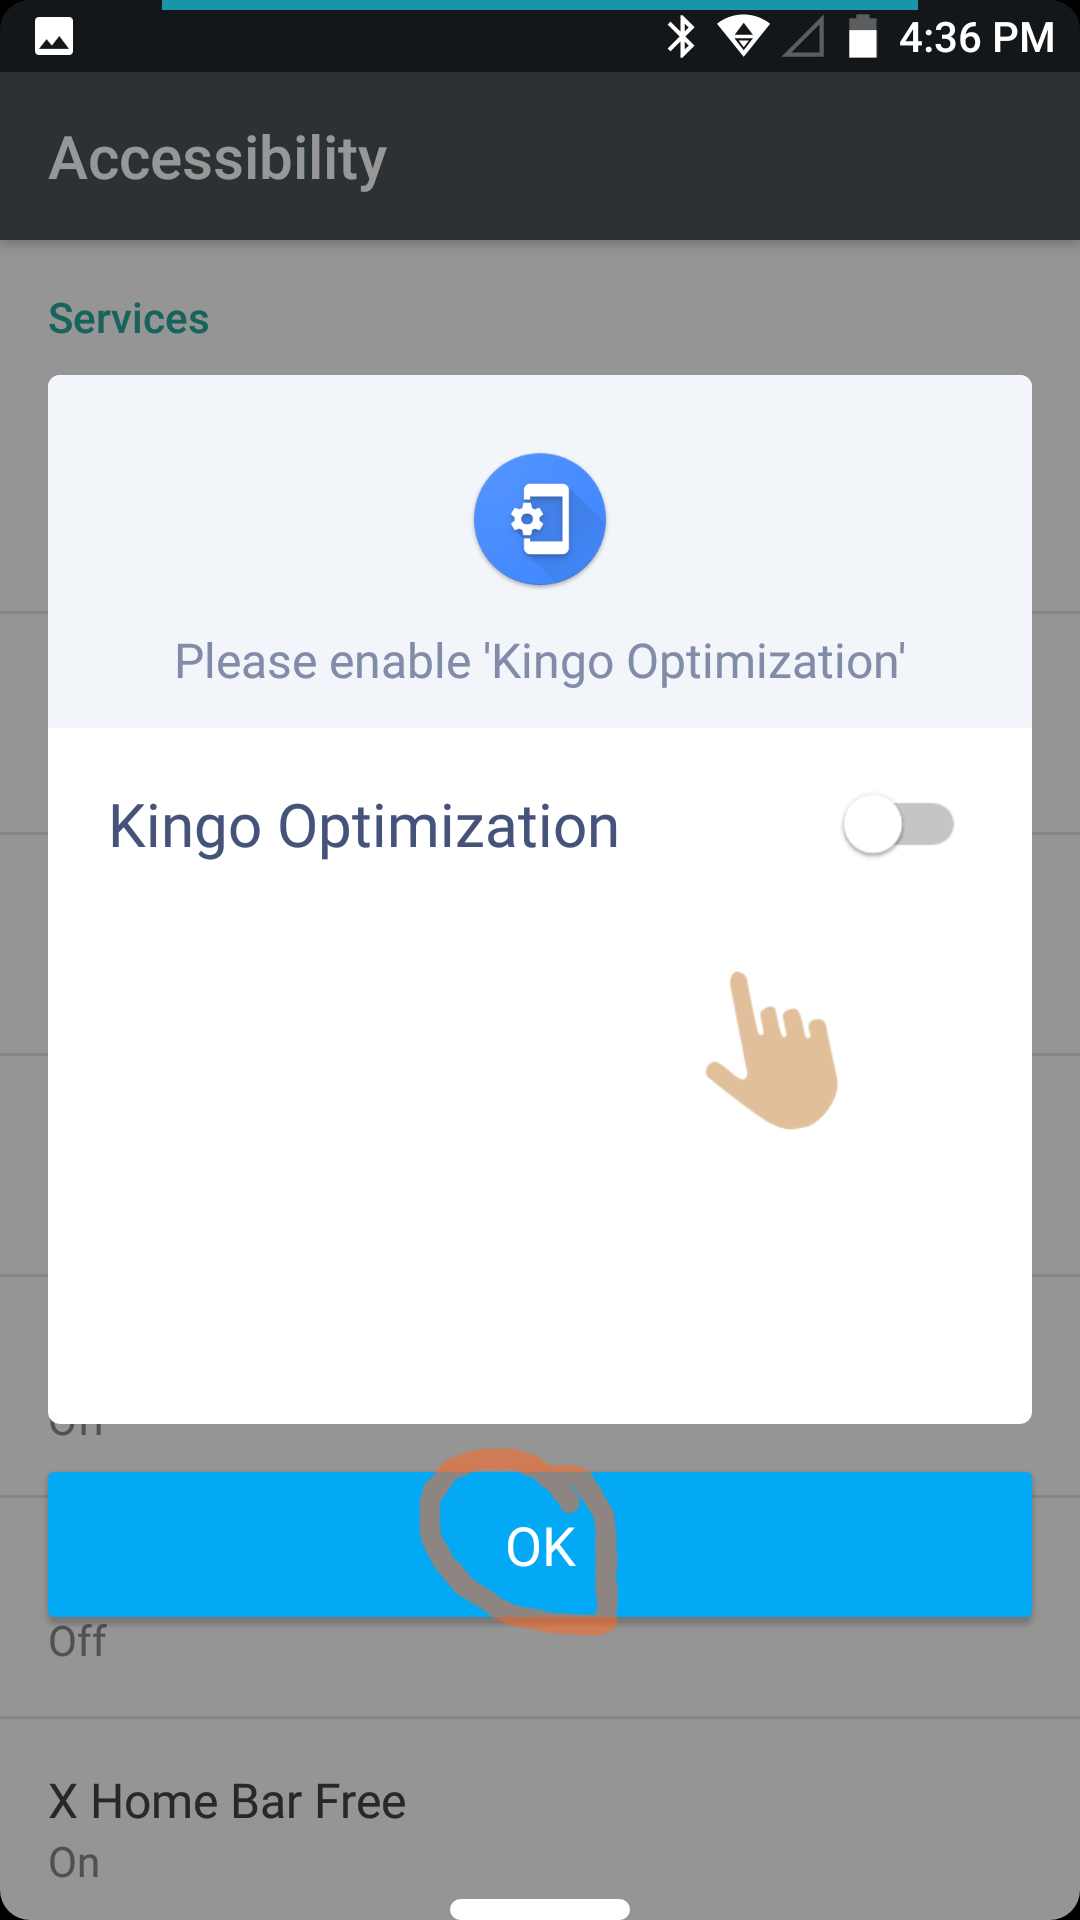
Before KingoRoot can attempt to root your device, it requires accessibility permissions. It should open your accessibility settings. If not, go to the accessibility section of your settings.
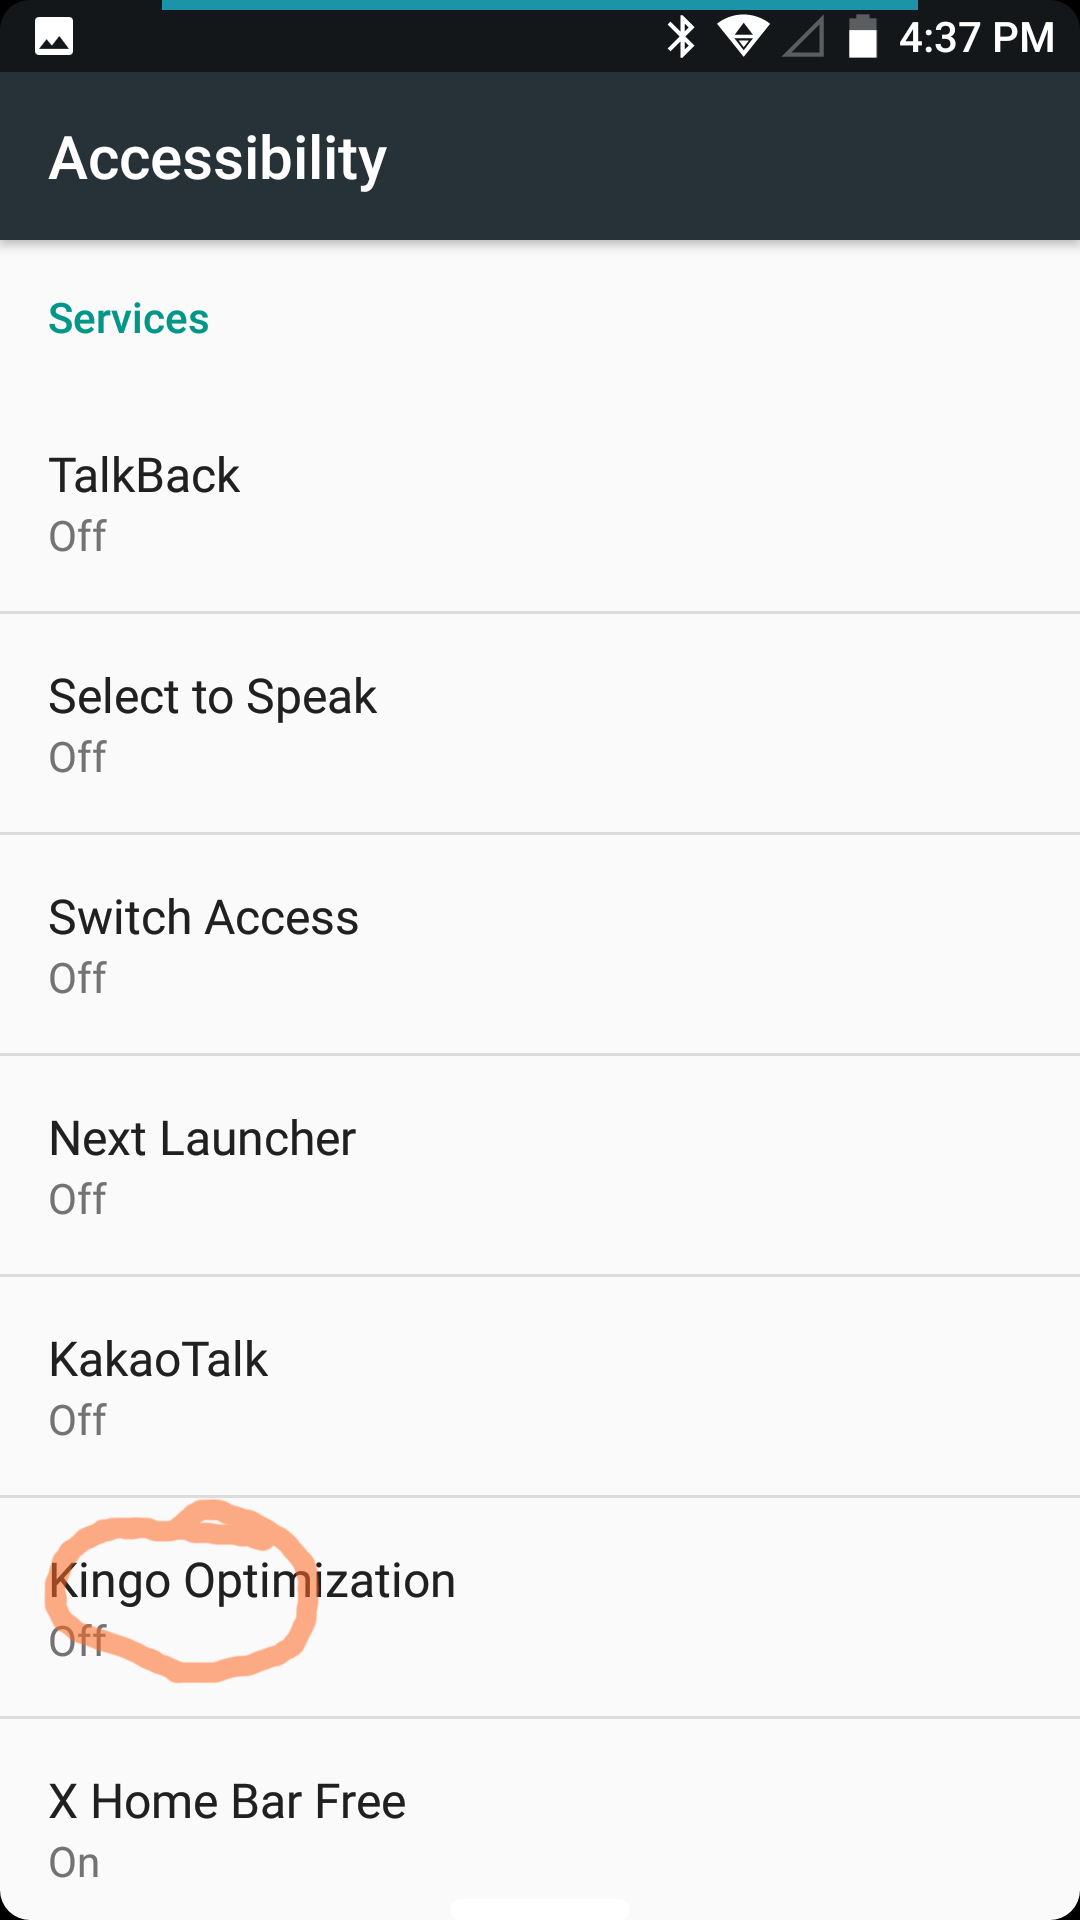
Find “Kingo Optimization” in the list of accessibility services, tap on it, and turn it on.

When you go back to the KingoRoot app, you can try the root process again. It can take a while, so make sure your battery isn’t low before trying to root. You can optionally ignore the ads that may or may not show.
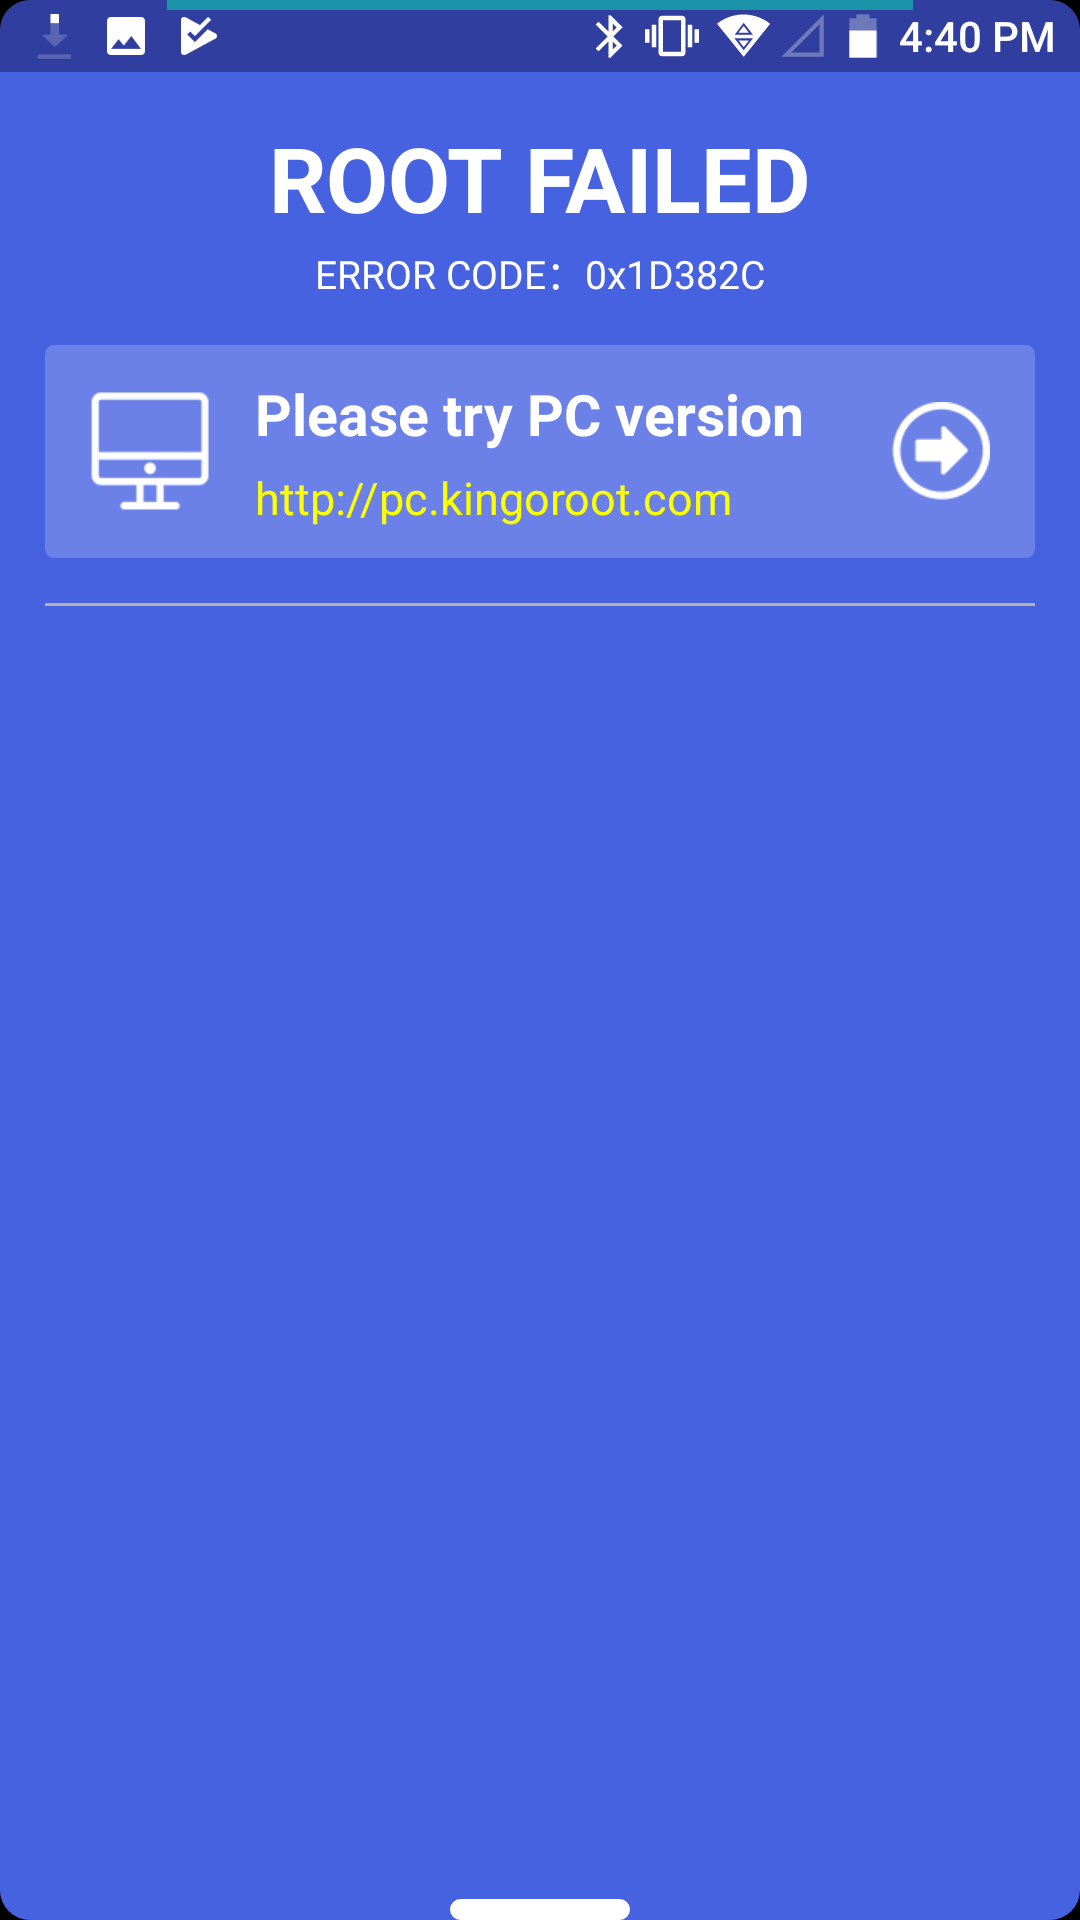
It’s not guaranteed that your device will successfully root using a one click root method such as KingoRoot. Google has been making it harder to root Android, so certain models of phones and versions of Android may not be easily rooted using a one click root method. The phone I used, a Doogee BL5000, unfortunately failed after multiple attempts. Thankfully, if KingoRoot fails to root your device, your device will not brick. It may try to install bloatware though, so delete them if it does.
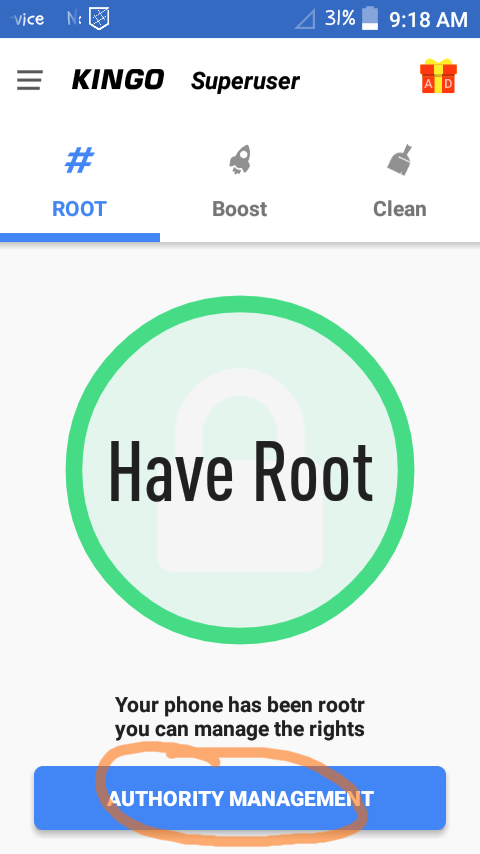
Here's what the SuperUser app looks like. Tapping "Authority Management" allows you to give other apps root permissions, which is why a superuser app is so important. Without one, any app could potentially access root permissions without you knowing. SuperUser can so many other things as well, including uninstall pre-installed apps such as bloatware, a word which here means useless apps you'll never use. Be careful of what you uninstall though, as some apps are important so your device doesn't brick itself.
There are many ways to root Android devices. This method is called the one click method, which attempts to root the device using various methods based on the device’s model. Since there are hundreds of models of devices that run Android, not every device will be successful. Out of the four devices I’ve used KingoRoot on, only half of them successfully rooted. Another app you can use is King Root (completely different from KingoRoot).
If you’re unsuccessful with using a one click root method, you could attempt some of the other methods found on XDA developers, though they may be more advanced and more prone to bricking your device if you don’t know what you’re doing.
If you don’t know what to do after rooting your device, Google some of the things you can do with it. There’s LOTS! I hope this tutorial could help you, and best wishes to rooting your phone and unlocking its full potential.