
Portable apps are apps that can be installed onto a portable drive such as a flash drive, and then be conveniently used on virtually any computer it’s plugged into. You could just install a non-portable app onto a flash drive, but some apps save their settings in the appdata folder of a Windows computer, so you wouldn’t get to take your settings with you on another computer, and they’d be left behind on every computer you use it on.
That’s where portable apps come in. They are installed to have all their data in the one place they’re installed to. A great app I like to use is one called PortableApps. Original name, right? It’s a special launcher that looks like a Windows 7 Start menu that makes it easy to install and launch portable apps. I’ve been using it for a while and fully trust it.
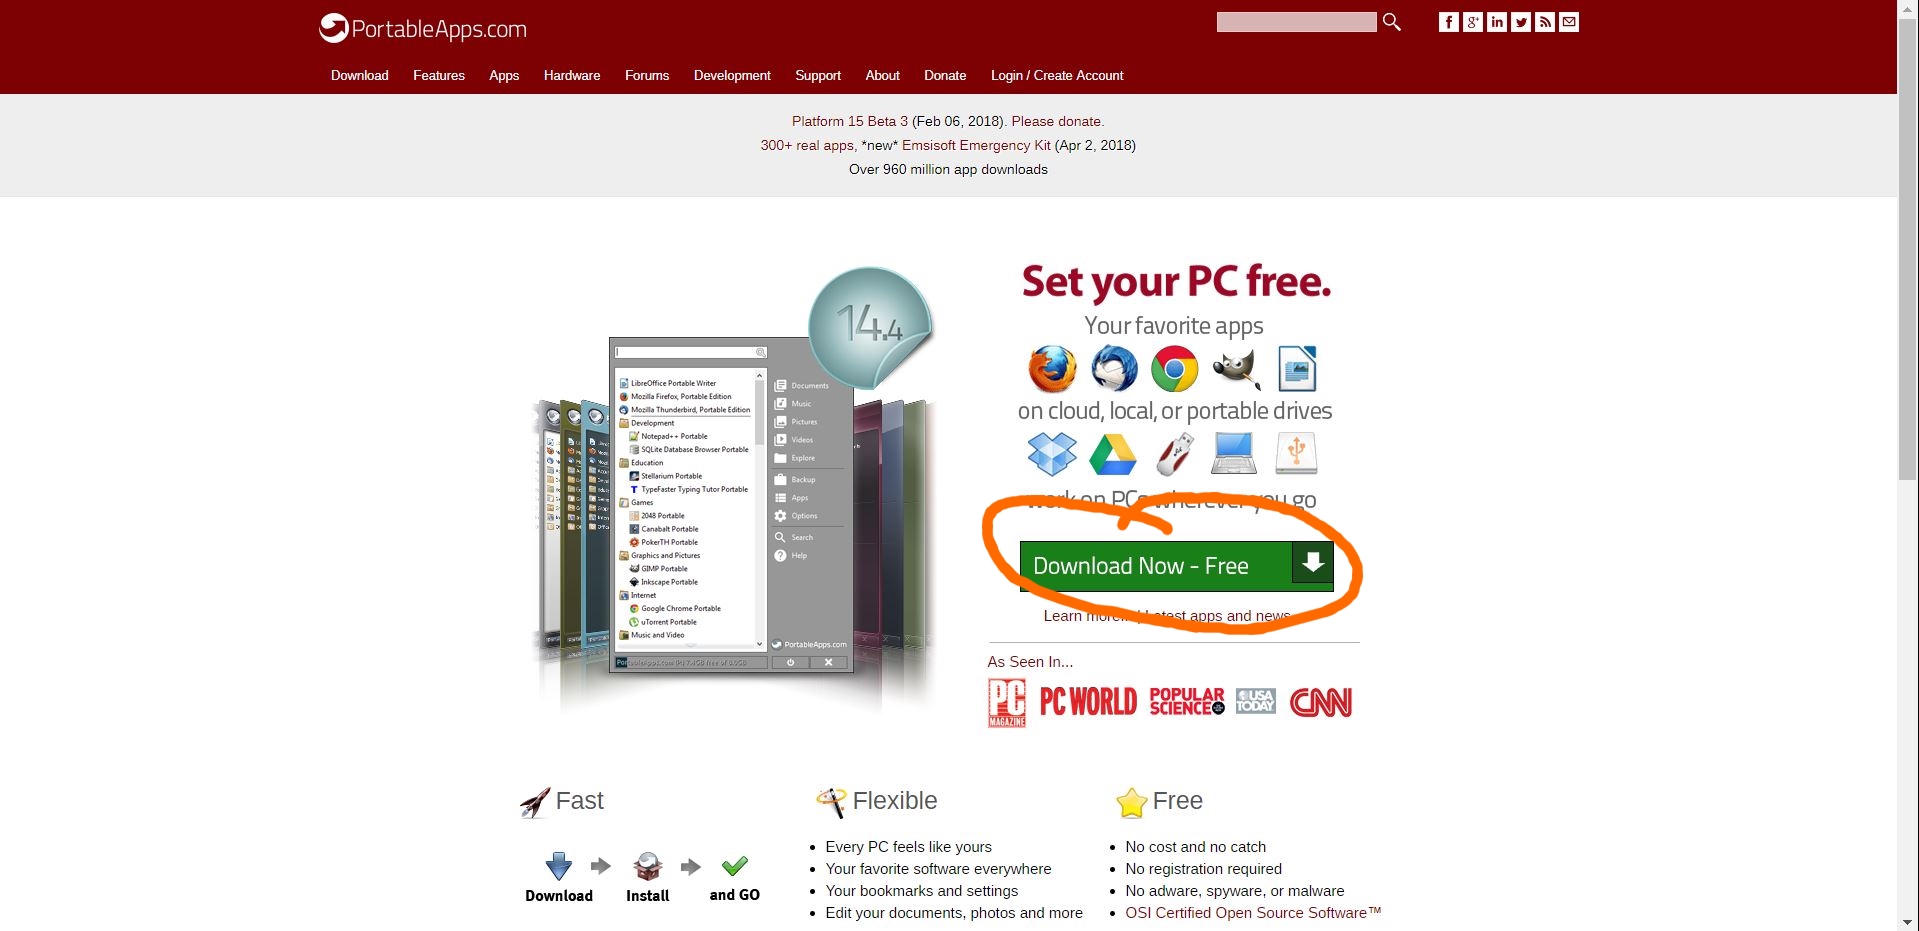
To use PortableApps, you have to install it to your flash drive. Go to PortableApps.com to download it. Click the “download now” button to go to the download page.
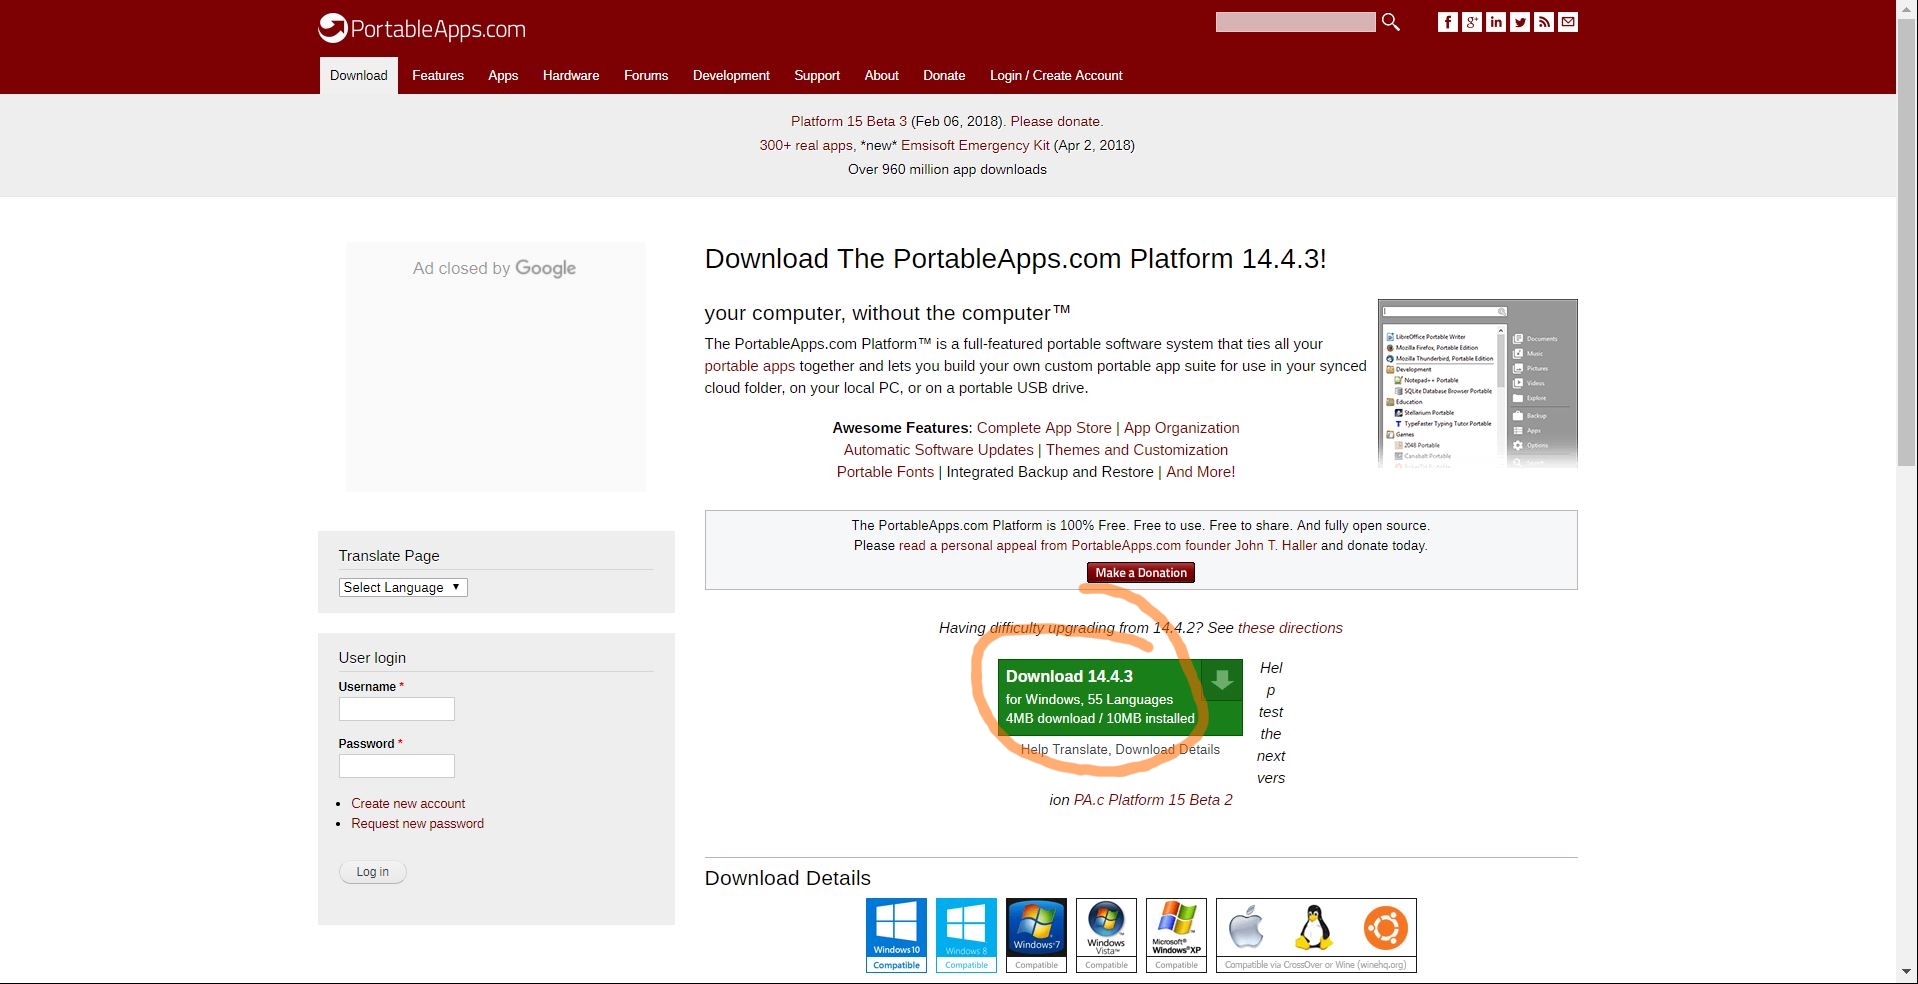
Click the download button to download the latest version. As you can see from the download page, it only uses a few megabytes, saving your flash drive’s space. It’s also free and open source. It runs on Windows as a .exe file, but is also compatible with Linux and Mac via WINE. If you’re unfamiliar with WINE, here’s their website. Anyway, when the .exe file is finished downloading, go ahead and open it.
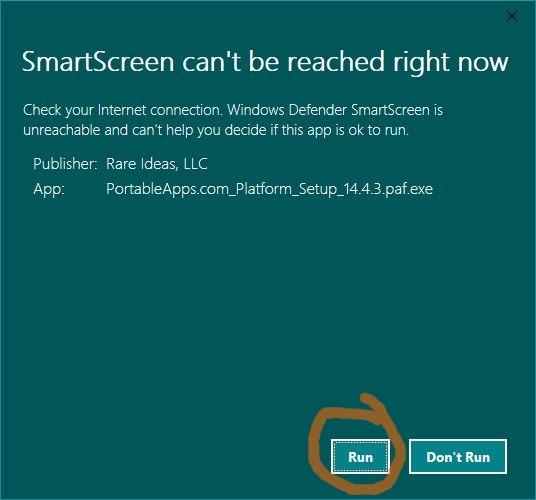
I happened to get this screen when running the installer. If you do too, just select “Run.”
Select your preferred language. Since most of my audience seem to read in English (so I’m told), I’m selecting English. It’s also the only language I know, so…
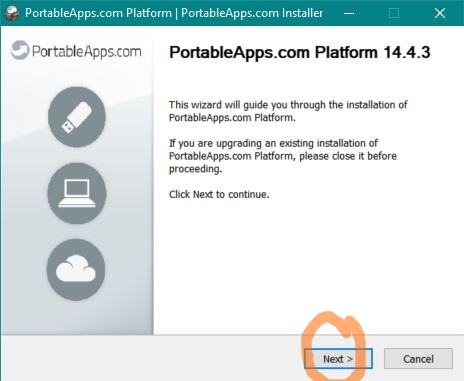
Here is where the install wizard begins, a phrase which here means an app that installs another app, in this case PortableApps.
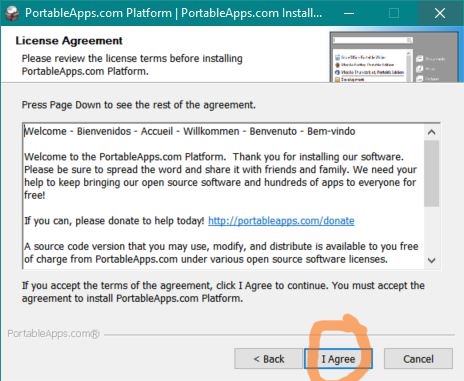
This is the license agreement. All software have a license, and you must agree to its terms to install it. Most people don’t read it, but in the case of PortableApps, it talks about how it’s open source, and credits the developers who contributed to its making. Click “I Agree” to continue.
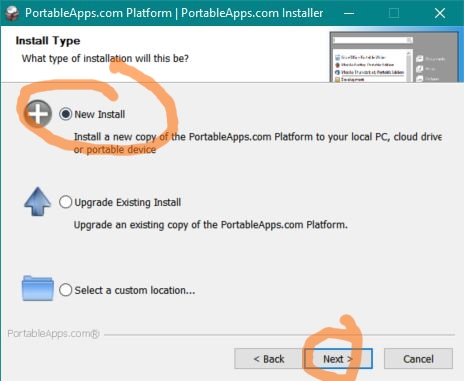
This is where you’ll select which type of install you want to perform. You can upgrade an existing version of PortableApps if you already have it, or install it at a specific location. You can also create a new install, which is what I’m going to do.
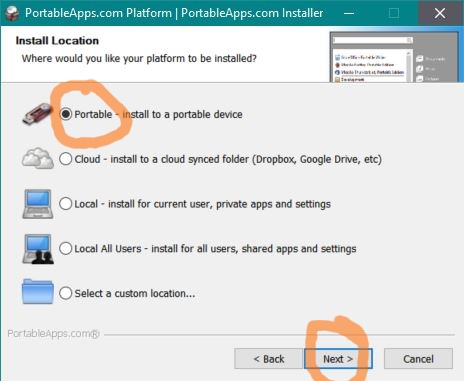
Here is where you can choose where to install it to. You can install it to your computer’s hard drive, a cloud drive, or a portable device. Since PortableApps is made for portable devices, that’s the one I’m choosing. Click “Next” to continue.
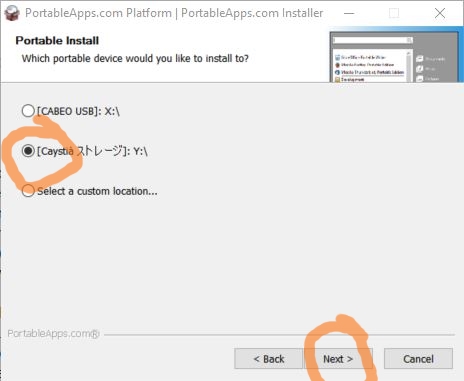
This screen should show you a list of external devices you can install Portable Apps on. If the one you want to use doesn’t show up, press “Back” and make sure the device is properly plugged into your computer. Otherwise, select the one you want to use and click “Next.” My flash drive happens to have two partitions. The one called CabeoUSB already has PortableApps, so I’ll install it to the second partition called Caystiá Storage.
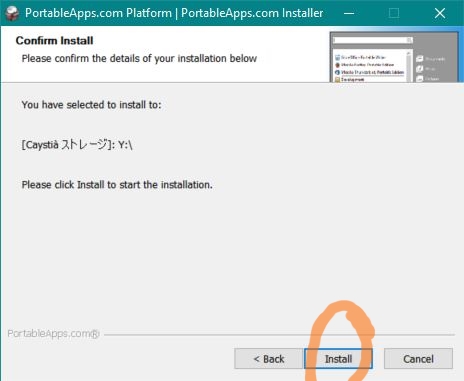
This is the confirmation page summarizing the settings that you have chosen. Many install wizards have them, and is the final step. When you are satisfied with the settings, go ahead and click “Install.”
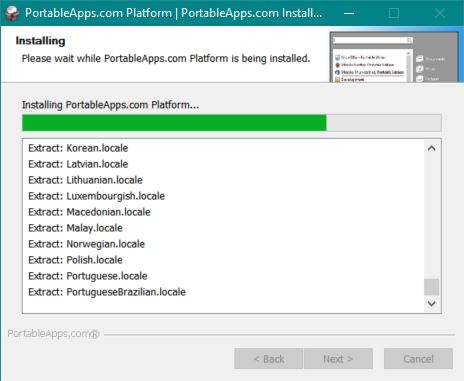
PortableApps will then install to your flash drive. It’ll take about a minute to copy all the necessary files, depending on how fast your device’s transfer speed is. Remember not to eject the drive while transferring files to and fro.
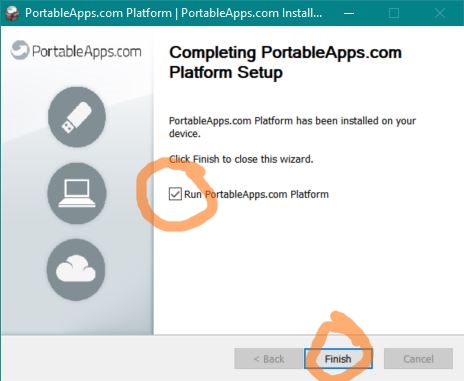
When it’s finished, you can go ahead and click “Finish.” Unless you uncheck the checkbox, PortableApps will go ahead and open from your flash drive.
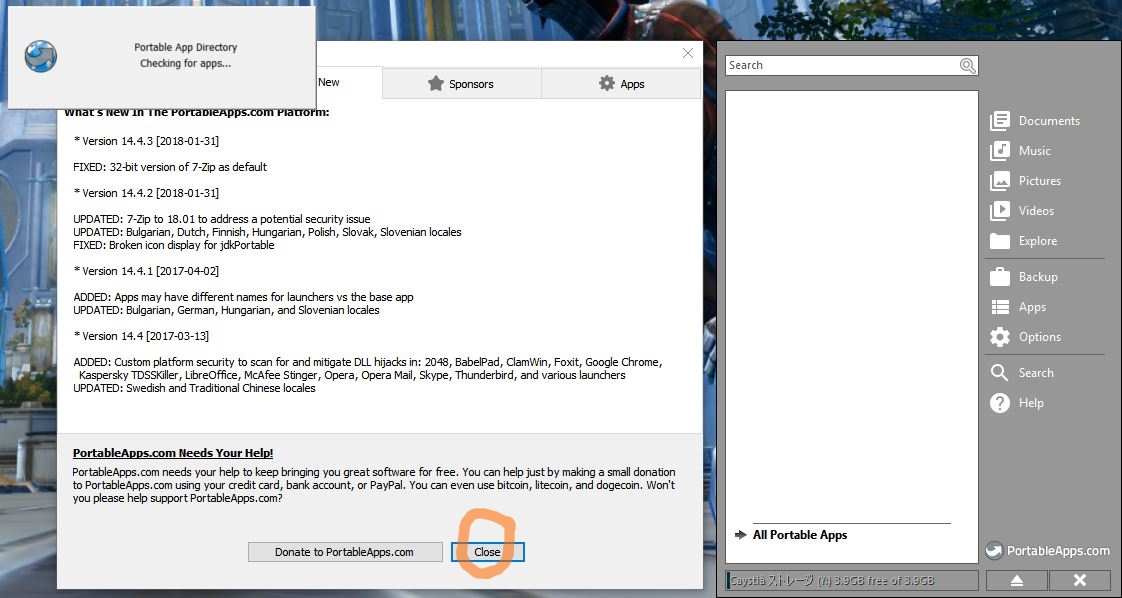
When PortableApps opens, it’ll do a few things. The most obvious thing is the Start menu that opens up in the corner of your screen. This is where you’ll be able to launch apps. If you don’t like the boring gray color, don’t worry; you can change its theme later. The second thing it does is opens a window to tell you about PortableApps, such as the update log, version number, list of sponsors, and a donate link. You can close this window. The third thing it does is opens the Portable App Directory. We’ll explore that next.
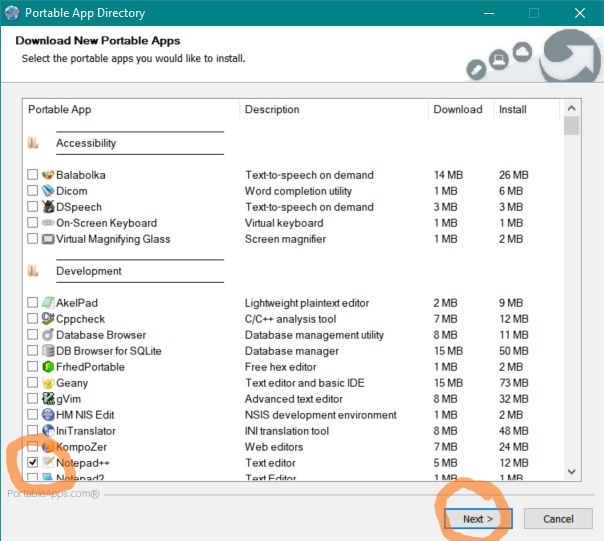
The PortableApps community has prepackaged tons of apps by making them portablized, a word which here means to turn an app into a portable app. The Portable App Directory is kinda like an app store, and lets you select all of the official portable apps they have made and install them one by one. Separated into categories, most of them are open source, and you may recognize some of them. Alternatively, you can download portablized apps in the PortableApps format from their website, or manually install your own portable apps. I’ll just select Notapad++ for this example. Click “Next” to install all selected apps.
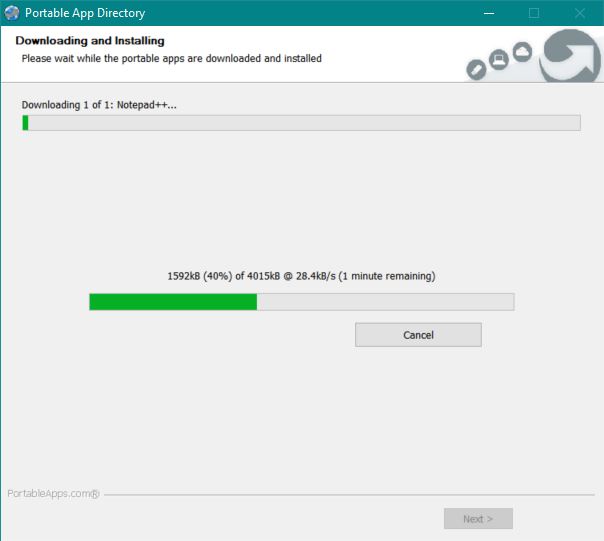
The selected apps will download and install to your flash drive. It could take a while depending on your internet speed and the amount and size of the app(s) you selected. It took a few minutes for me since my internet is slow. You can click “Cancel” at any time.
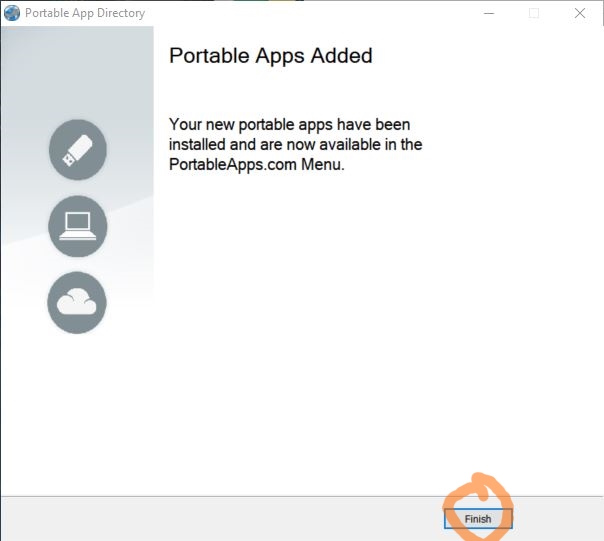
When the apps are done installing, you can click “Finish” to close the Directory.
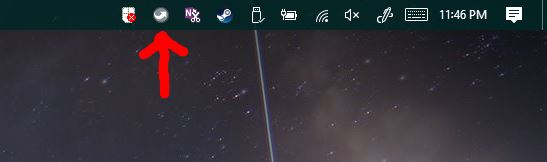
Now, you can open the PortableApps Start menu. When PortableApps is running, it’ll show up in your taskbar. It’s the little gray arrow icon. Just click on it.
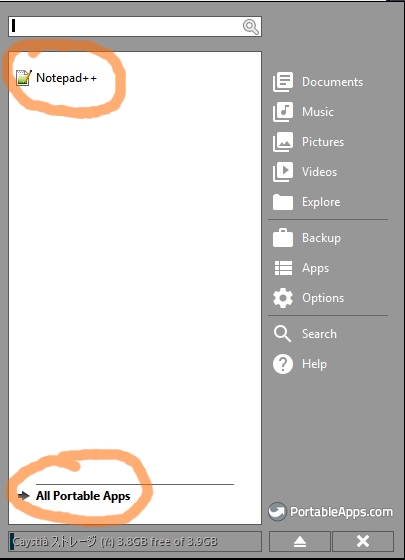
Here’s the PortableApps Start menu. It’ll show a list of all of the apps installed on your flash drive. As you can see, there’s only Notepad++ there chillin’ all alone. You can click “All Portable Apps” to show them in categories.
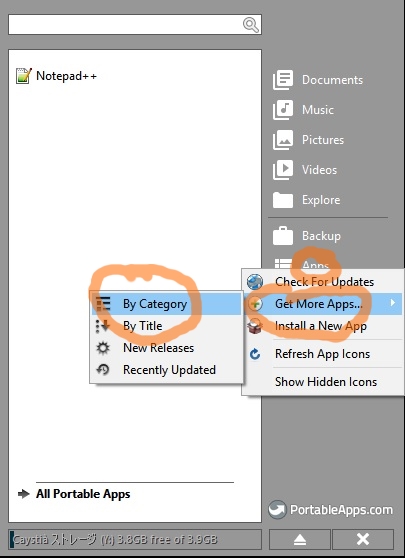
To install more apps, just click “Apps,” hover over “Get More Apps,” and then click on something like “By Category,” or however you want. Alternatively, you can go to PortableApps.com/Apps and download them from there in the PortableApps format. If you do it that way, select the “Install a New App” option after clicking “Apps” in the Start menu. If you have your own portable app that isn’t packaged by PortableApps, you’ll have to install it manually.
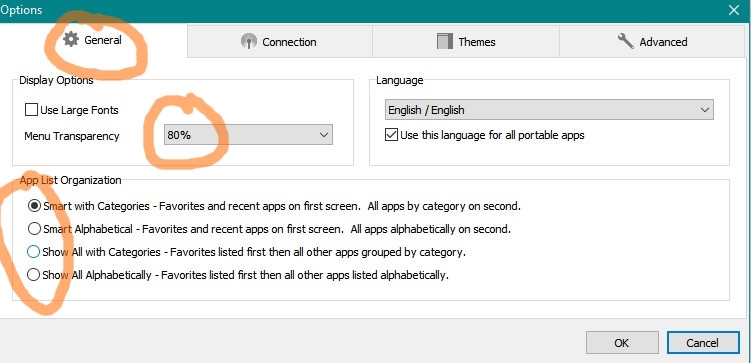
First, you may be wondering how to change the color of the PortableApps Start menu. It’s kinda bland as that gray shade. You can do this in the PortableApps settings by clicking “Options.” In the “General” tab under “Display Settings,” you can change the opacity, a word which here means how transparent it is. I like to stick at least 80% since it changes the transparency of the entire menu, not just the background. Below that, you can choose how apps are ordered within the menu.
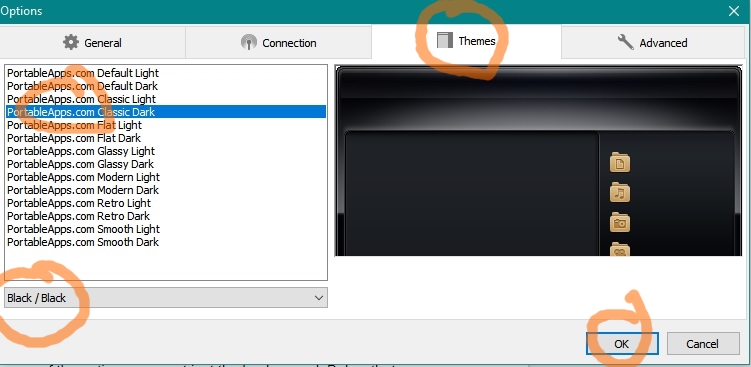
You can also change the theme of your manu in the “Themes” tab. You can change the color and style. I’m choosing the Silver color and Classic Dark theme. There’s also some cool and helpful options under the “Advanced” tab, but I won’t be covering any of them. You can try them out for yourself. Click OK to apply changes to the settings, or Cancel to maybe shoot fireworks.
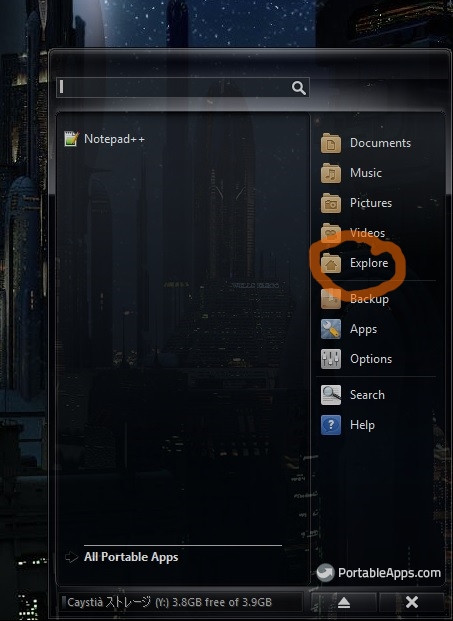
If you open the PortableApps Start menu again, you’ll see the changes you made if you made any. Now, we’ll see where the PortableApps menu is actually located on your flash drive. To do that, click “Explore” to open the root directory of your flash drive in your file manager.
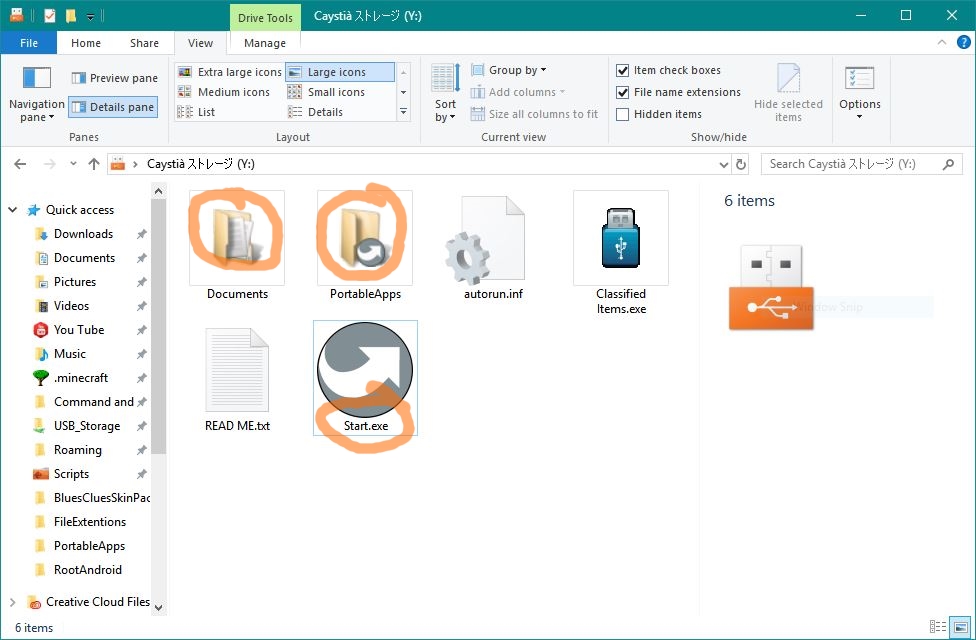
Here is the root directory of my flash drive. I happen to already have some files on mine, and you will too if you already have files on yours, so just ignore them. The most important file here is Start.exe, which opens the Start menu when opened. You’ll have to open this file to open the Start menu for the first time whenever you insert your flash drive into a computer. If you want, you can make a shortcut to this file. Then there’s the two folders. The Documents folder has nothing but two additional empty folders called “Music” and “Videos.” You can put files in them, and the Start menu has links that easily open them. The “PortableApps” folder is where all of the portable apps are installed. Go ahead and open it to see them. Sorry this paragraph is so long!
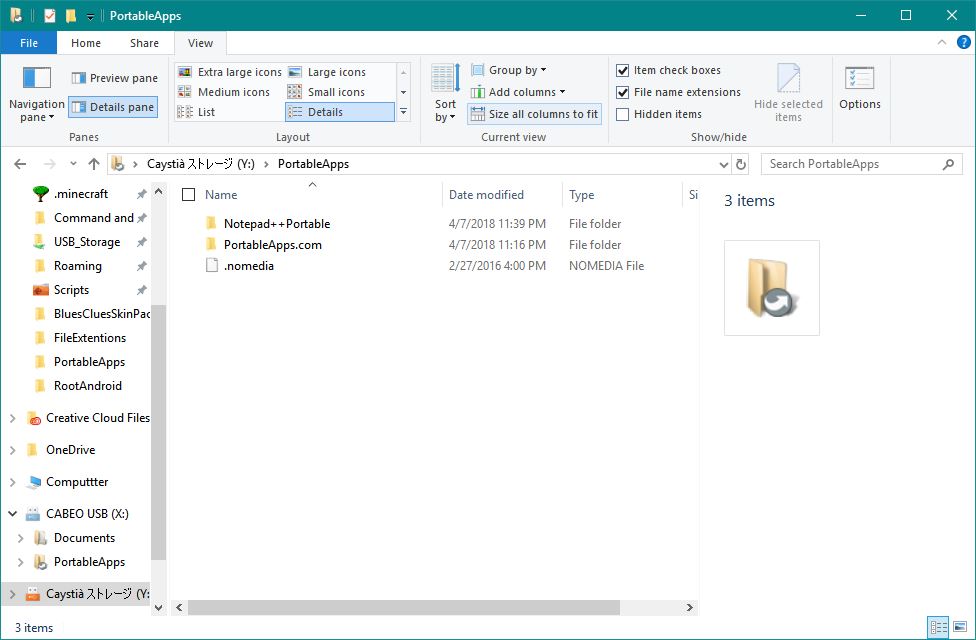
Each folder here holds a portable app. The Start Menu automatically shows all .exe files in these folders, so you can technically put any .exe file you want in here, as long as it’s in a folder. The .nomedia file is for something specific. Open it in MS Notepad to read what it is so I don’t have to explain it.
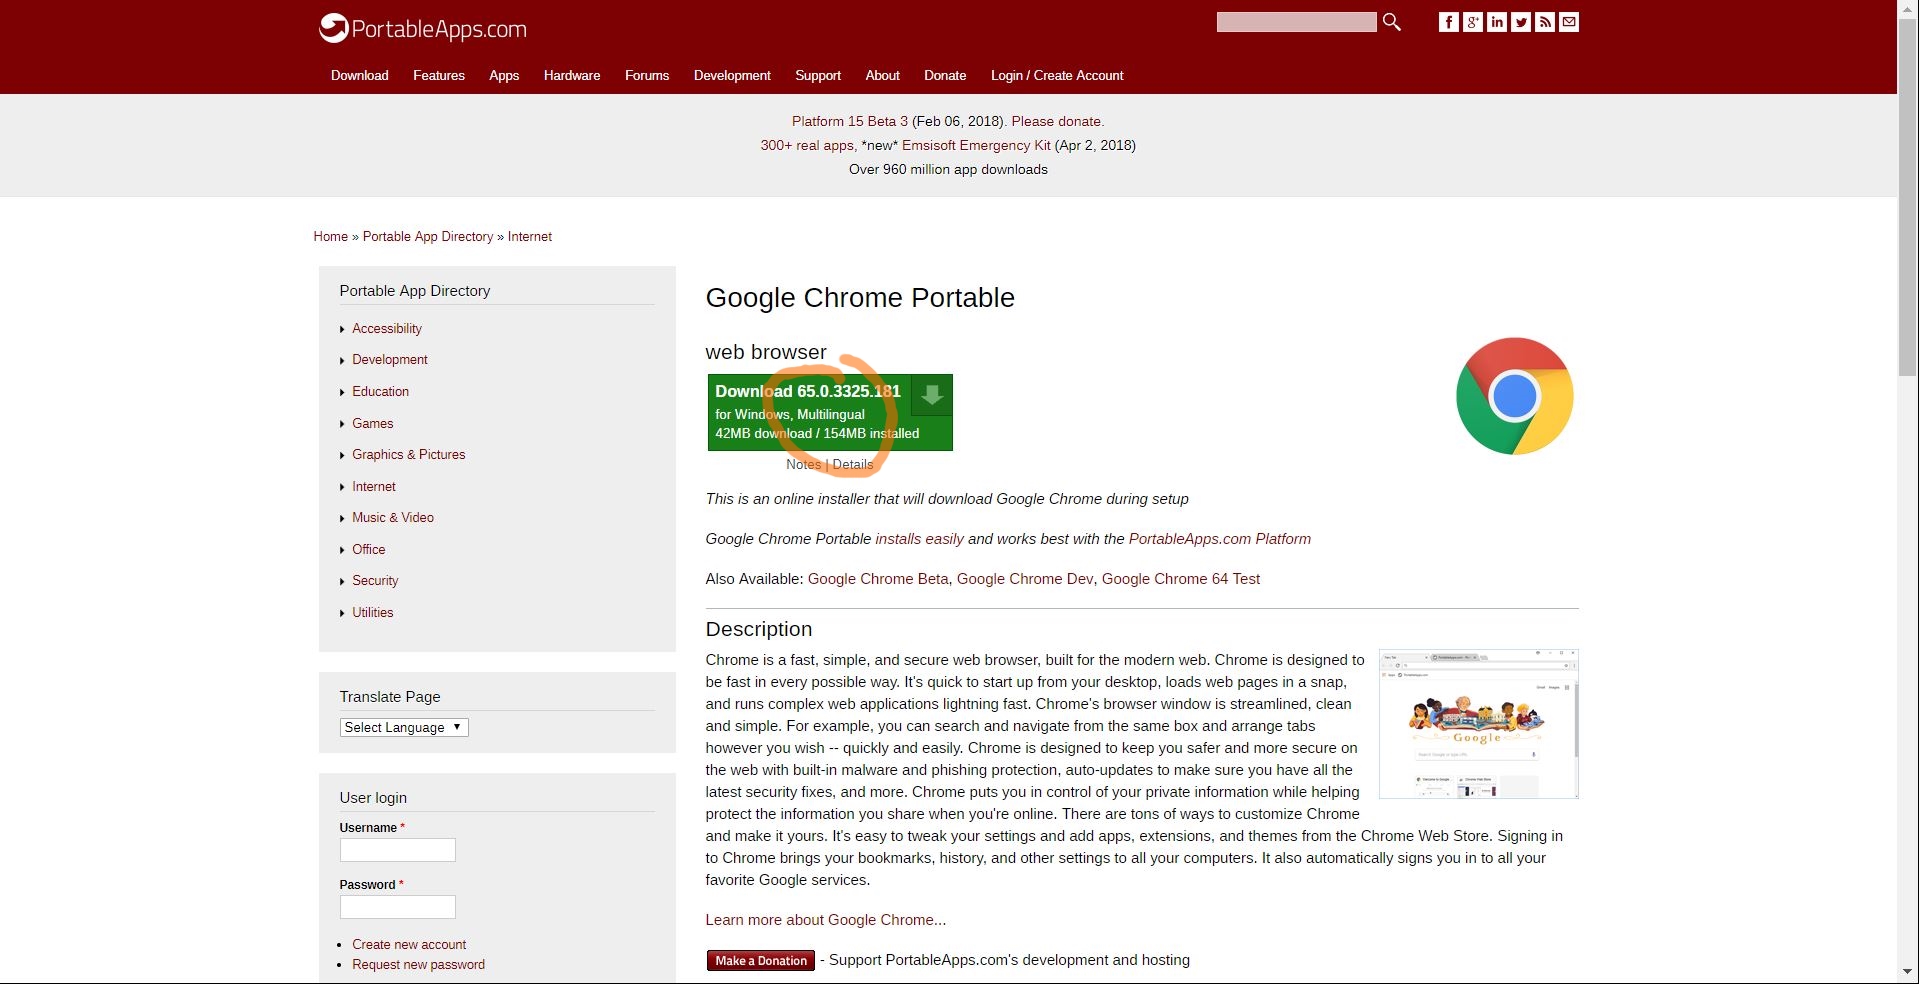
One of my favorite portable apps is Google Chrome Portable, Google’s portable web browser. Since the computers at my school don’t have anything but Microsoft Edge on them, I use this without having to install software onto them. You can’t find it in the PortableApps Directory, though, so you can download it from the website. You can search for it in the search box of Portableapps.com, or go to this webpage. Click the download button to download it in the PortableApps format.
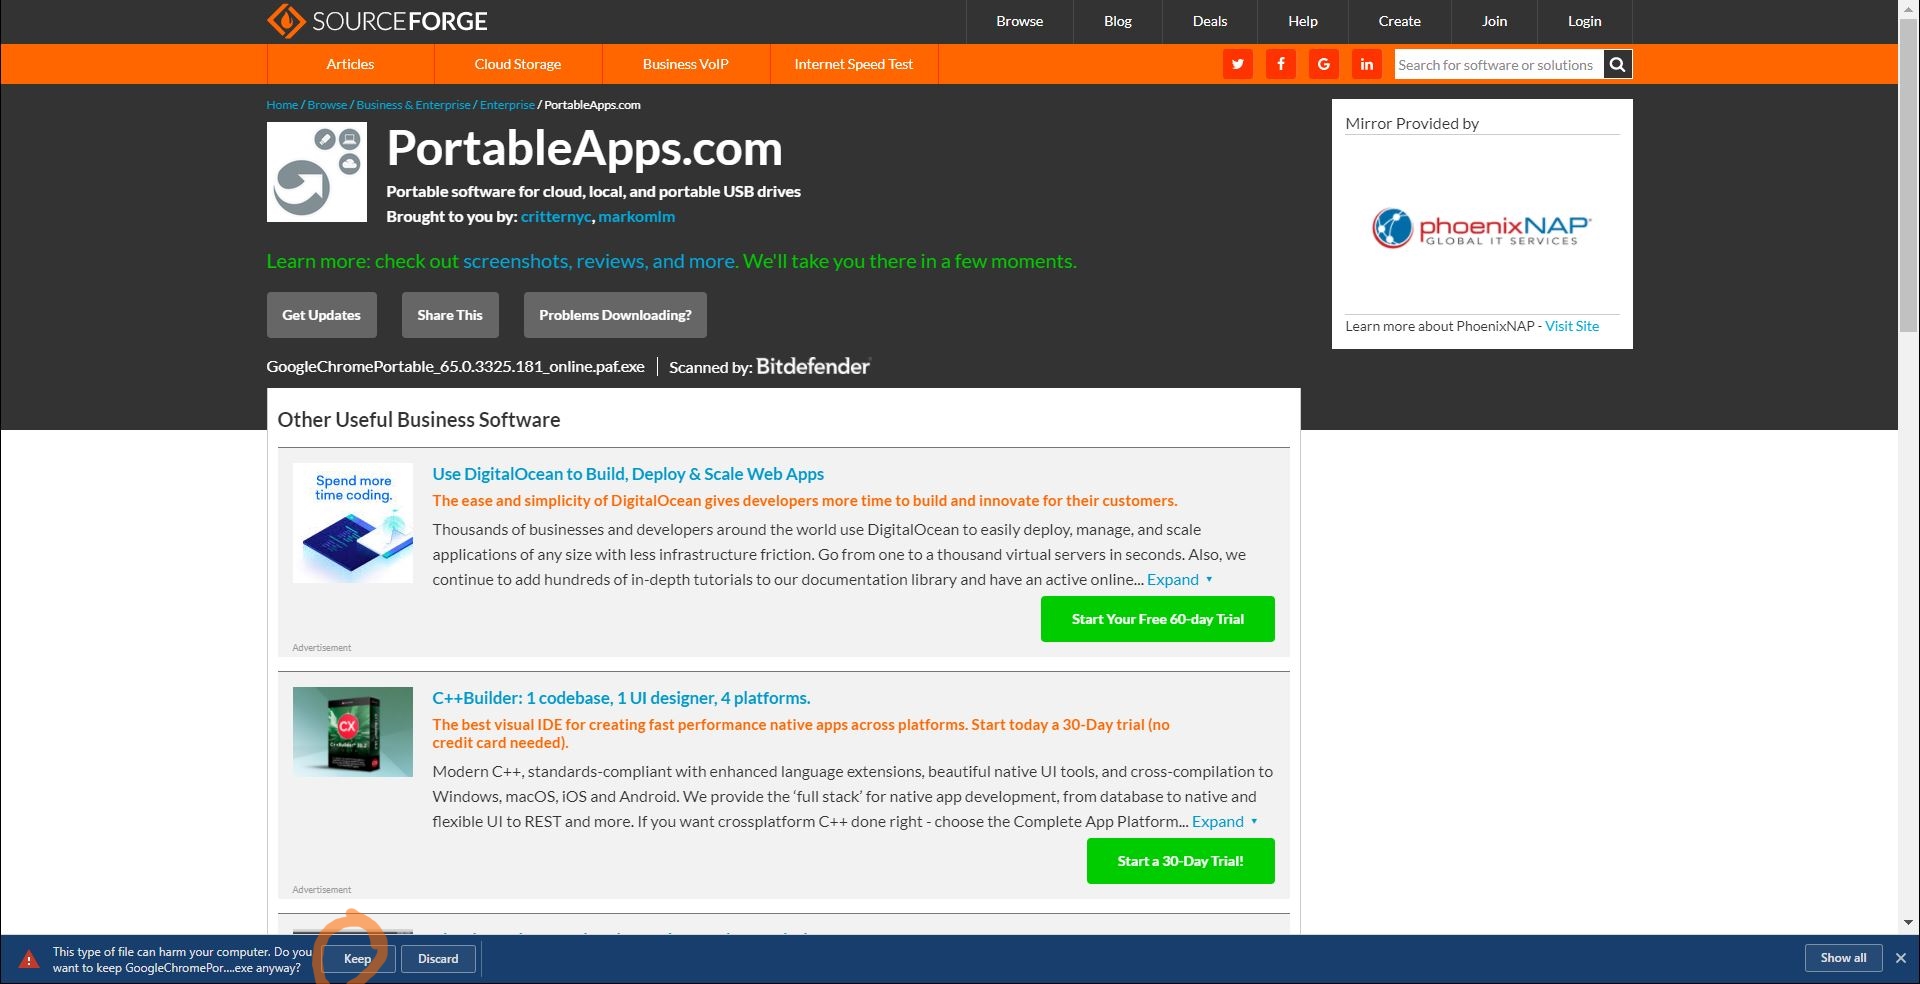
This will take you to a webpage on a website called SourceForge, a common distributor of software. It will download the .exe file. When it’s finished downloading, go ahead and open it.
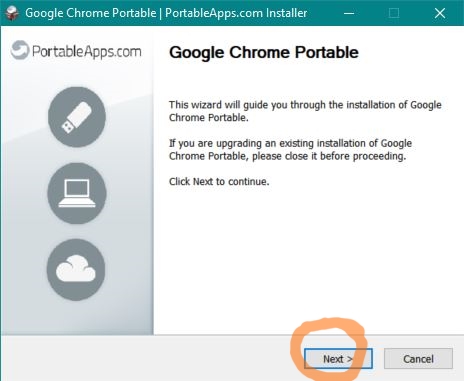
The .exe file opens an install wizard to install Google Chrome Portable to your flash drive. Select your language, click “Next,” and agree to their terms as usual.
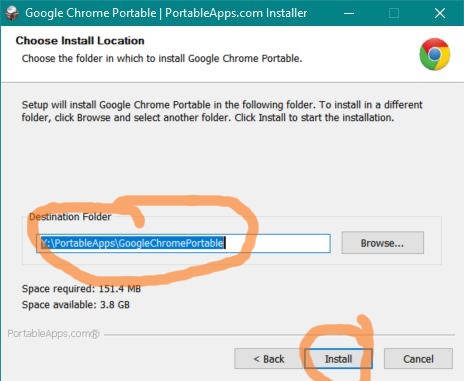
If you already have PortableApps open, it should find it right away. If not, make sure the destination folder is set to install to a folder within the PortableApps folder of your flash drive. In the case of Google Chrome, the folder is called “GoogleChromePortable.” Click “Install” when the destination folder is correct.
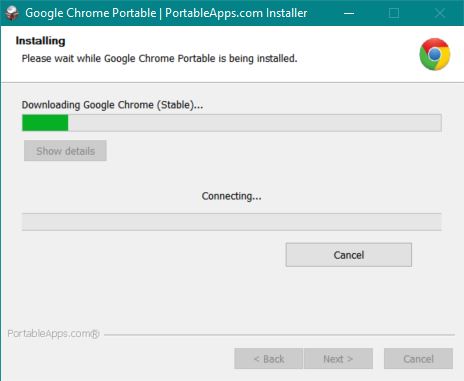
The installer will download and install the app to your flash drive. Since my internet’s slow, and Google Chrome isn’t considered to be a very light app, it took me a few minutes to complete the process.
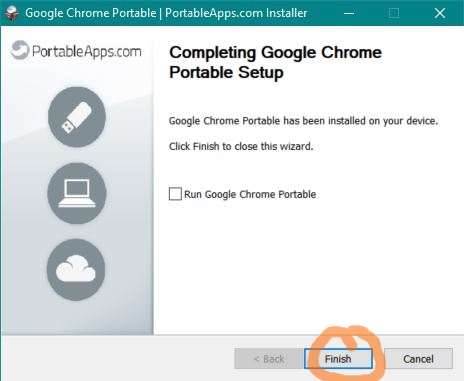
When it’s finally finished installing, it’ll tell you. You can click “Finish” to complete the process. You can optionally tick the checkbox to open the app you just installed after you click finish.”
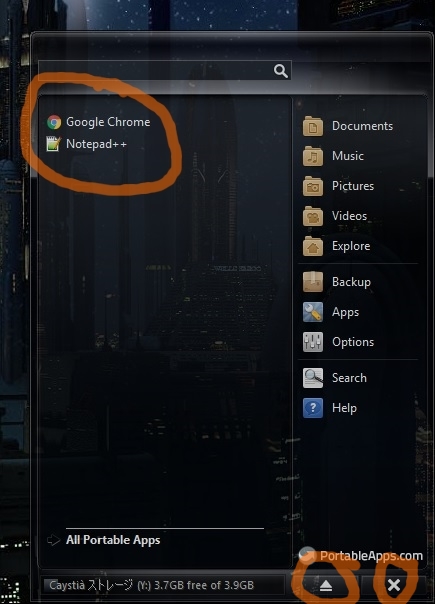
Now, open the PortableApps Start menu once again. You can see that Google Chrome now shows up in the list of portable apps. You’ll see whatever apps are installed on yours. When you’re done working with PortableApps, you can close it by clicking the X at the bottom right corner of the menu, or safely remove the flash drive by clicking the eject button next to it.
You can install as many portable apps you can fit on your flash drive. You don’t have to use the PortableApps launcher, but I find it more convenient than having to go through folders searching for the right .exe file. You can take your flash drive to any Windows computer you want and launch the apps from them. If they’re portable apps and not normal apps, your settings and stuff will go with you.