
Welcome to Microsoft Publisher! As you may already know, Publisher is an app that comes bundled with most Microsoft Office packages. Here, I'll show you how to use the basics of Publisher. If you have any questions, feel free to contact me. Also, as a side note, this tutorial was written to be read in a British accent.
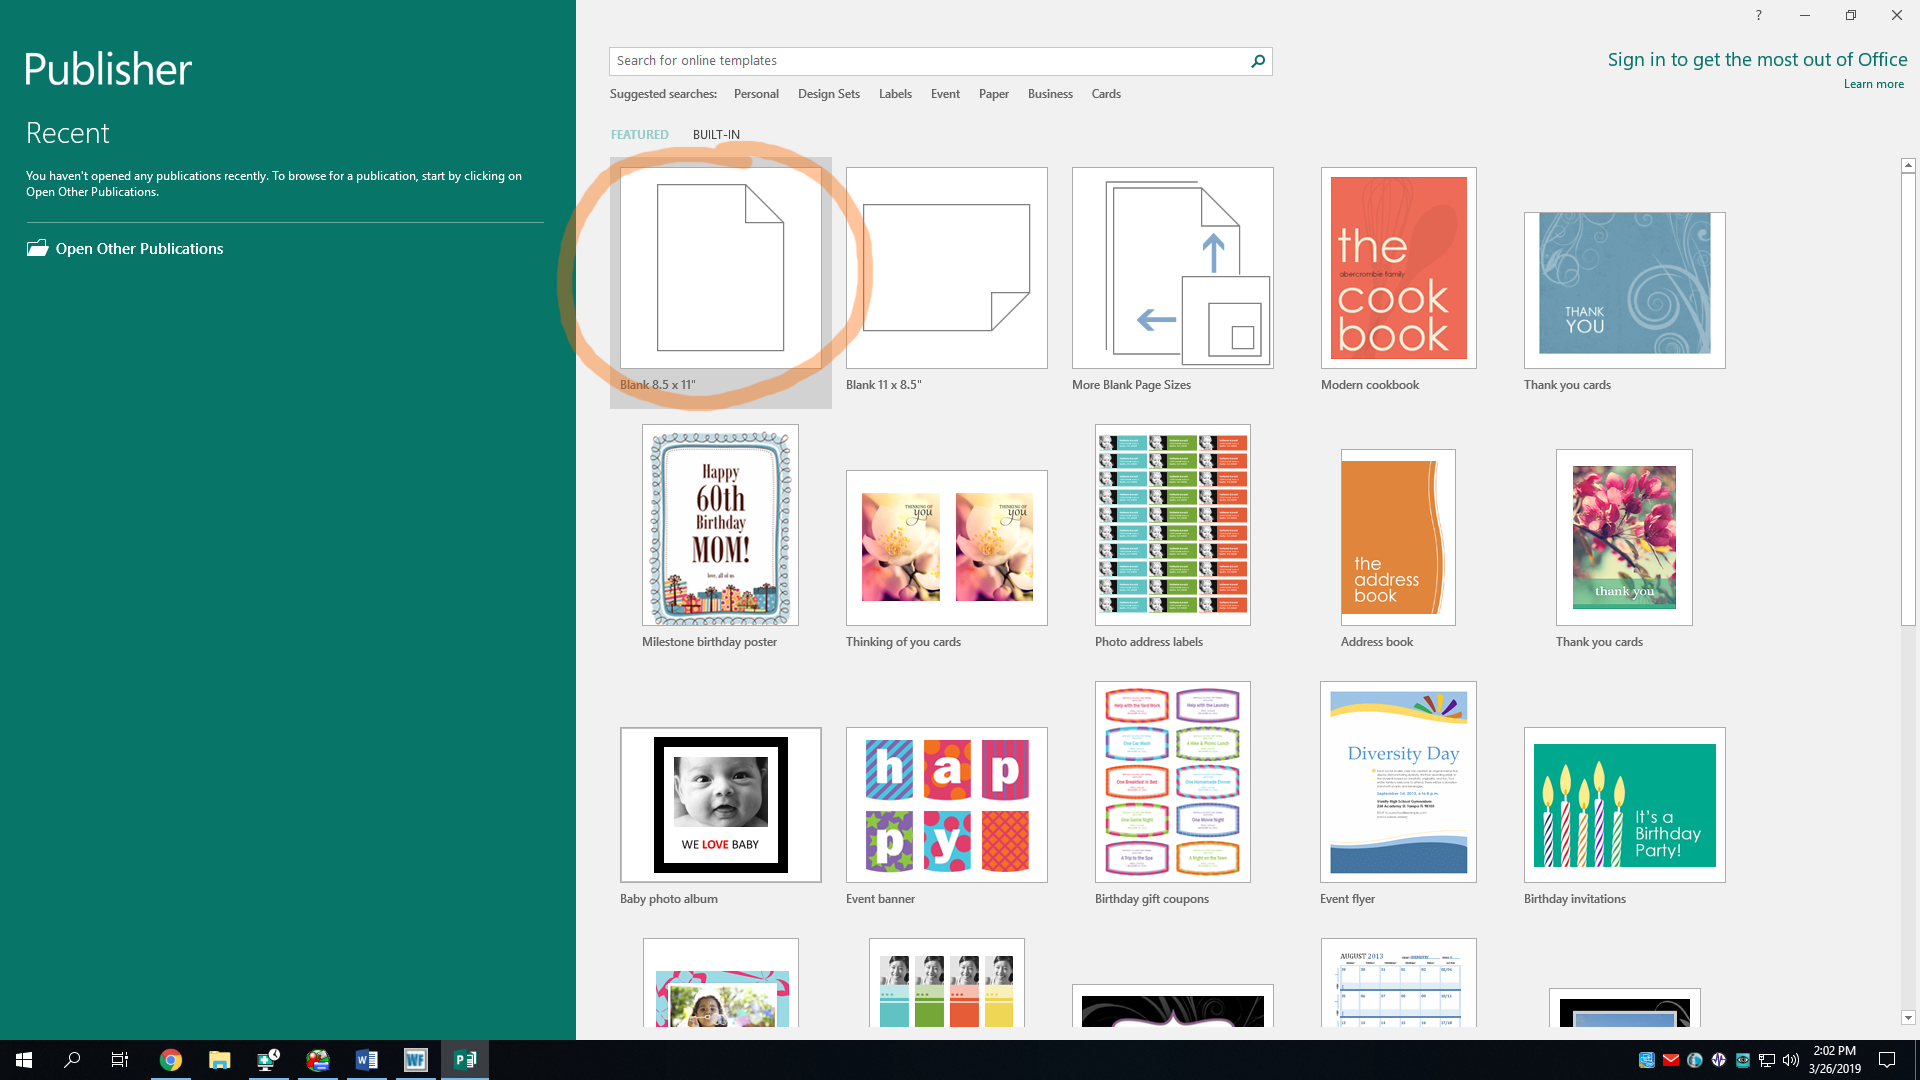
First thing's first. Go ahead and open Publisher. If you're using Windows 10, it should be located in the Start menu under P. In Publisher's main screen, you'll see a list of templates. You can use any of them you want, and can even search for more using the search bar. Templates are helpful so you don’t have to start a common document from scratch. For this tutorial, we'll use a blank page in portrait orientation, AKA the legendary hamburger style.
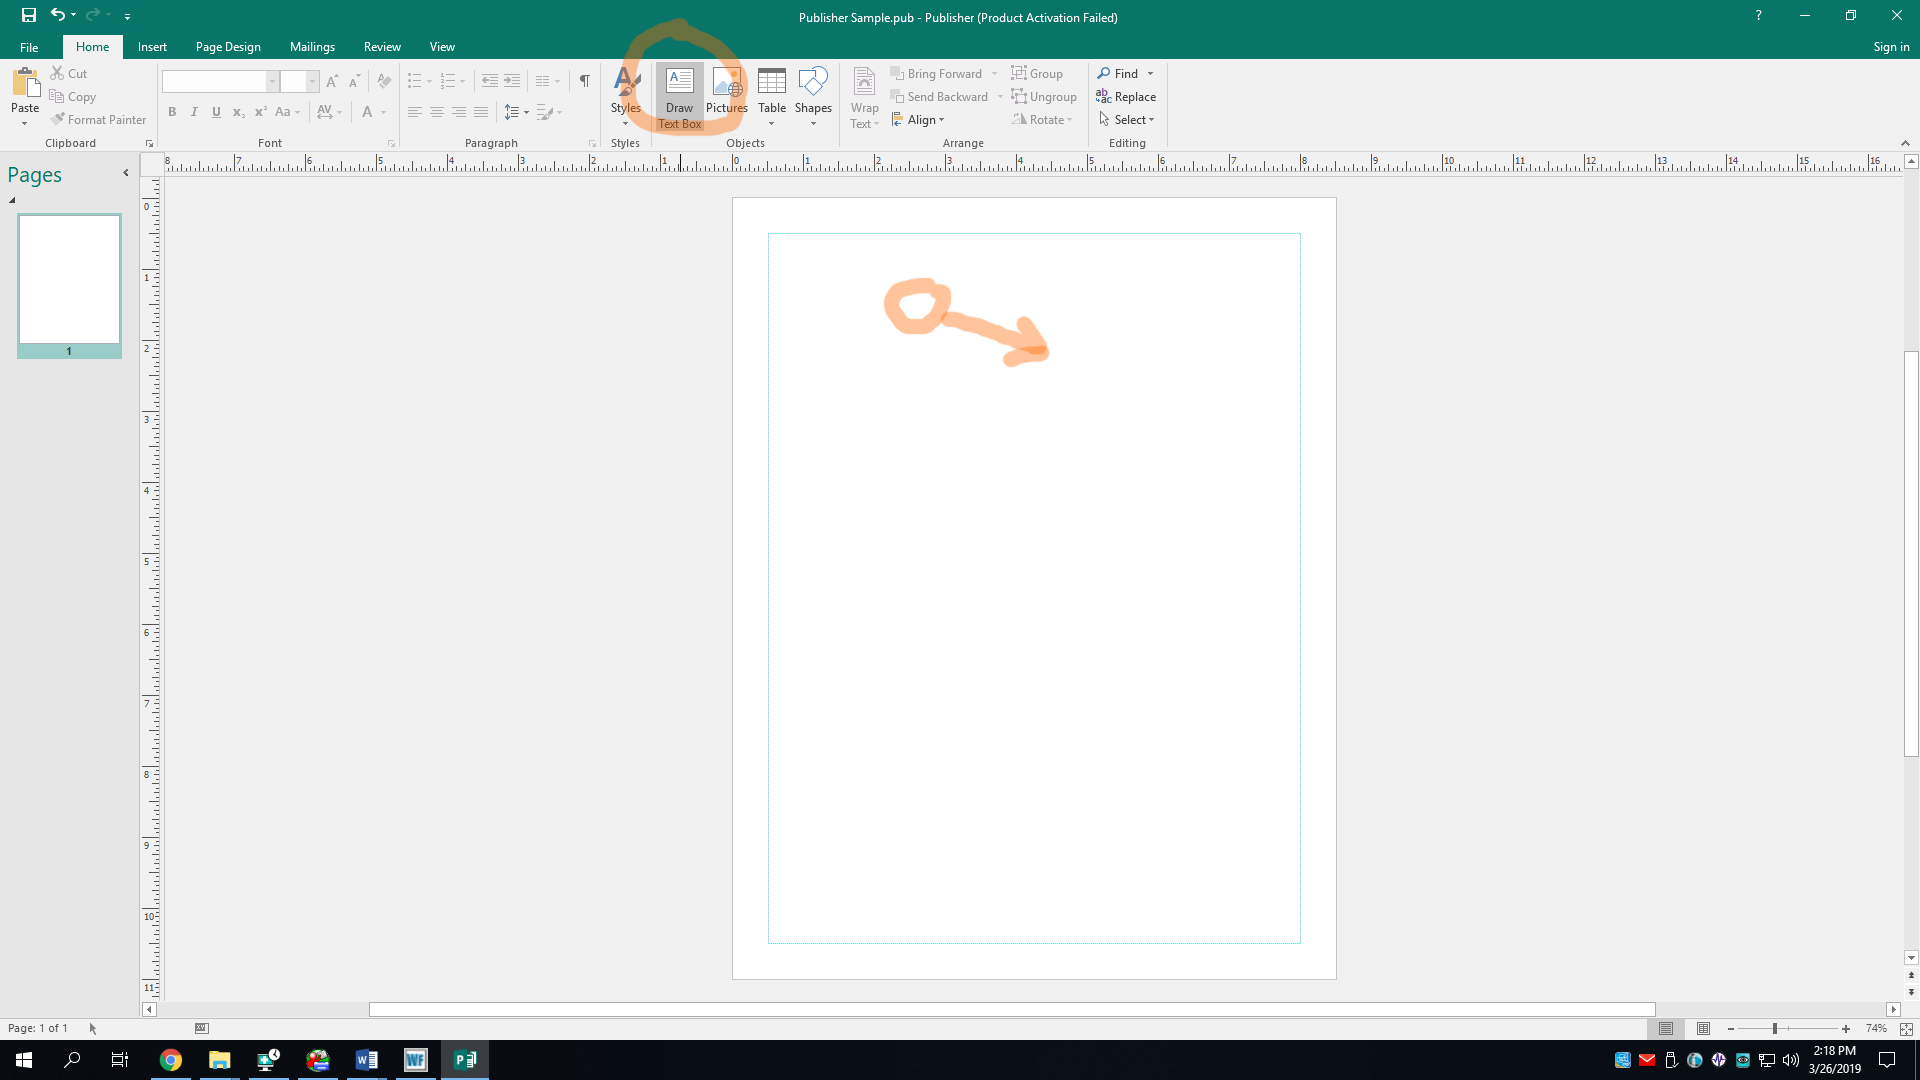
Here, we have our blank document. Often times, this paper-lookin’ thing is called the canvas. Let’s add some text to our document. Unlike word processors like Microsoft Word, you can’t just click anywhere to add text. You gotta add a text box. If you’re familiar with Microsoft PowerPoint, you may know how to handle text boxes. In the Home or Insert tab, click the Draw Text Box button. You can then draw it by click-and-dragging across the canvas. To click-and-drag, hold down your mouse button, and drag it to draw a rectangle.
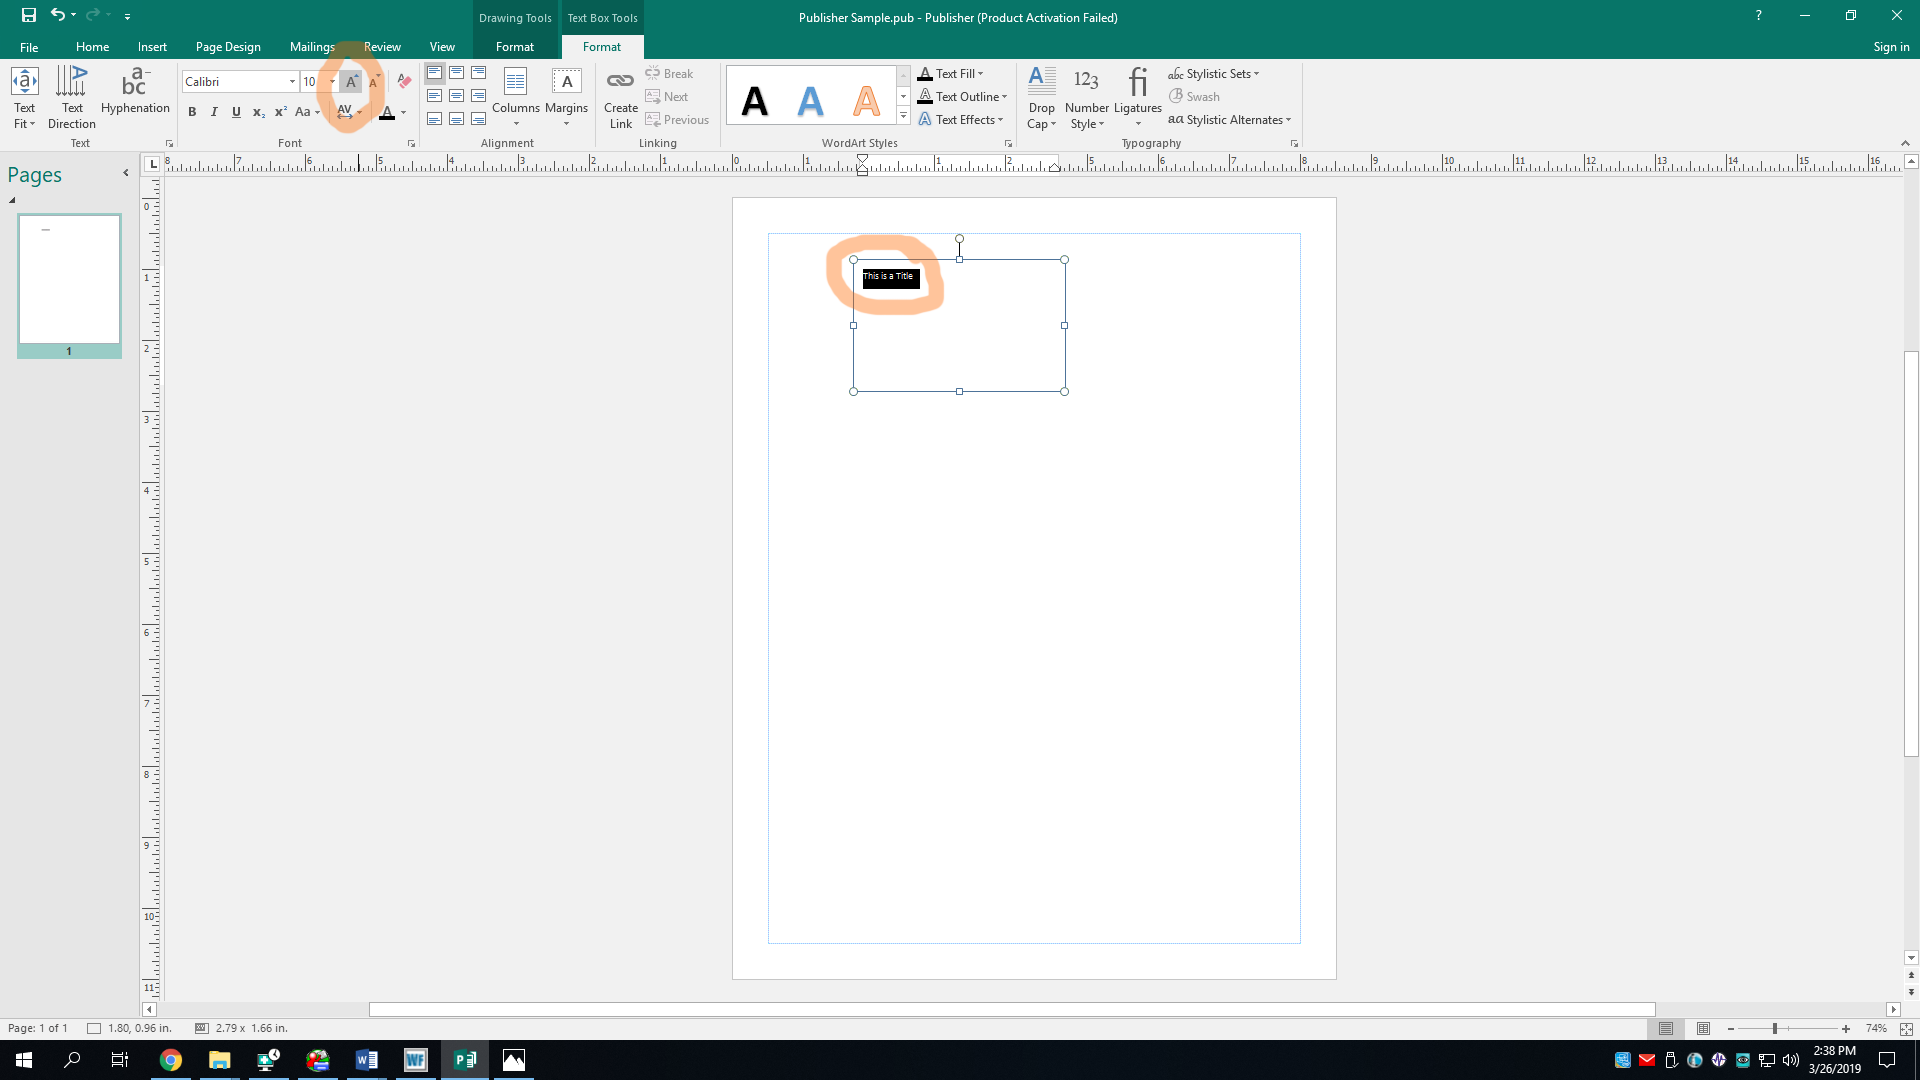
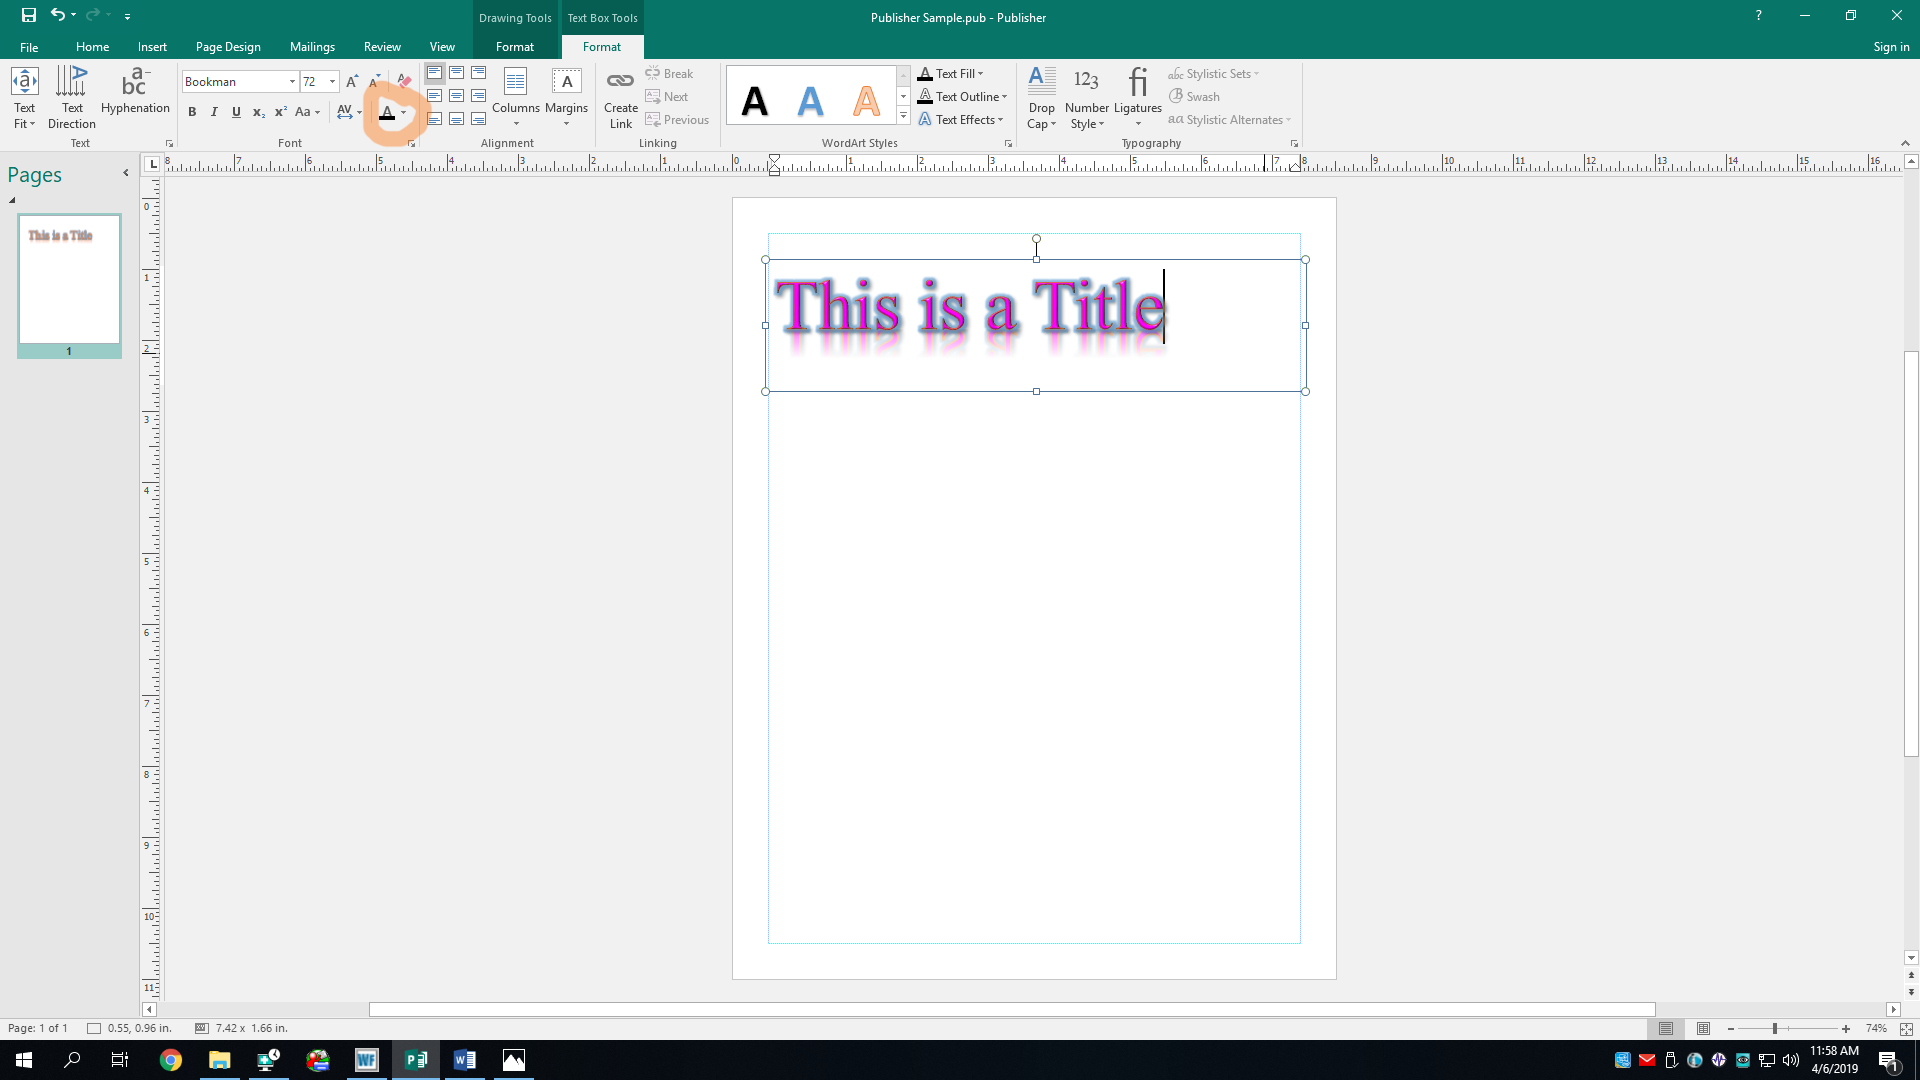
Now, go ahead and type some text into the textbox, whatever you want. You can put as much text as you can fit in a text box. You may notice that the text is pretty small by default. You can make it bigger by selecting the text and then spamming the A^ button in the Font section. You’re probably familiar with MS Word, so I’ll assume you know how to do formatting and stuff.
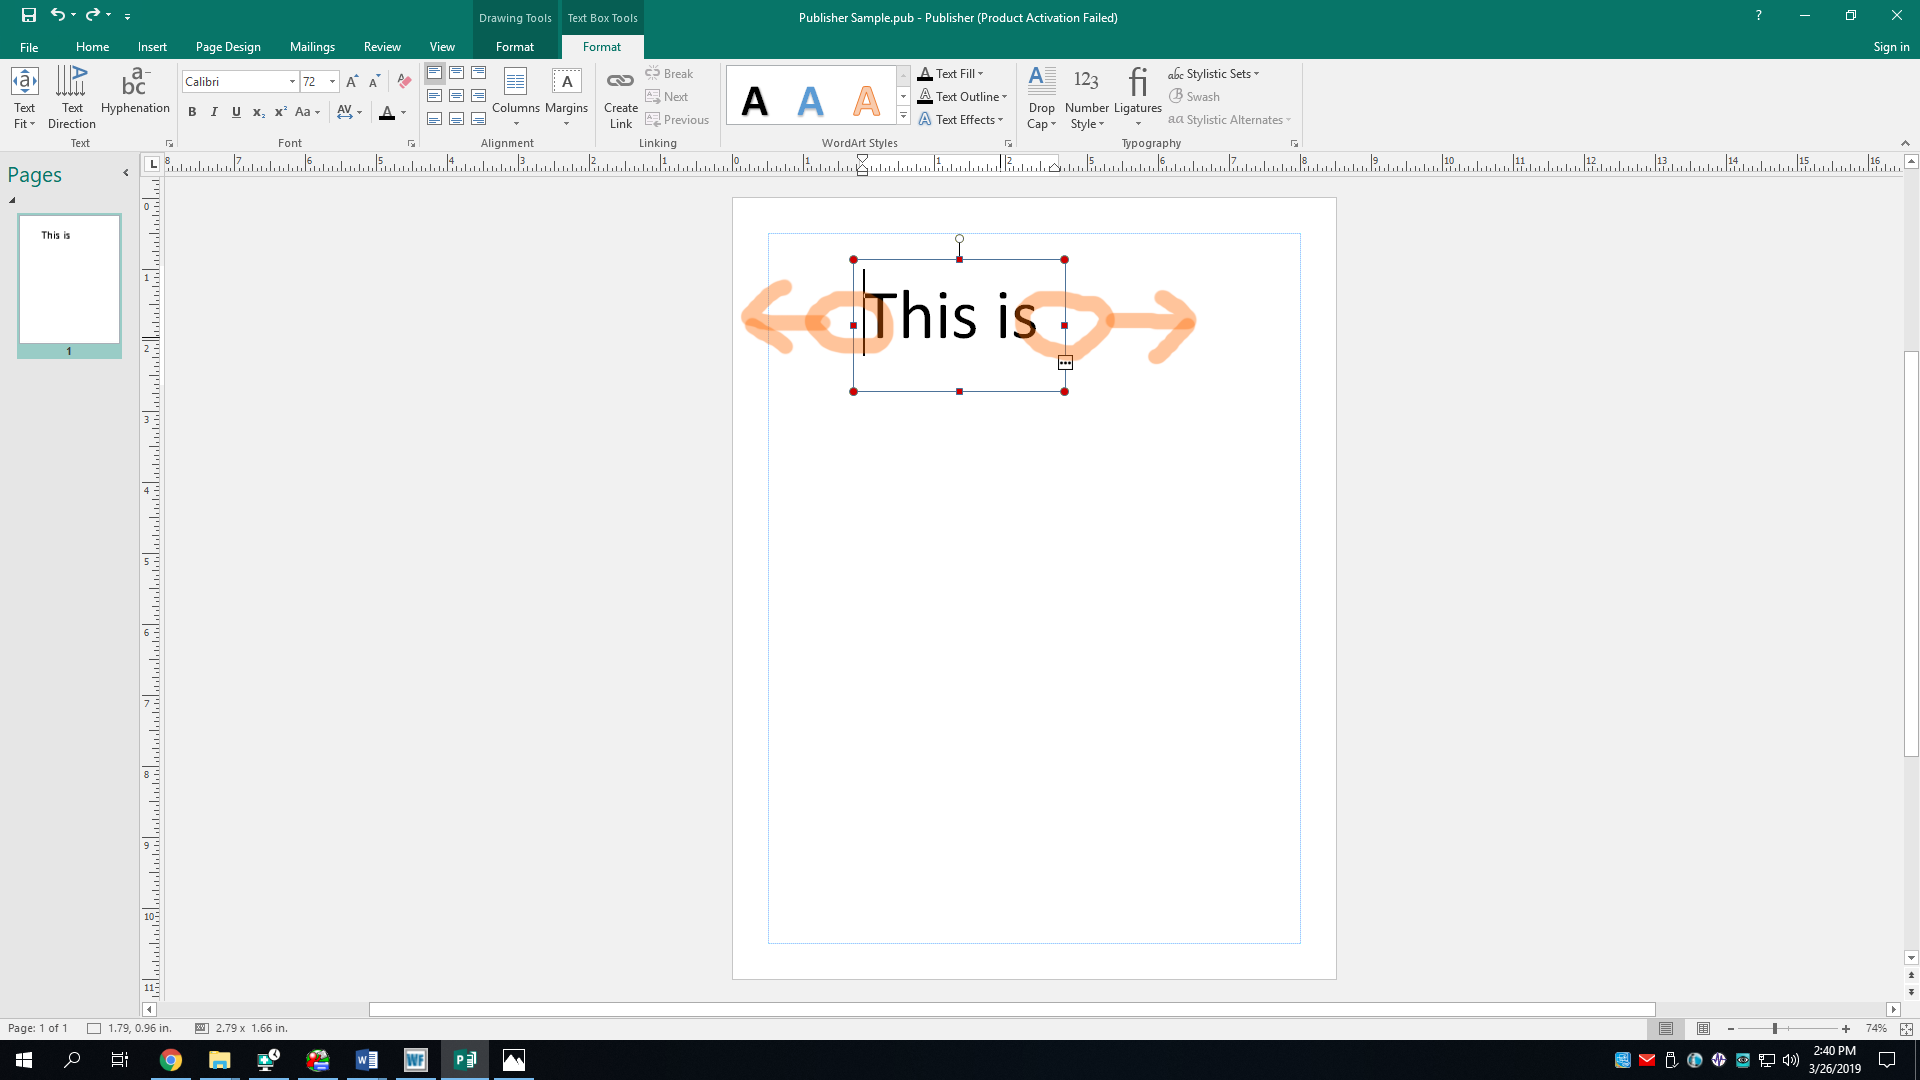
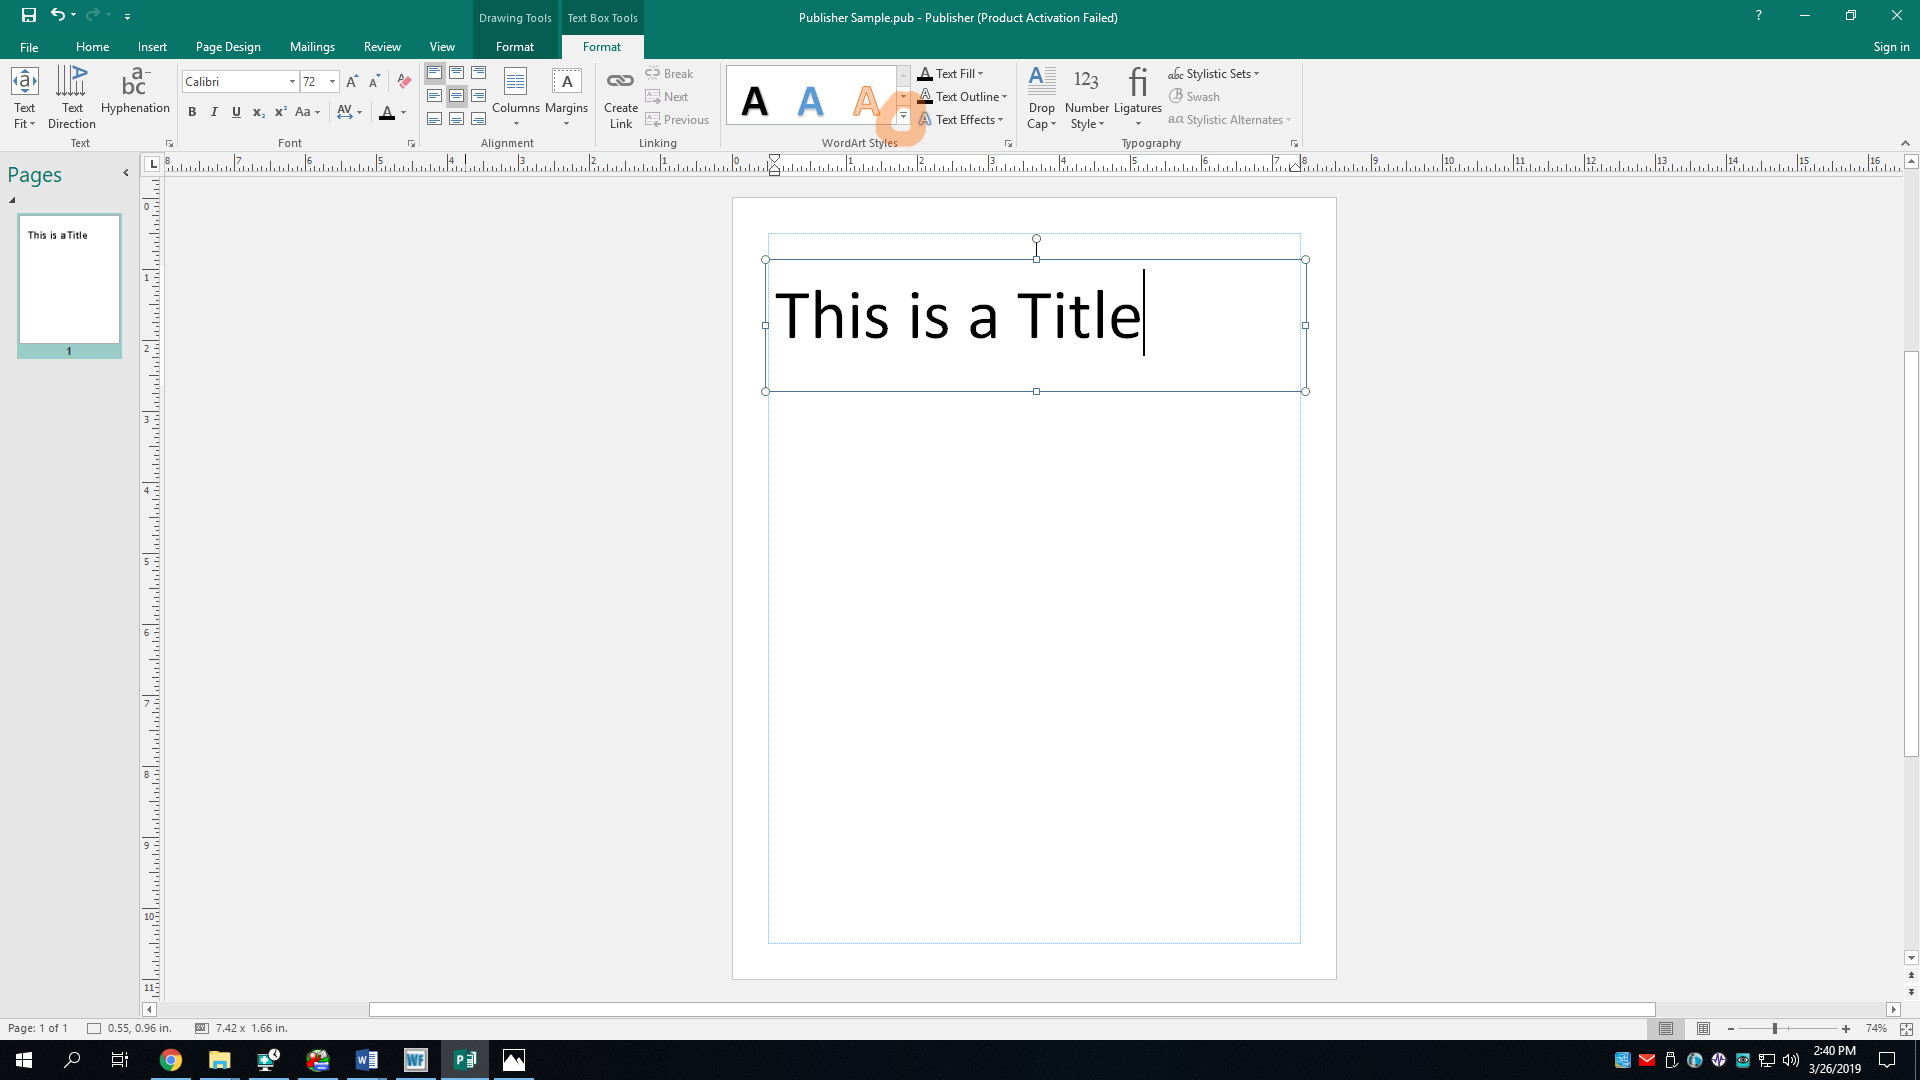
Oh nose, I’ve spammed the font size button too much, and my title text no longer fits in the text box I’ve drawn. That’s okay, though because you can increase the size of the text box by click and dragging the box’s handles, a word which here means the dots/squares bordering an object you have selected. Drag the handles outward to make it bigger.
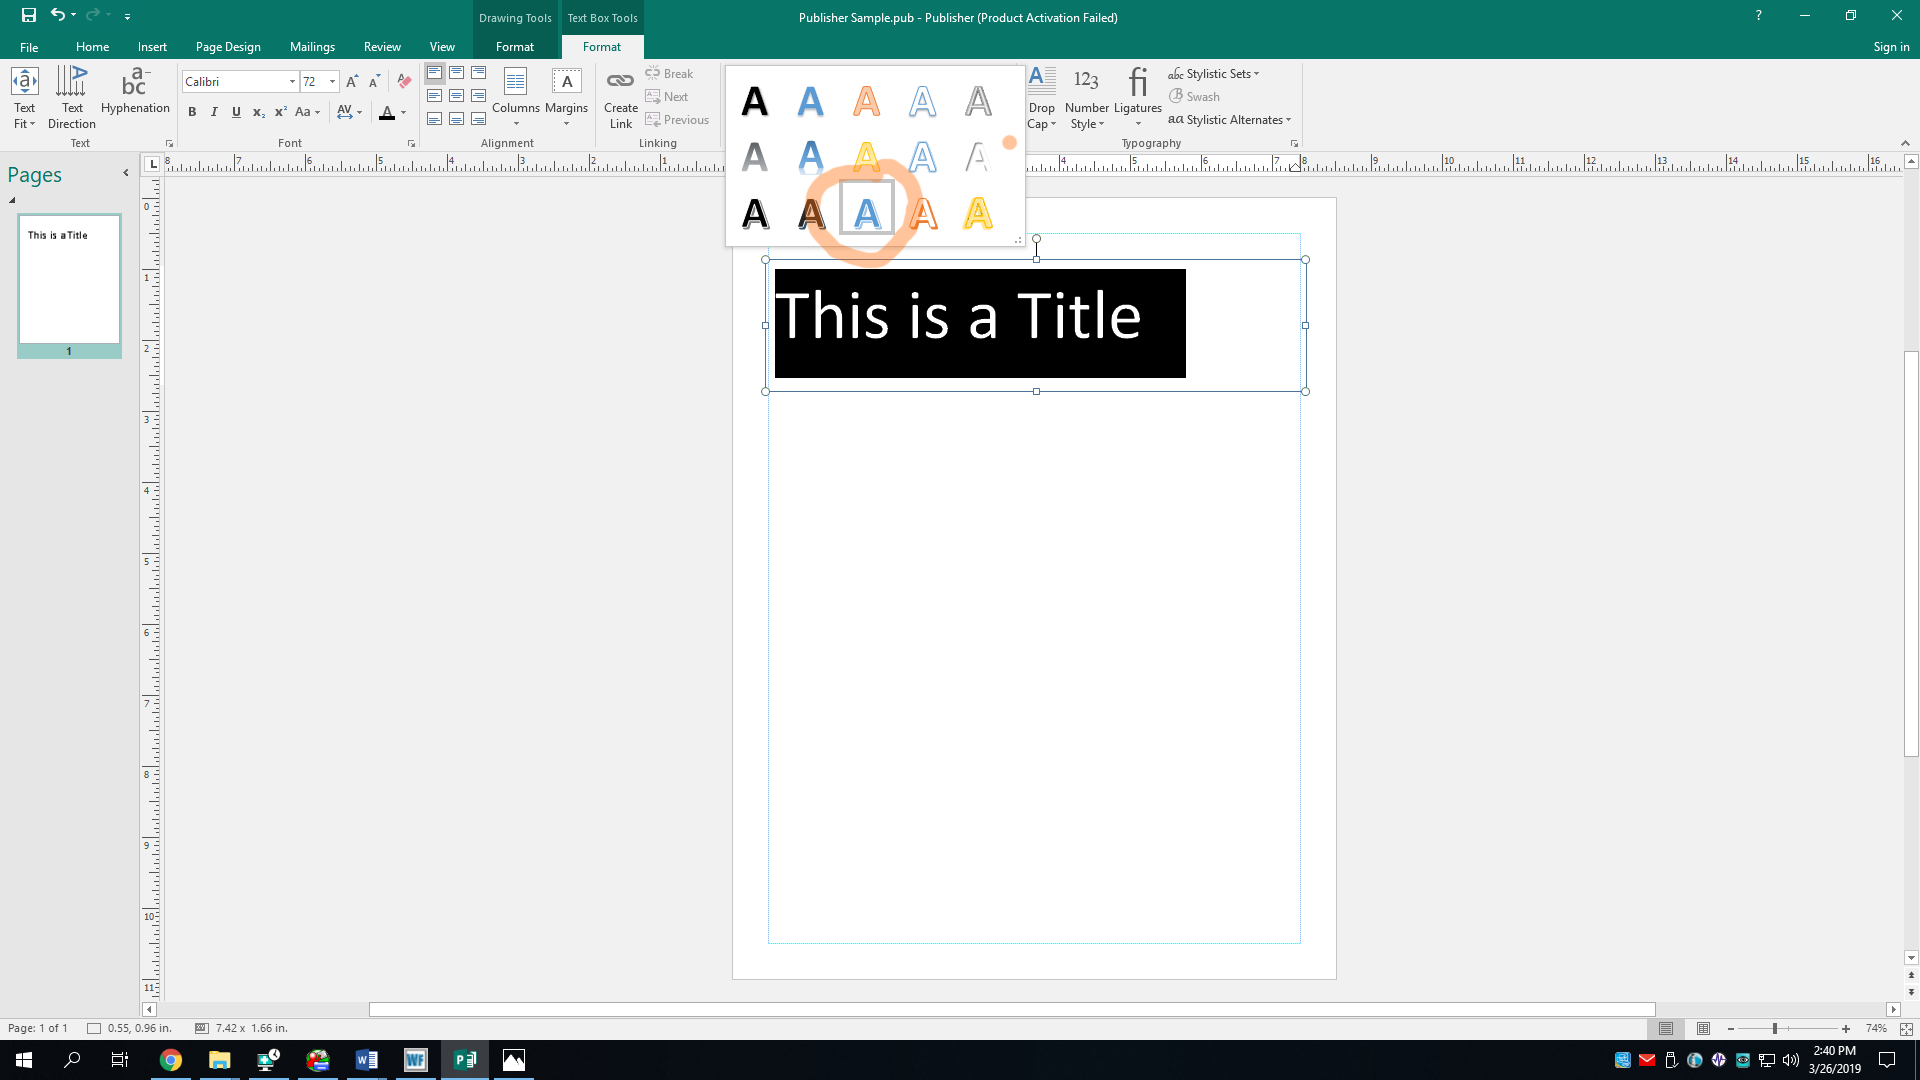
Calibri is the default font of Microsoft Office. It, and the color black, looks very nice but is also often boring. Let’s change its style. With the text in the textbox selected, go to the Text Box Tools Format tab if not already. The Format tab only appears when an object you can format is selected. In the WordArt Styles section, you can pick a template style. I won’t say which one I picked because they have very long names, but any will do.
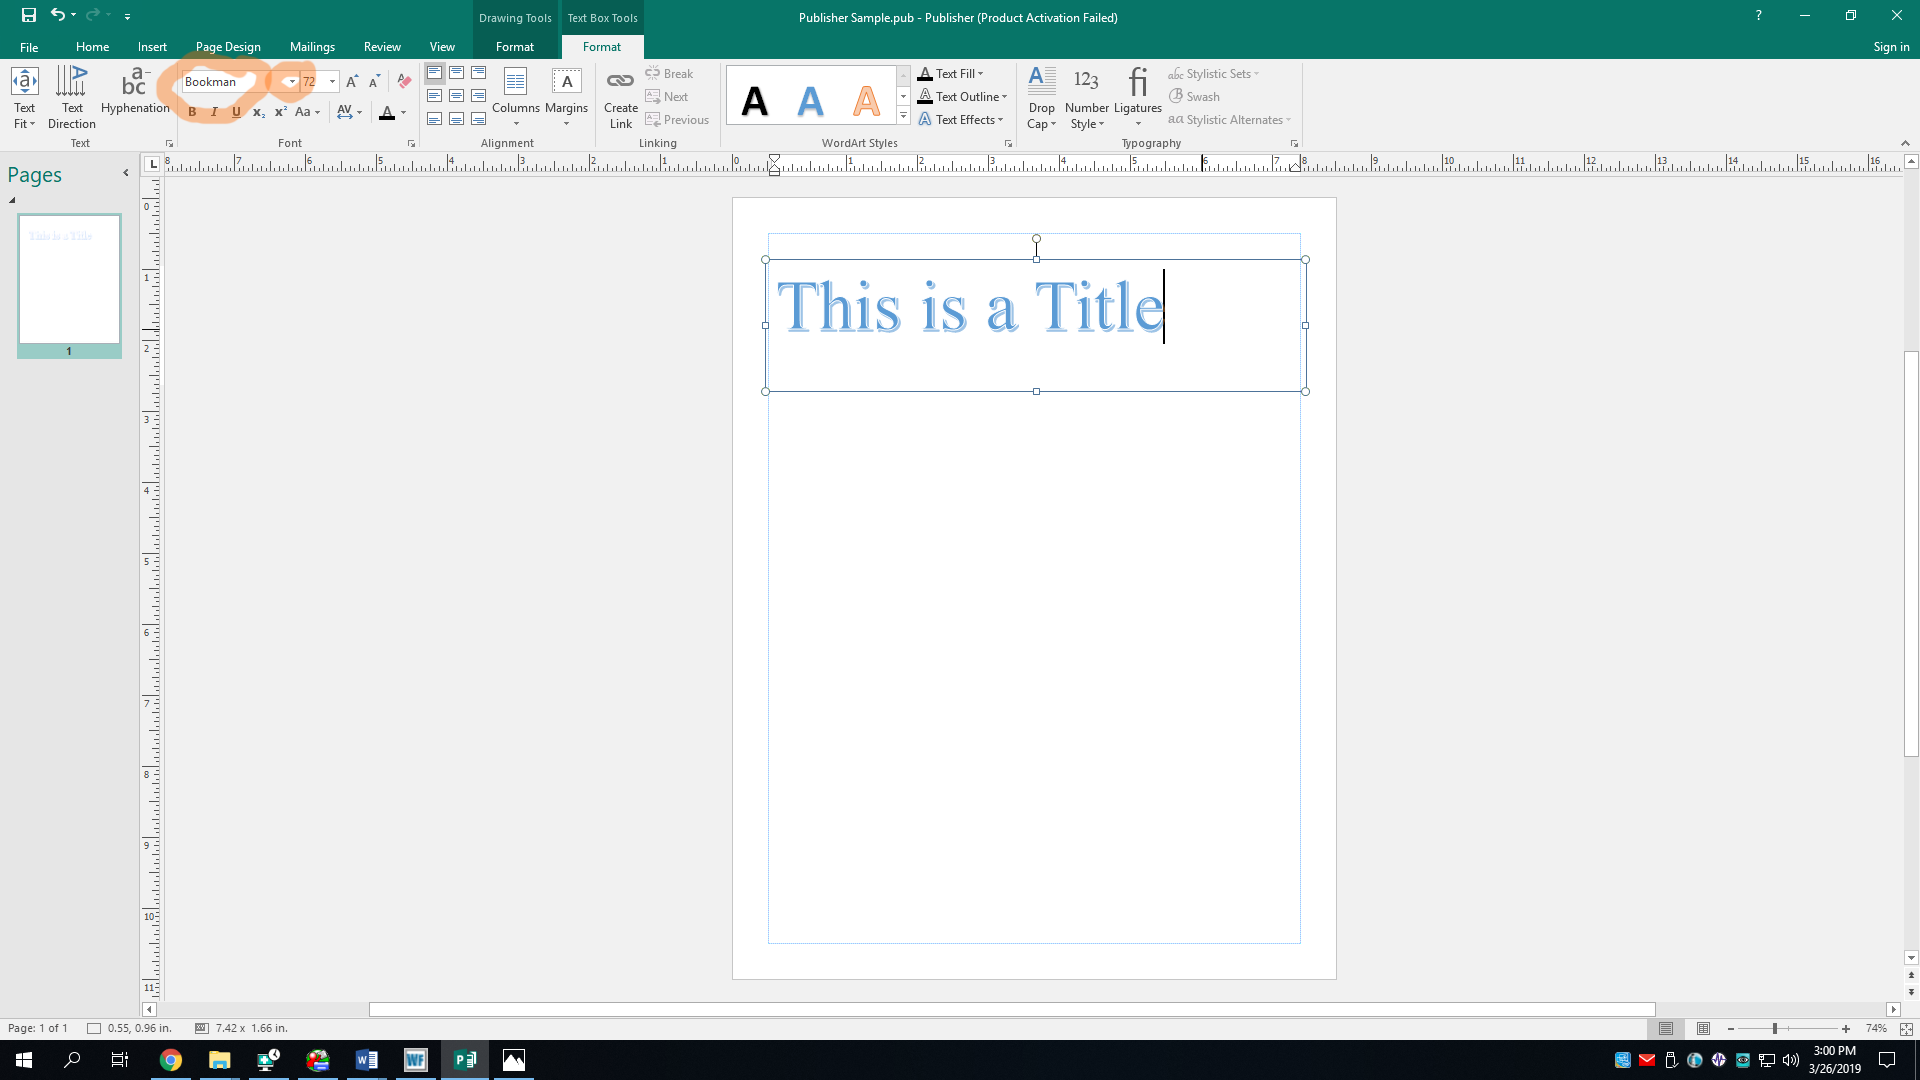
Now let’s change the font style. In the Font section of the Home or Format tab, pick a font like you would in MS Word. Make sure the text is selected. Ima choose the font Bookman because I AM A BOOK MAN.
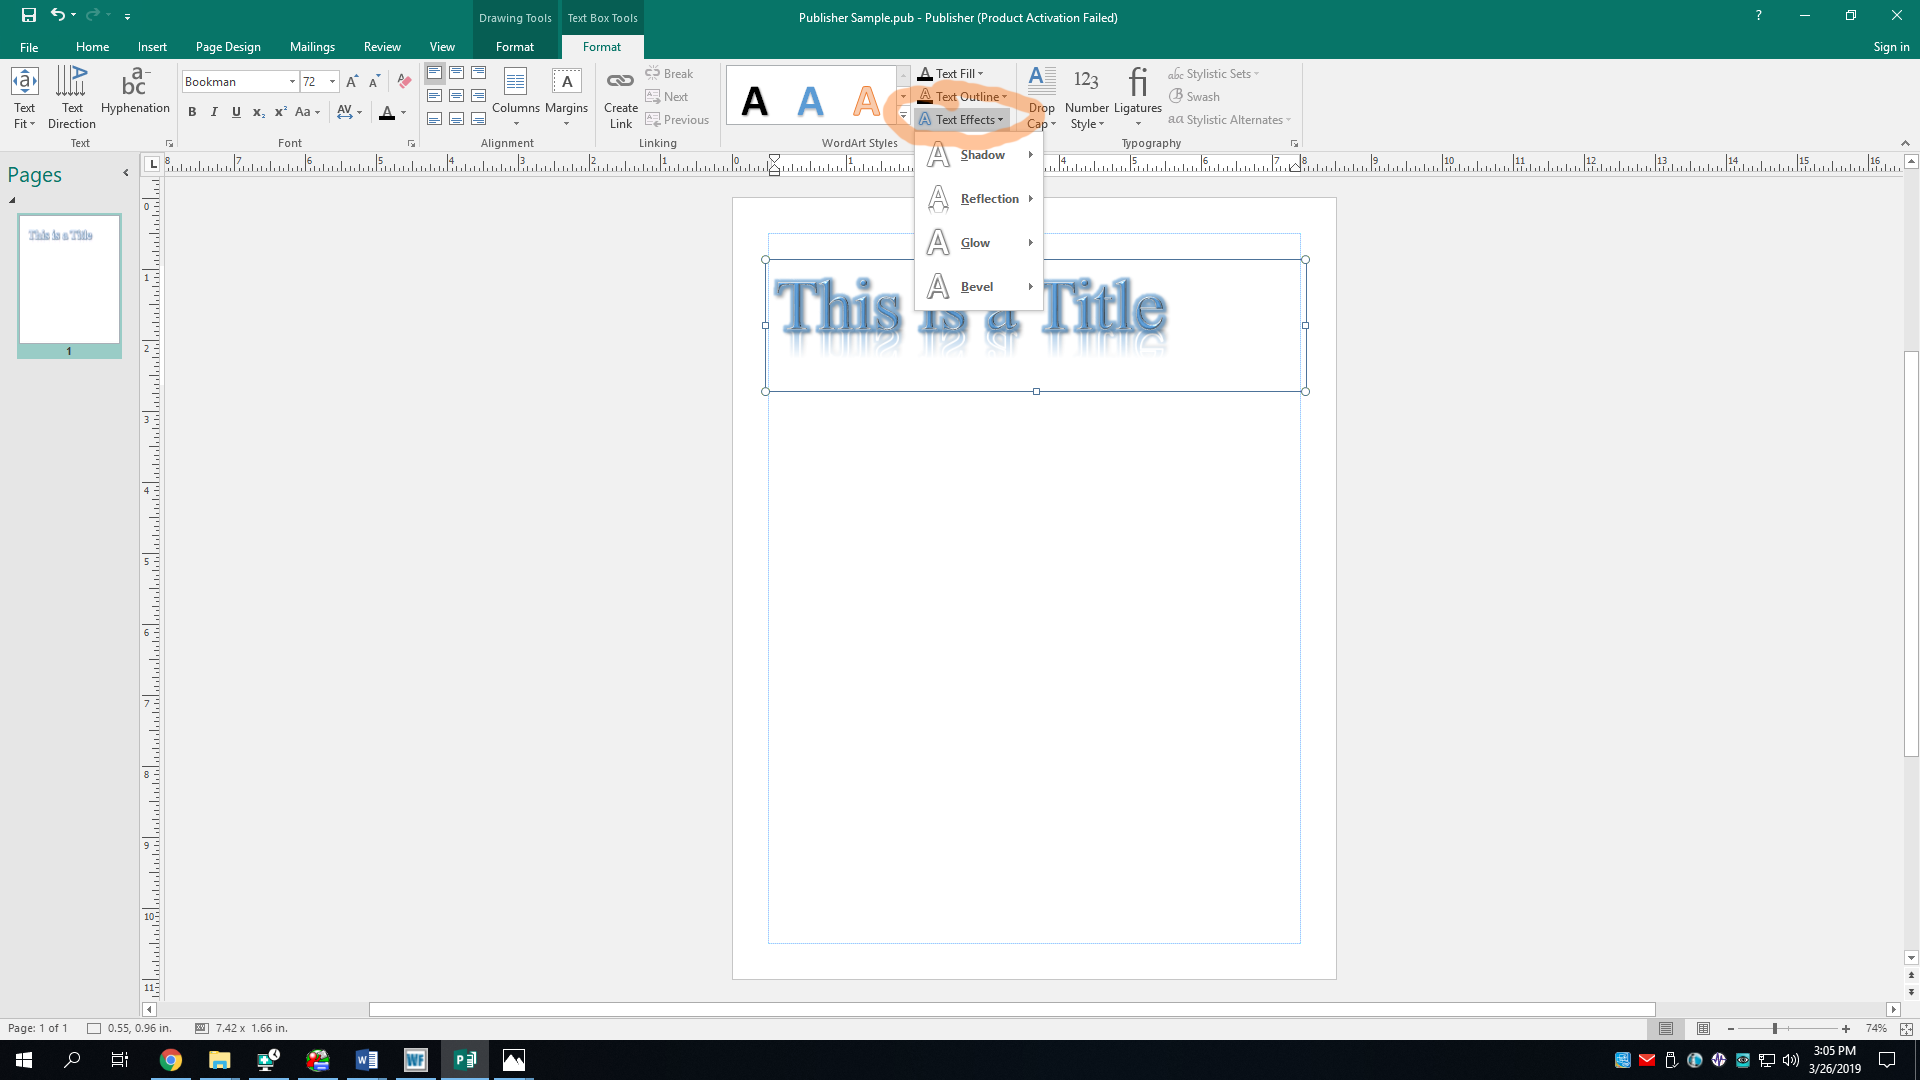
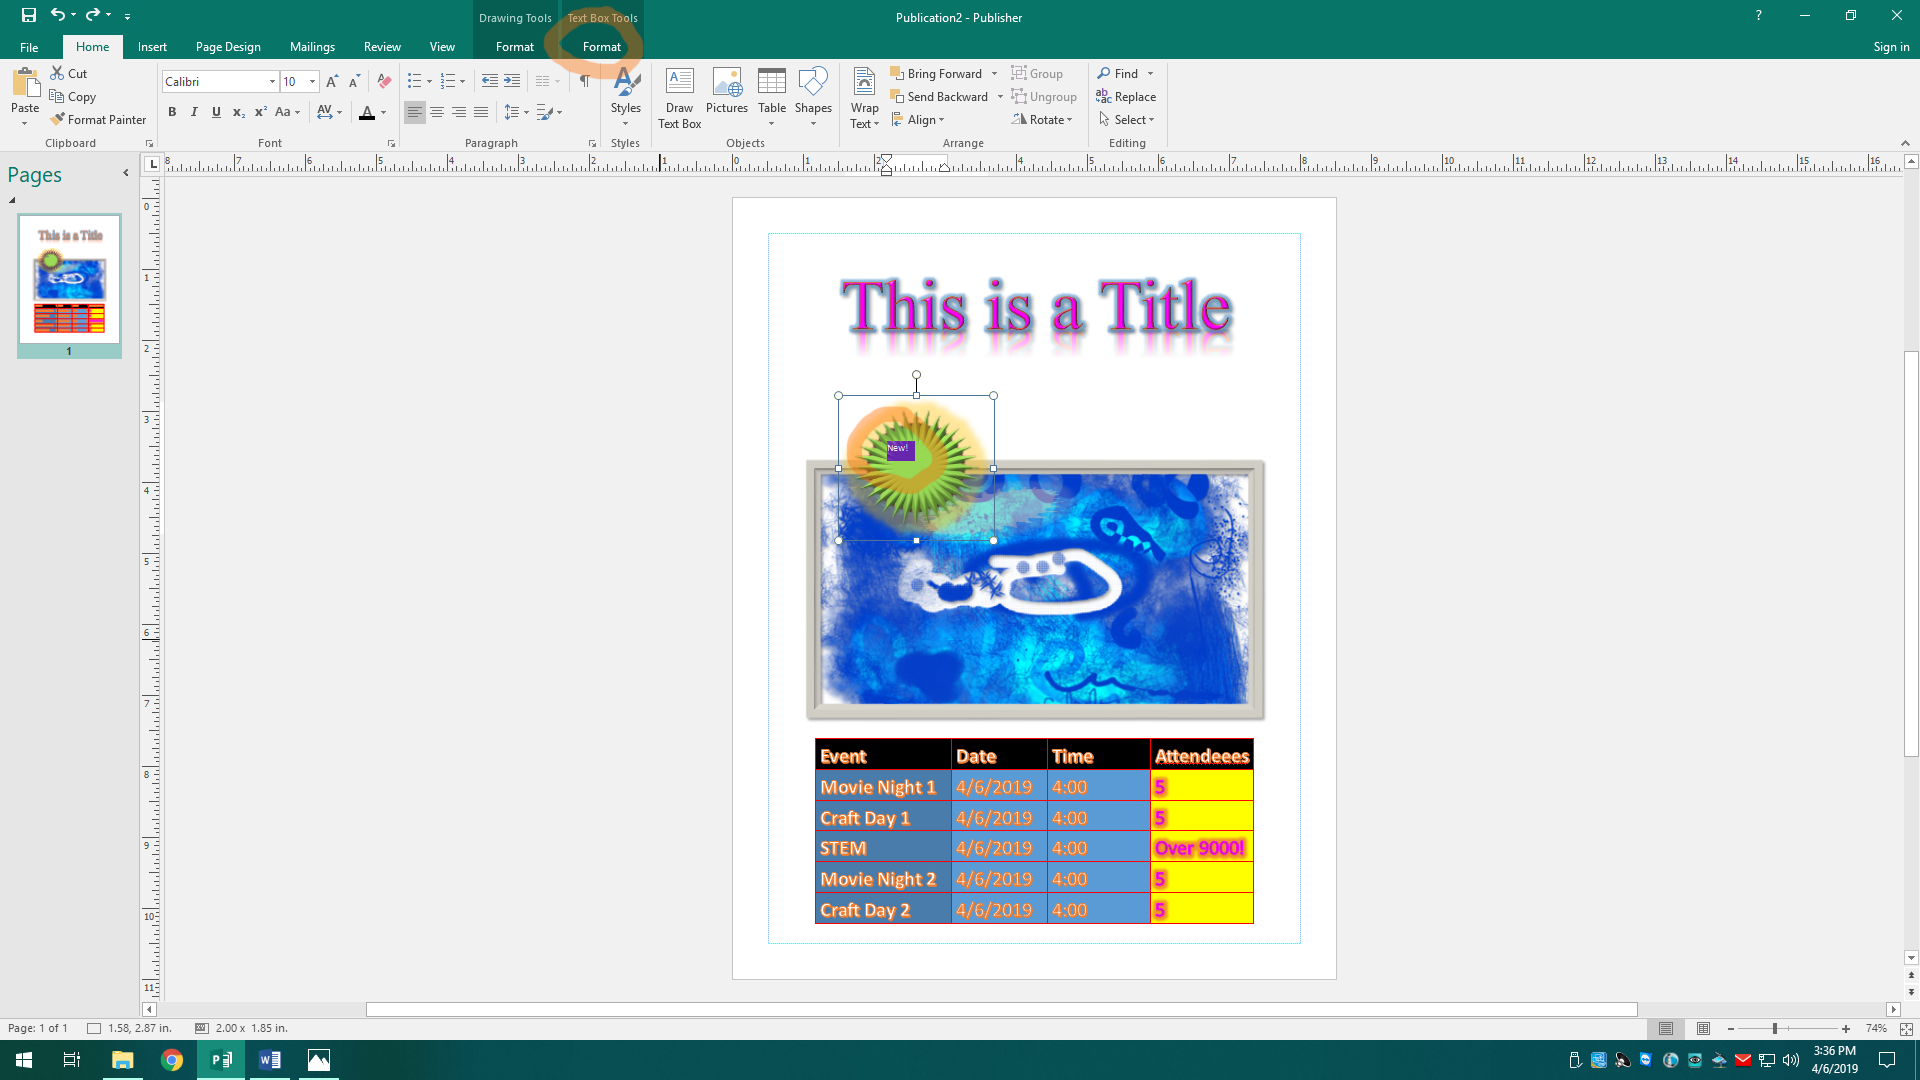
Now let’s give the text some fancy effects because that’s always fun. In the WordArt Styles section of the Format tab, click Text Effects. There are a few options here. You can add a drop shadow, a reflection, a glow effect, and a fancy bevel texture. It would seem I have added all of the effects, and I may have gone overboard. It’s not ideal, but oh well; this is a tutorial, so it’s totally fine.
Now let's change the text color. You could always do this as you would in MS Word by changing it in the Font section, but you can also do this in the WordArt Styles section of the Format tab. Click on the Text Fill button in that section. Pick your favorite color. Next, click the Text Outline button and pick your second favorite color. If you don’t have a second favorite color, just choose Brandy’s favorite color.
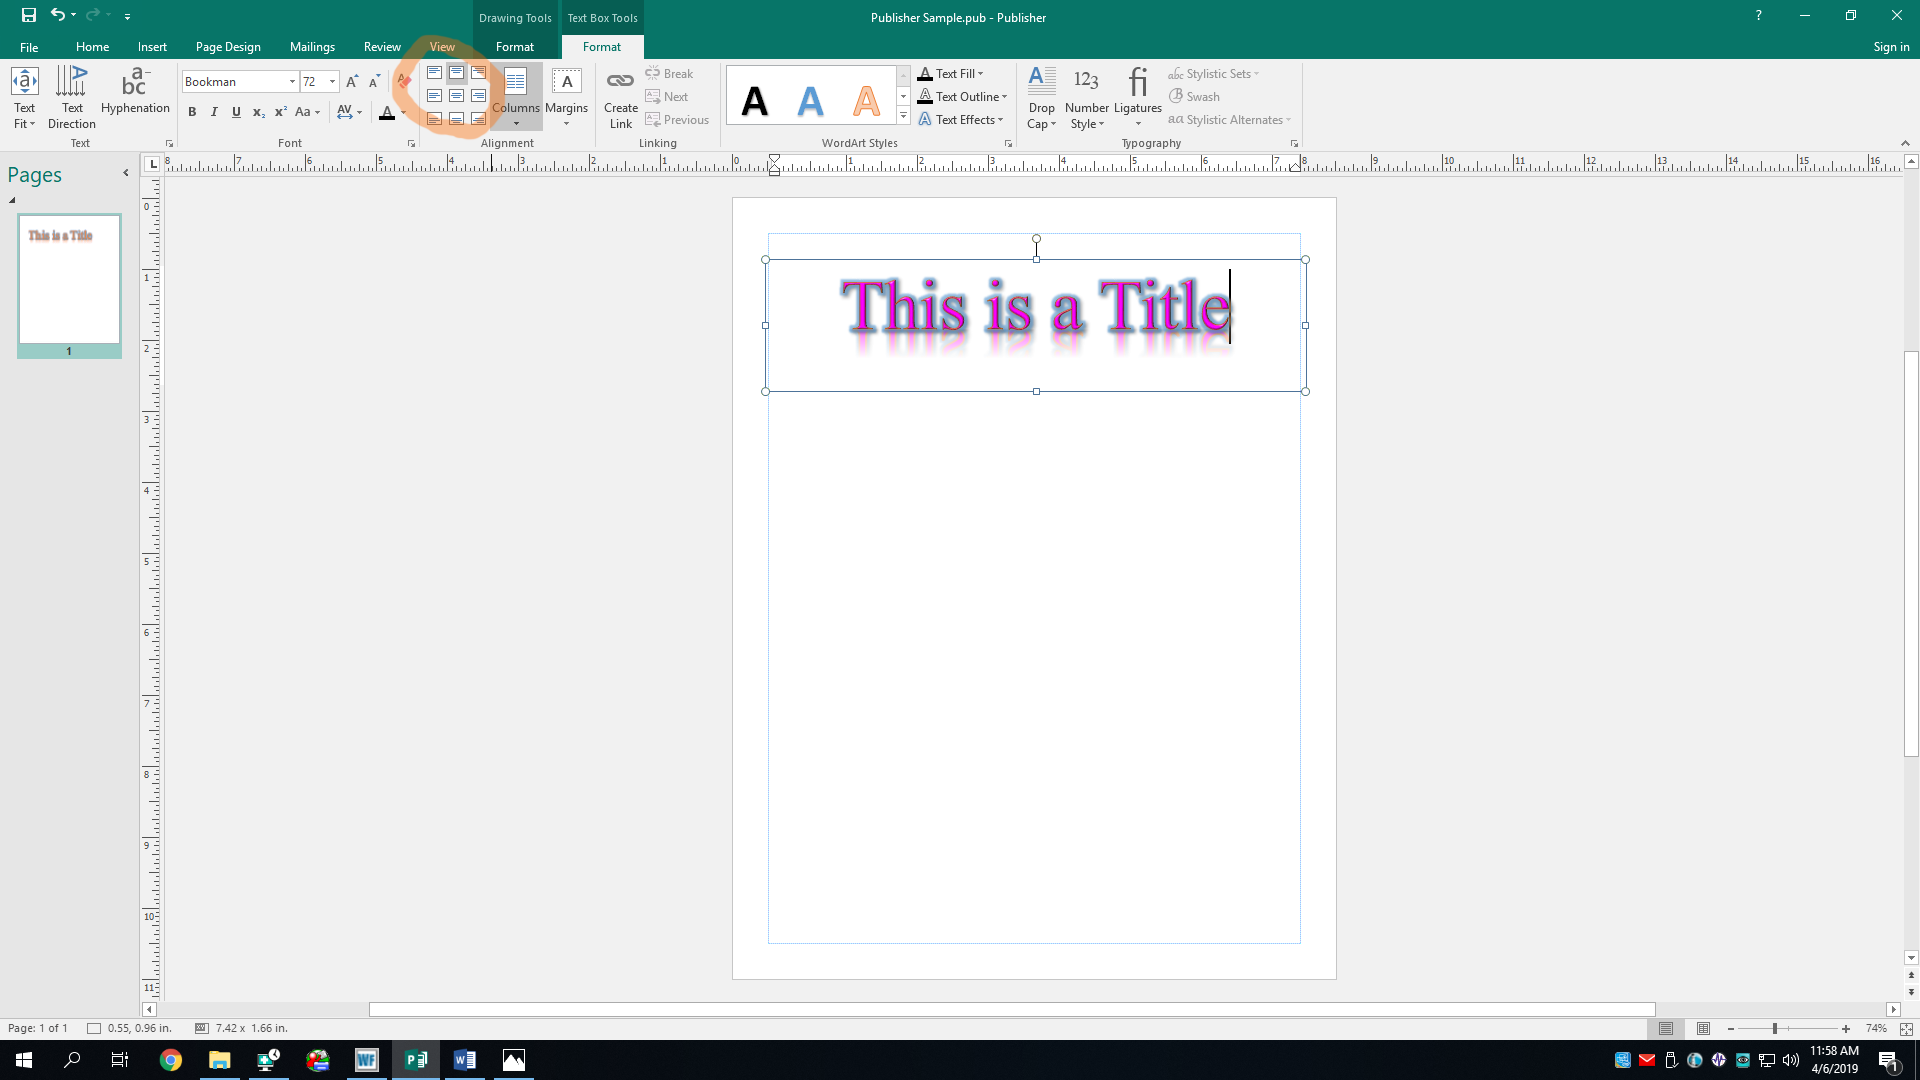
Oh, I almost forgot, you can also align text. Since my sample text also happens to be a title, Ima make it centered. You can align text in a textbox in more ways than in MS Word. You can align it left, right, centered, top and bottom. This is like aligning text in MS Excel. I’ll align mine top center, so the text is at the top of the box and is also centered.

You can add text and format it any way you want, but now, I’m tired of text, so now let’s add pictures. They say a picture says a thousand words, which is great. Go to the Insert tab, and look under the Illustrations section. There are a few options here. One is Online Pictures, which lets you run a Bing image search and insert an image from there. It’s gud if you’re lazy, but it doesn’t always work. I recommend using the Pictures option, which lets you browse for an image on your computer. You can always use Google Images or some other image search engine to download one from the internet beforehand if you want. I’m going to insert a beautiful masterpiece I created using GIMP from my USB drive.

And there it is in all its glory! Now, we can format this so it’s not just a boring square image, despite how beautiful it already is. In the Picture Styles section of the Format tab, you can pick a template that’ll give it wonderful styles premade for you.
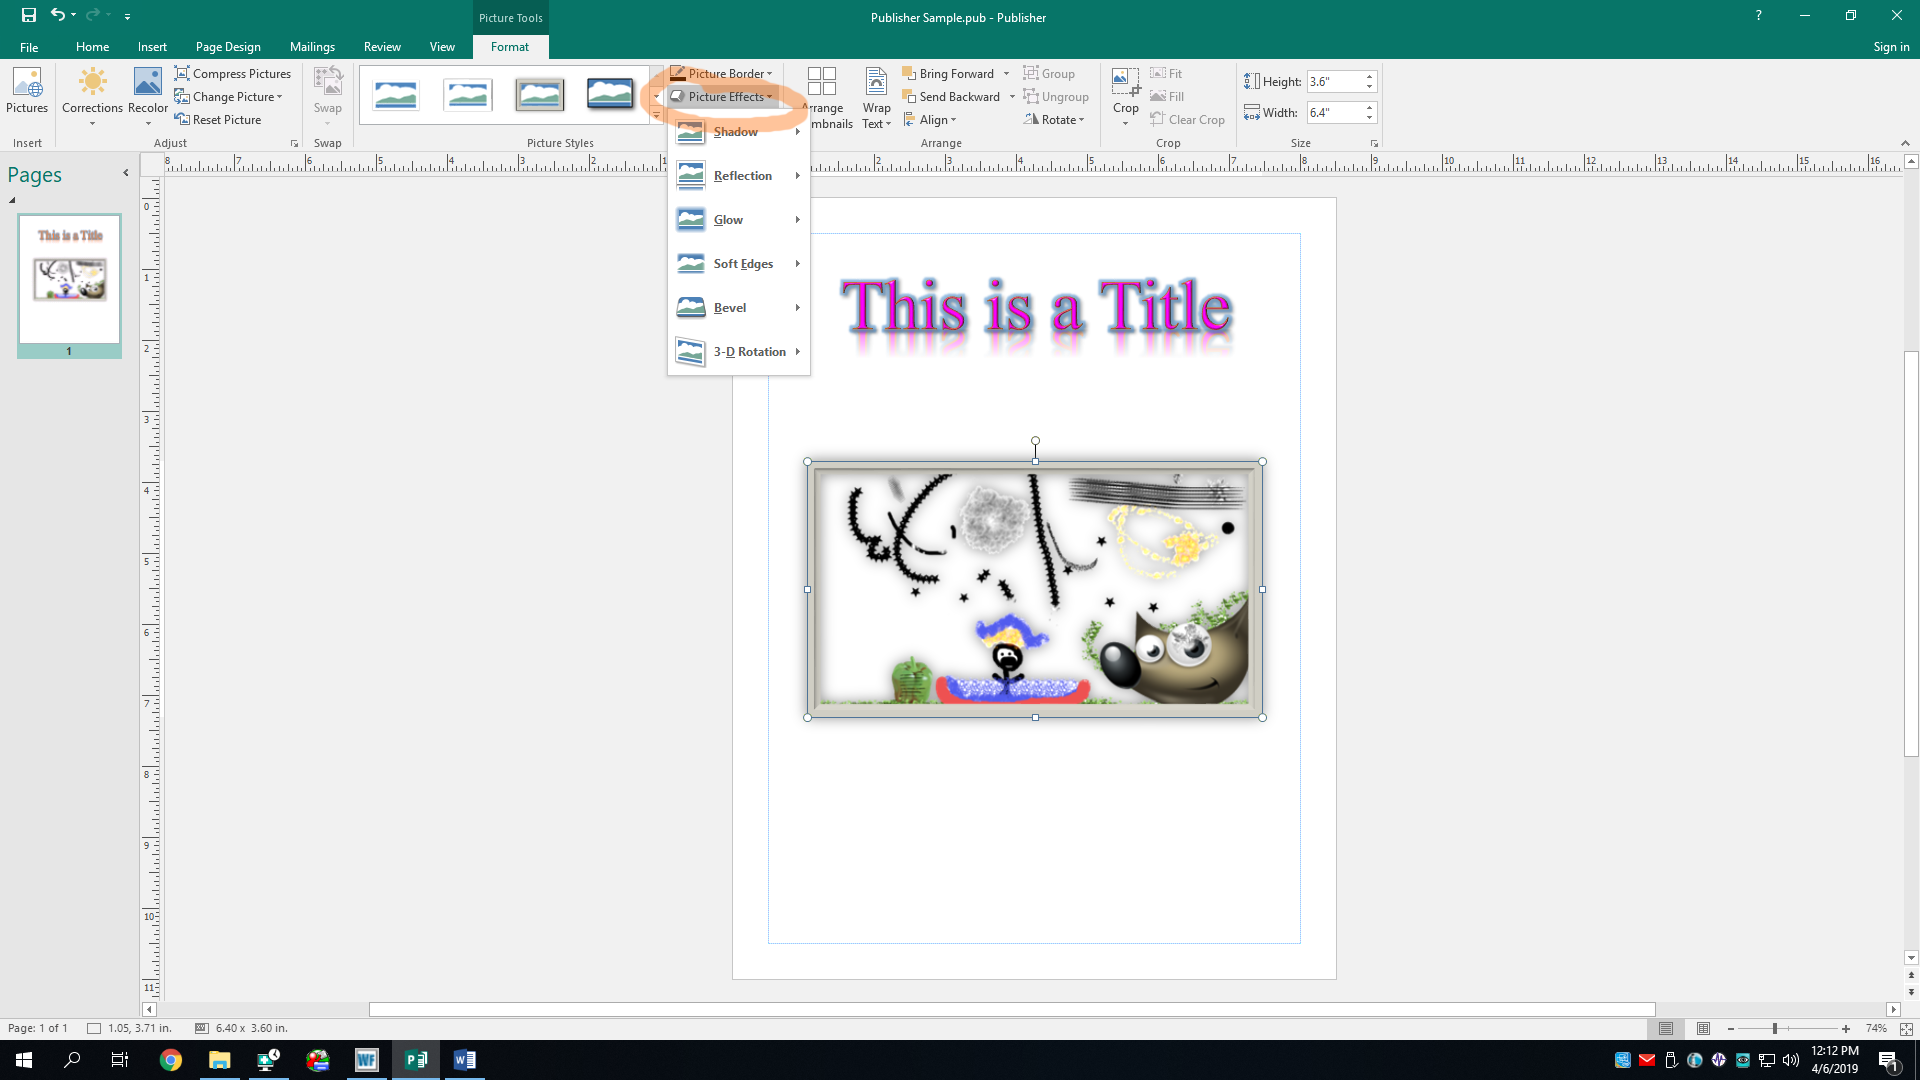
There, I have given it the “Metal Frame” style template. How mira indeed. I can also change a bunch of the effects if I don’t like something about the template, or if I didn’t choose a template. In the Picture Styles section again, click the dropdown menu called Picture Effects. It’s to the right of the templates. There are tons of effects you can change here. I think I’ll add a drop shadow and a rotation to mine. You can do whatever you want to do to yours.

Oh gosh, no no no no no; this won’t do. That’s a bit too rotated. I’m just going to reset the rotation back to having no rotation. In fact, I don’t like this image at all. Why did I even pick this? It’s horrible! Sometimes you just gotta accept that your creations are utterly hideous, and also don’t be offended if someone else tells you so. I’m going to click the Change Picture button in the Adjust section of the Format tab. This will prompt you to choose where you want to get the replacement image. I’m choosing another image on my computer.
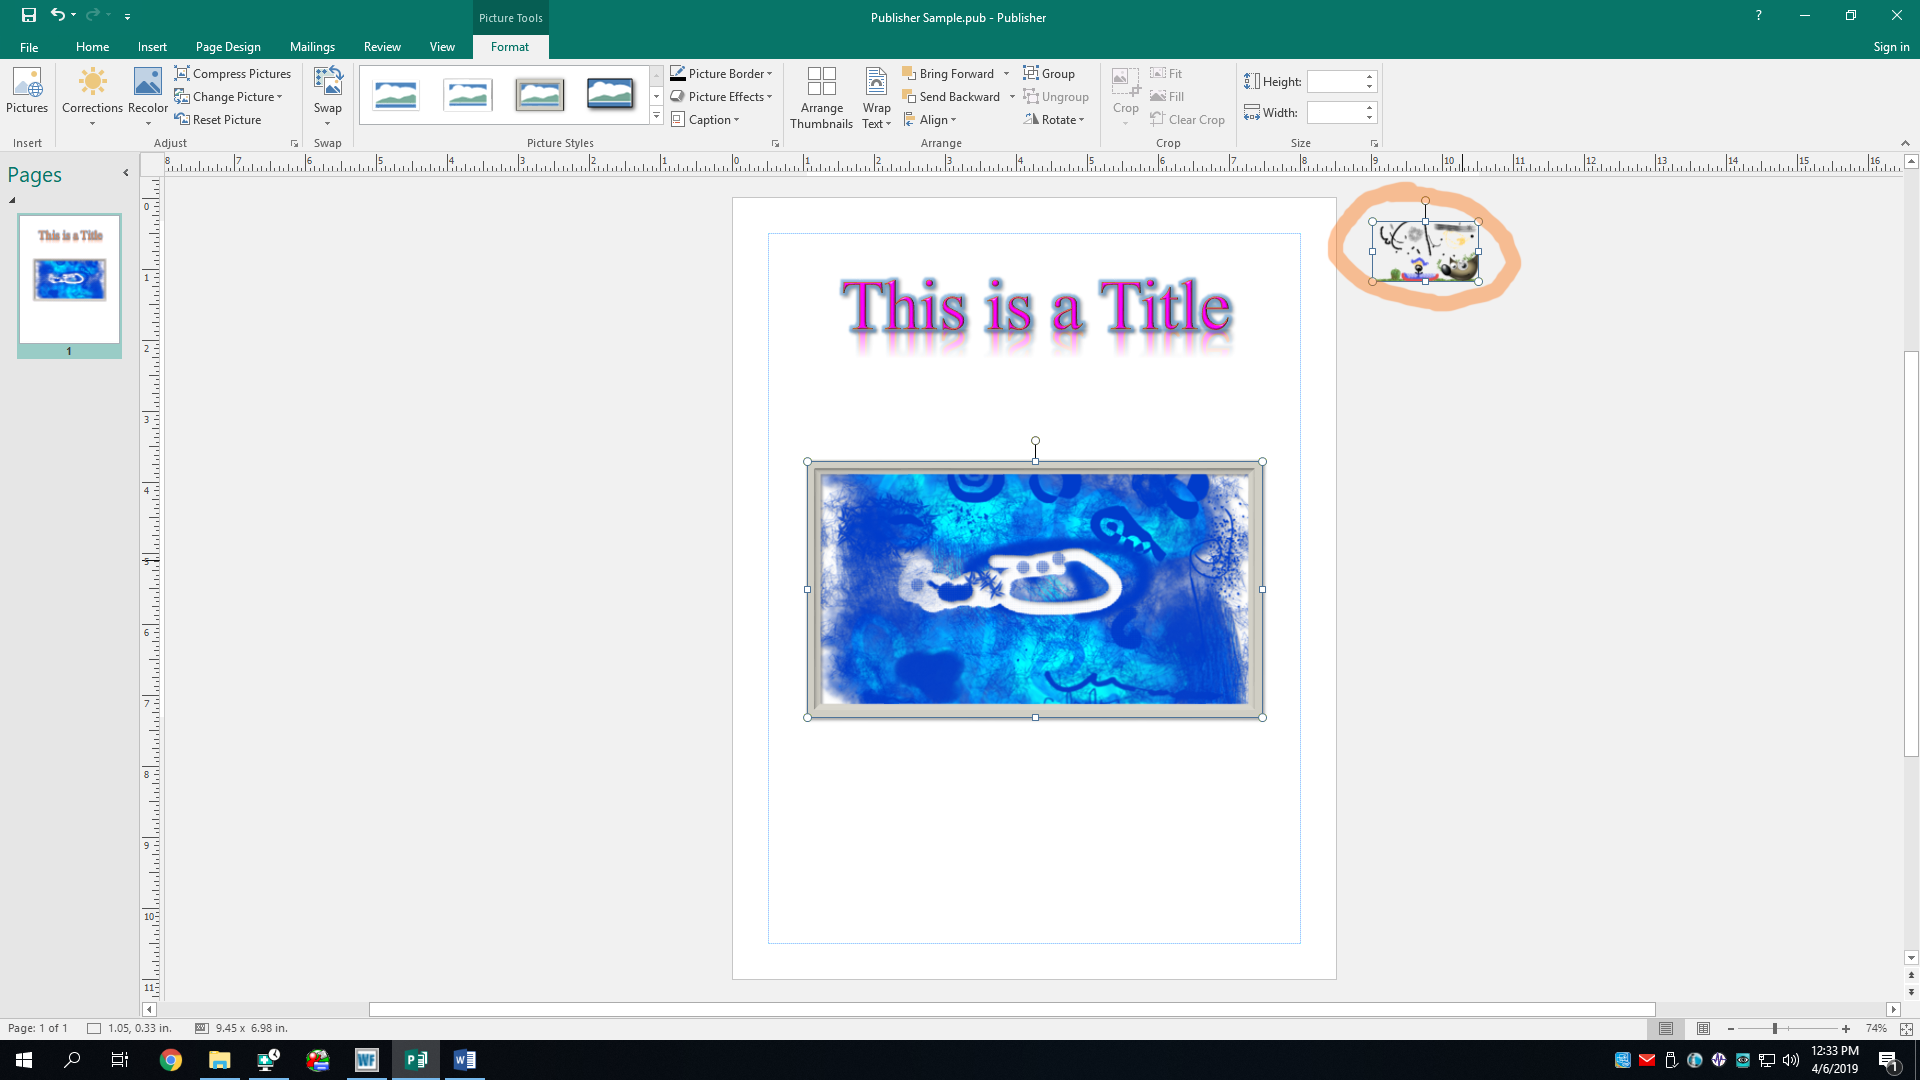
There we go! A much better image. I made this one using Krita a long time ago. And I’ve removed that ghastly rotation. Wait, what’s this? Apparently, the old image has moved itself outside of the canvas. I literally didn’t even know it’d do that. Oh well. It’s there if you need it I guess, or you can delete it by selecting it and pressing the Delete key (Del) on yo keyboard.
That'll be it for images for today. There are lots of other fancy formatting options you can do, but I'll let you play around with them. I personally learn by clicking random buttons and hoping they don't break anything. In these cases, the undo button (Ctrl + Z) is your friend.
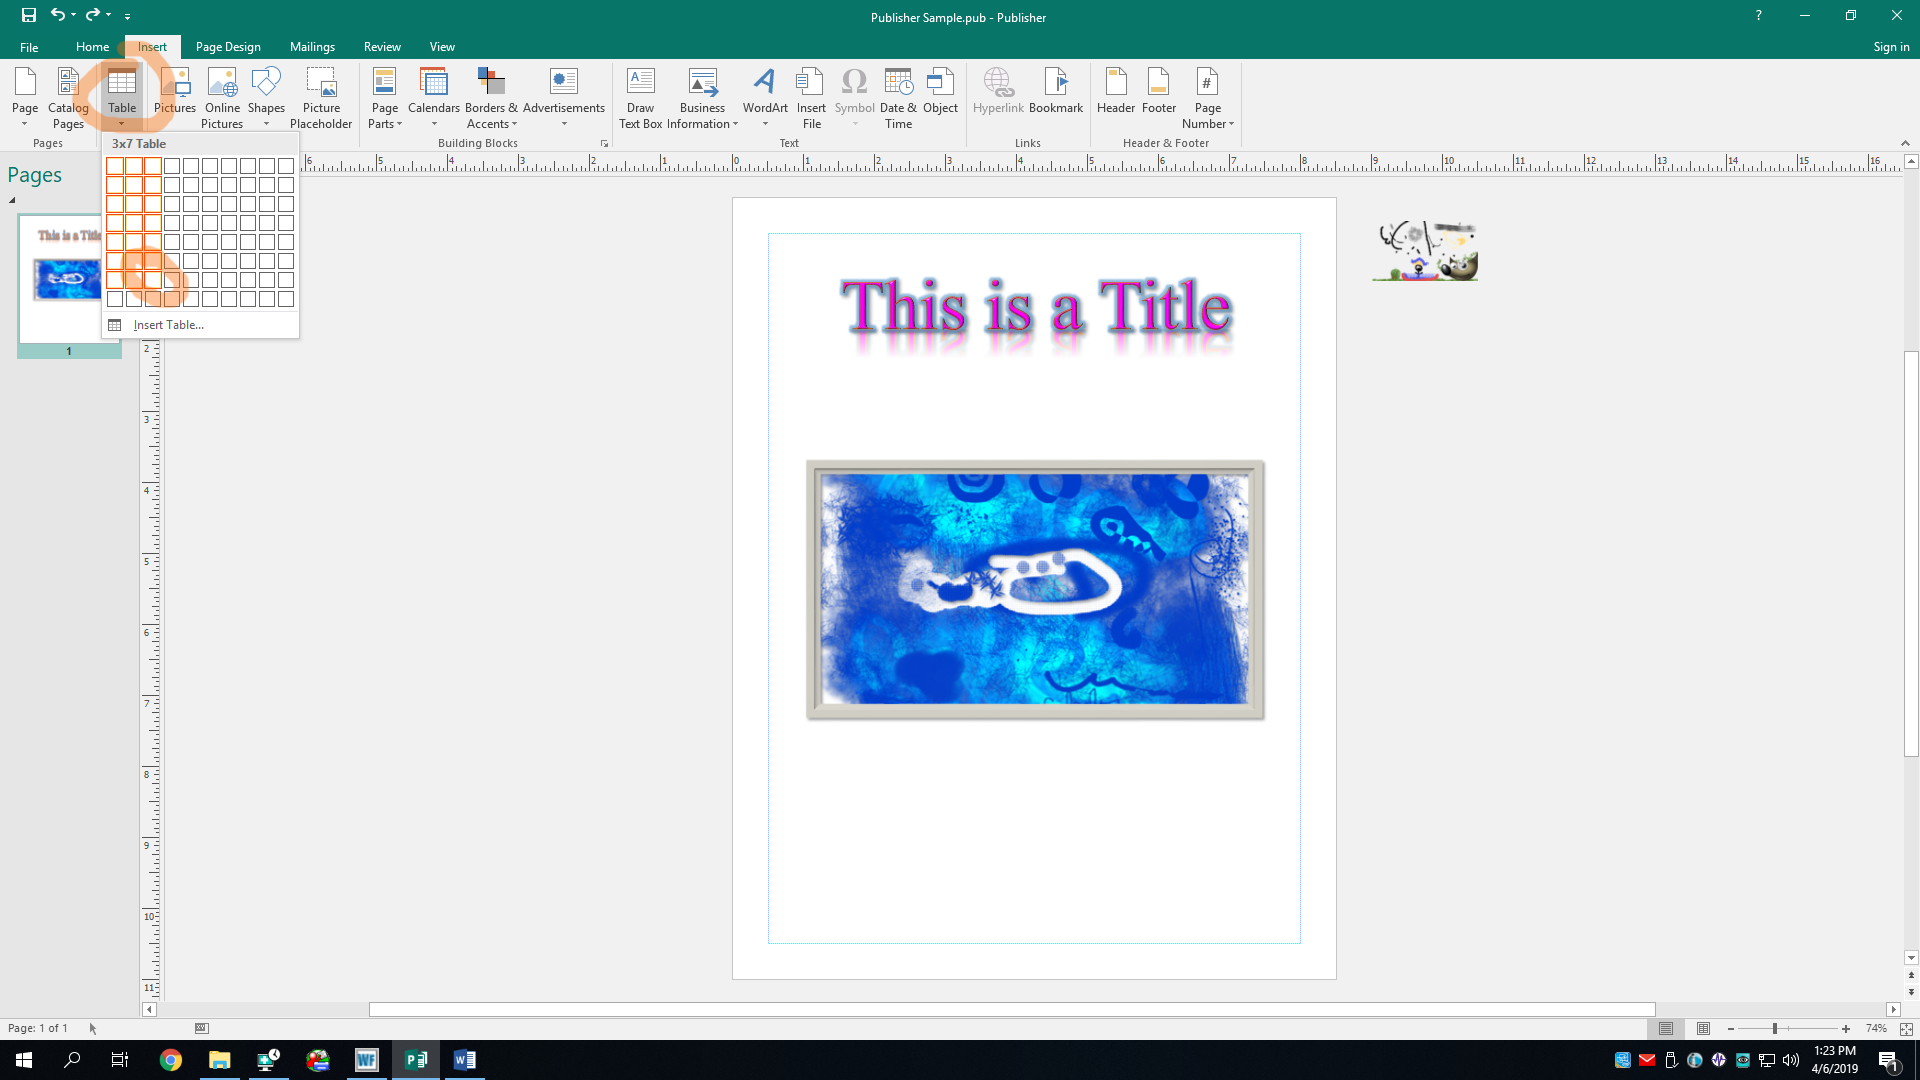
Now, let’s make a table, a word which here means a bunch of rows and columns that form a matrix (a word which here means a bunch rows and columns). You can do that by clicking the Table button in the Home or Insert tab. Doing so will give you a matrix of squares. This is so you can select the number of rows and columns you want your table to have. If you’re not sure of the size at first, just give an estimate, as you can always change it later. For this example, Ima add a table with 7 rows and 3 columns, which will be a 3×7 table.
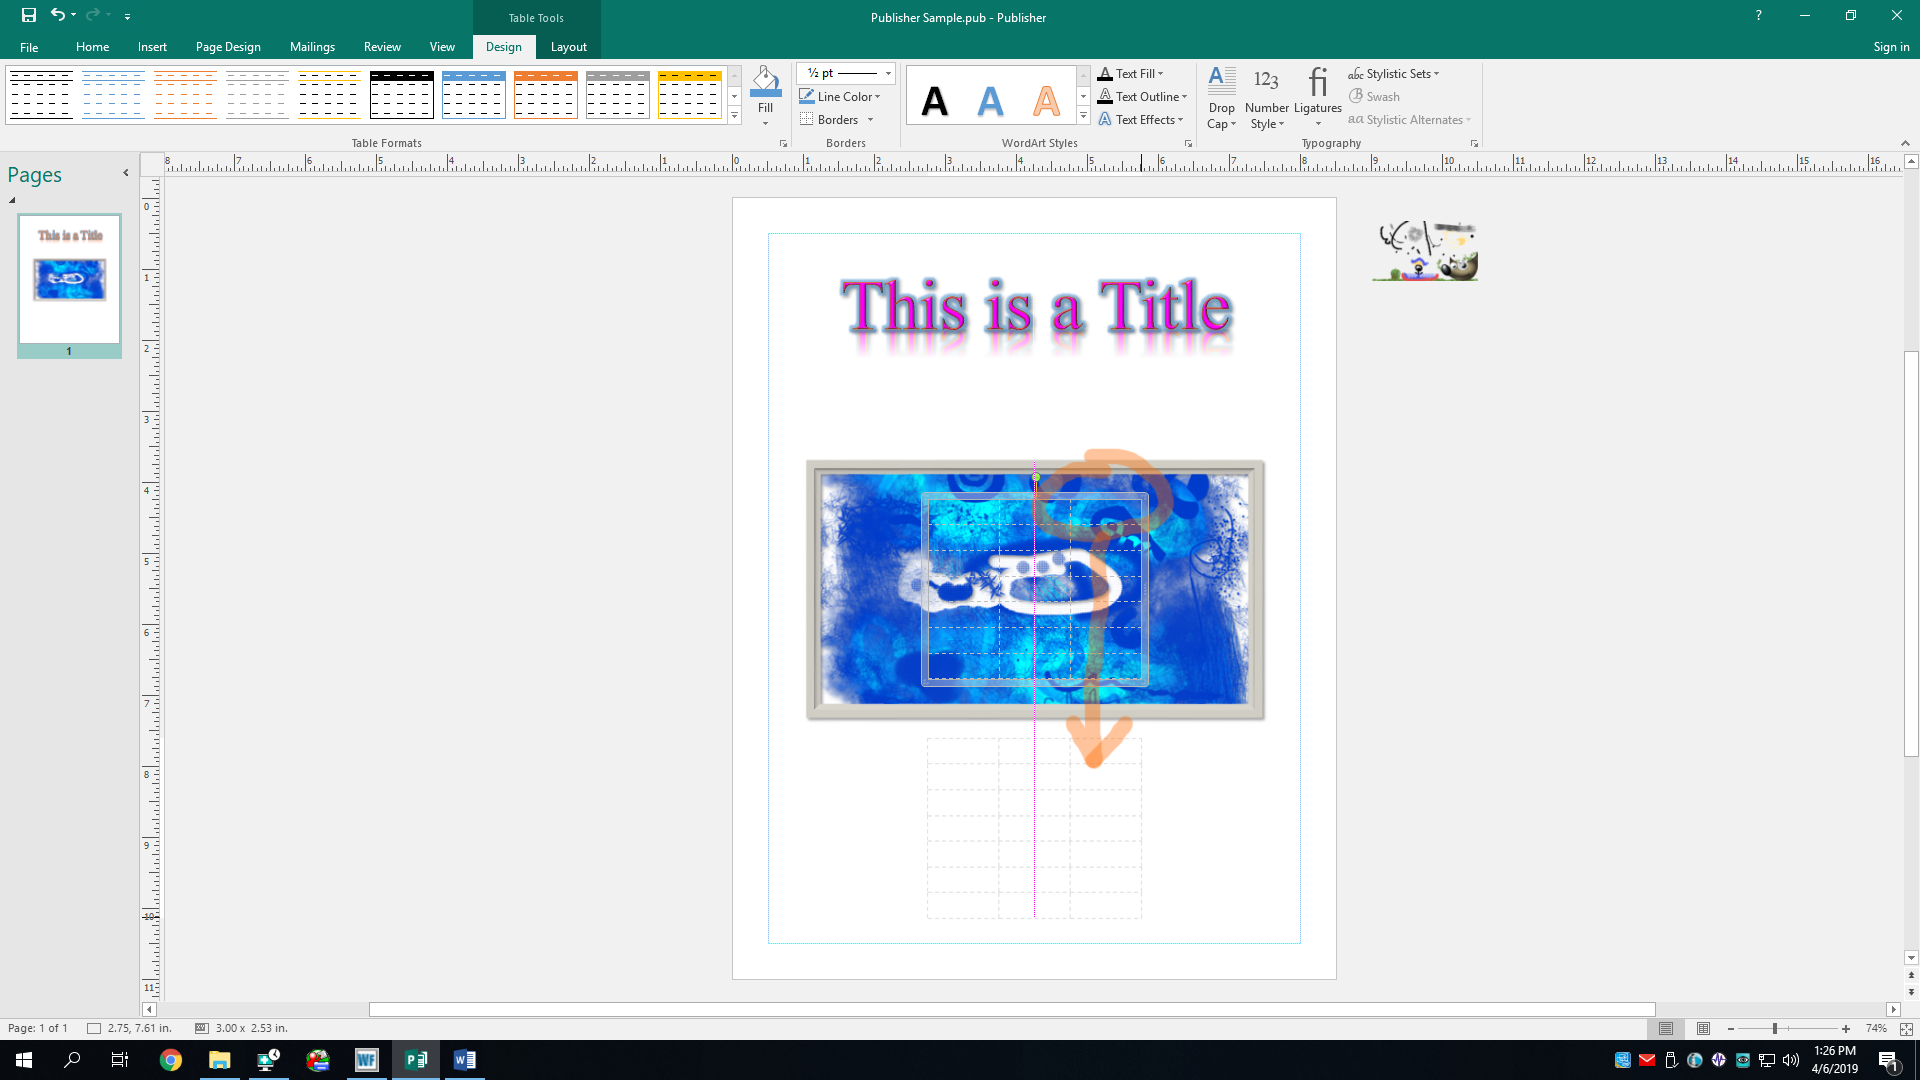
Aaaand the table has inserted itself on top of our image. No no no no no, this won’t do. We’ll move it below the image so peeps can actually see it. To do this, grab its border with your mouse cursor, and click-and-drag its butt down to where you want it to be. Is “butt” not an appropriate word to use? Okay; I’m sorry. I won’t use it again.
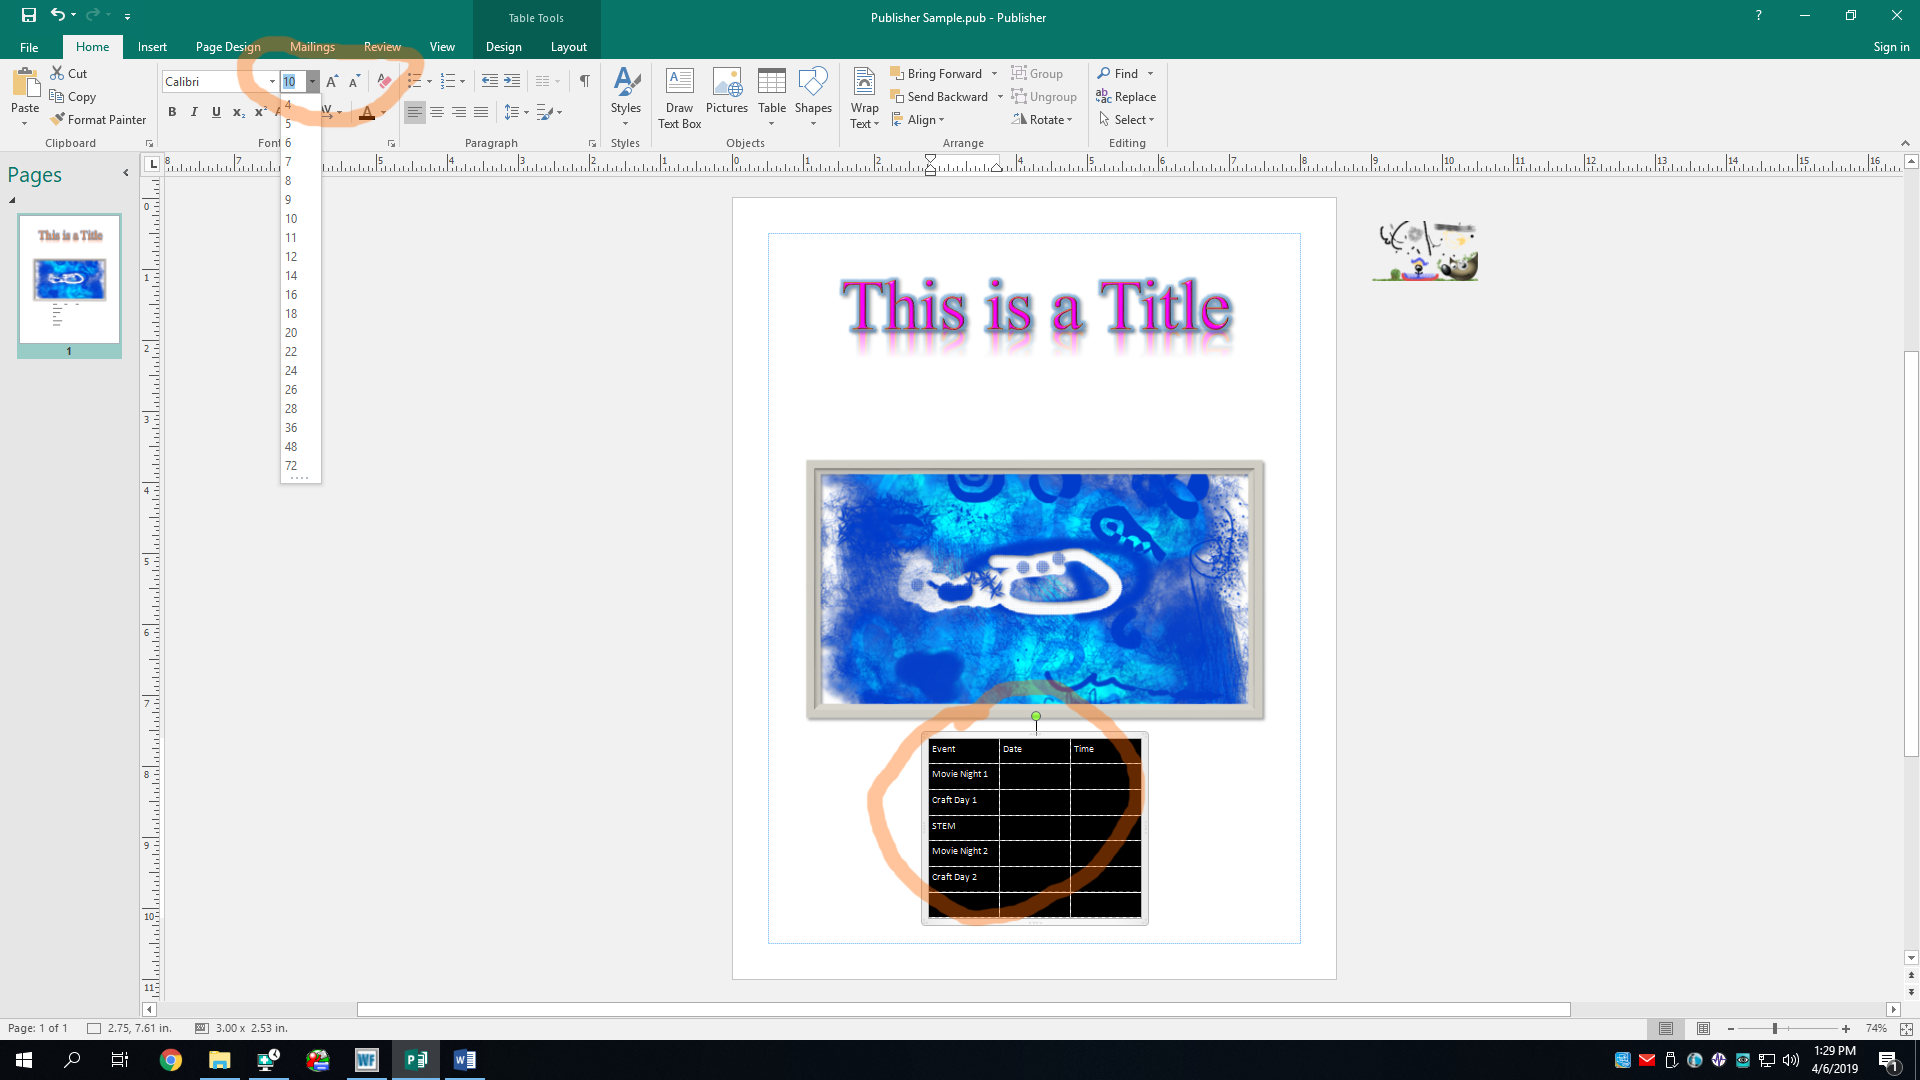
Now, let’s add some content to the table. I have titled the columns in the first row, and I’ve filled the first row with a list of fictional events. You’ll find that it’s basically a simplified version of MS Excel tables. The text is much too small, however. Let’s select all of the cells and double their font size to 20 pt.
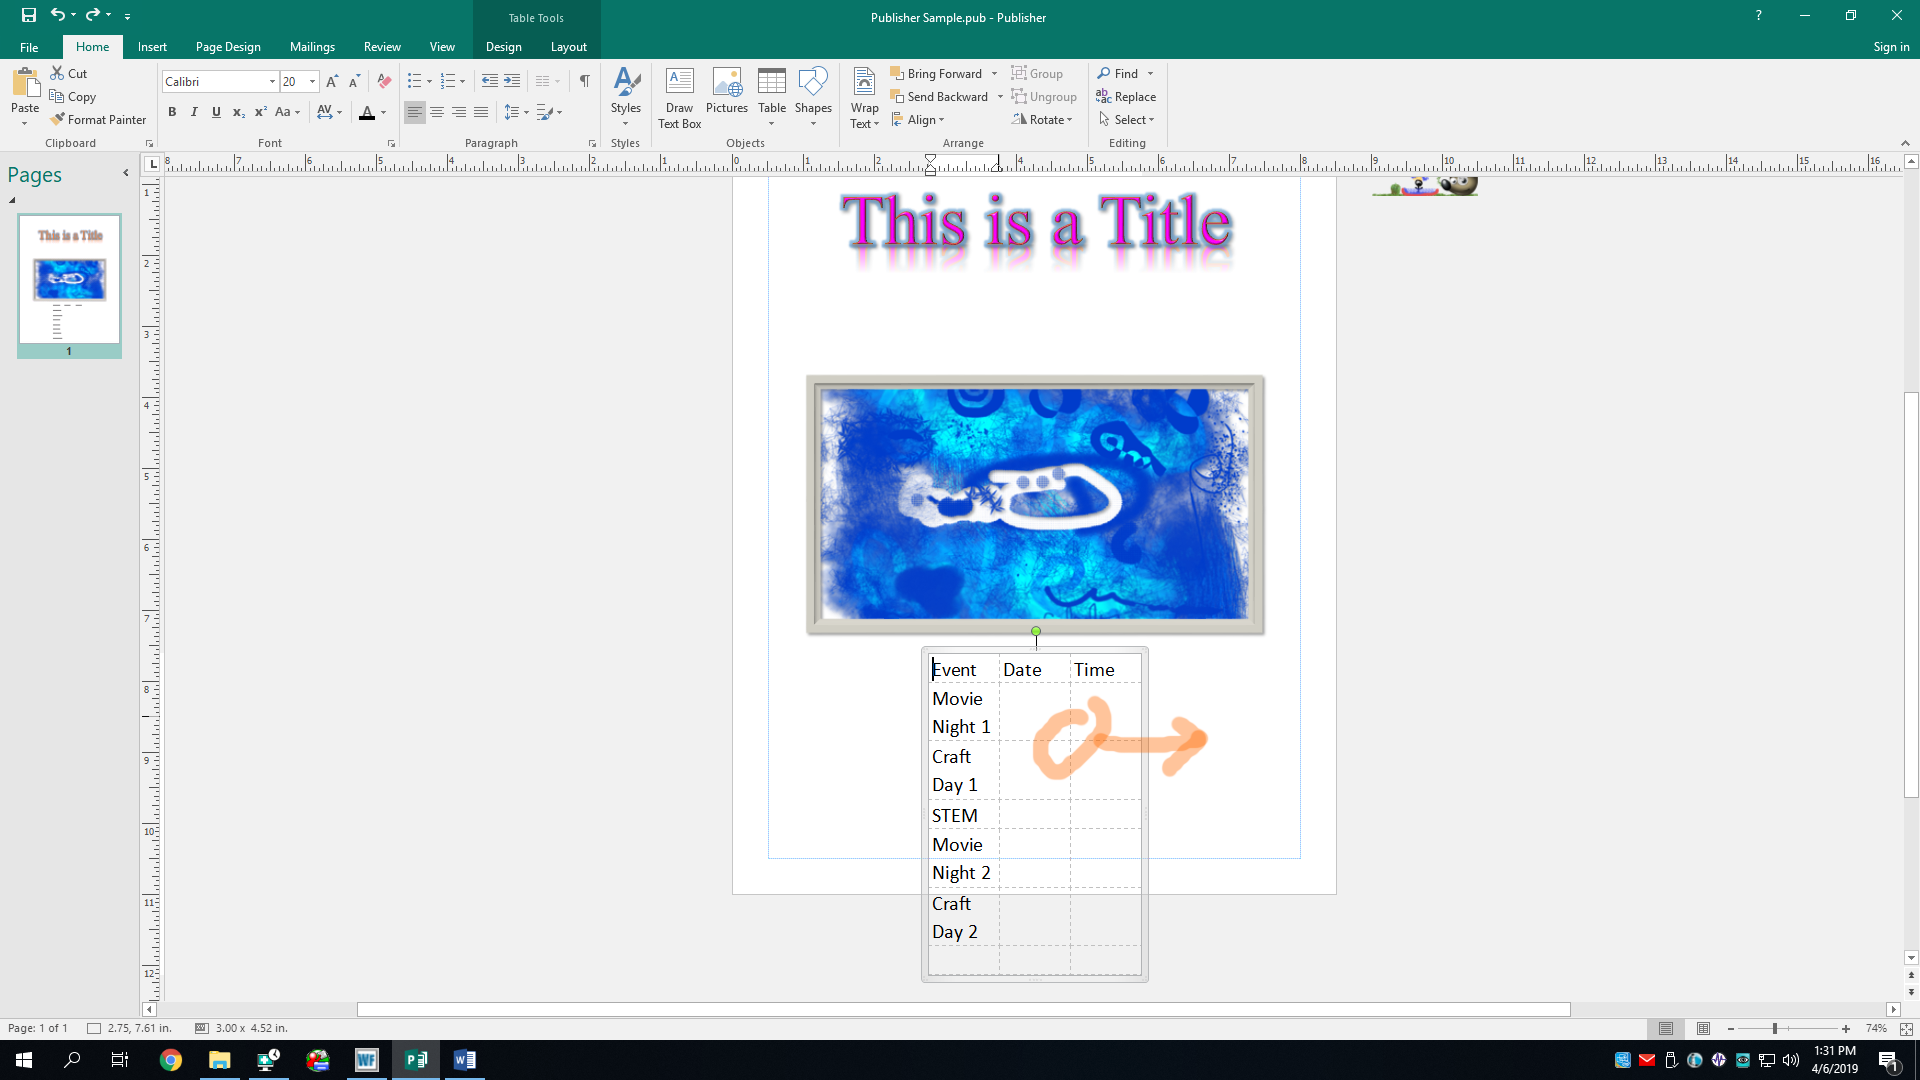
Oh nose, increasing the font size has run the table right off the page! We can't have that. Not only is the content being cut off, but it also looks downright horrific, in the negative sense. You may notice that you can't simply make the table bigger because it has no handles to drag. You have to increase the width of the rows and columns instead. Just place your mouse on a dashed line between a cell, and click-and-drag it in the direction you want to expand it to. After that, you may want to move its butt over again to center it once more. Oh nose, I used that word again. So sorry; won’t happen again.
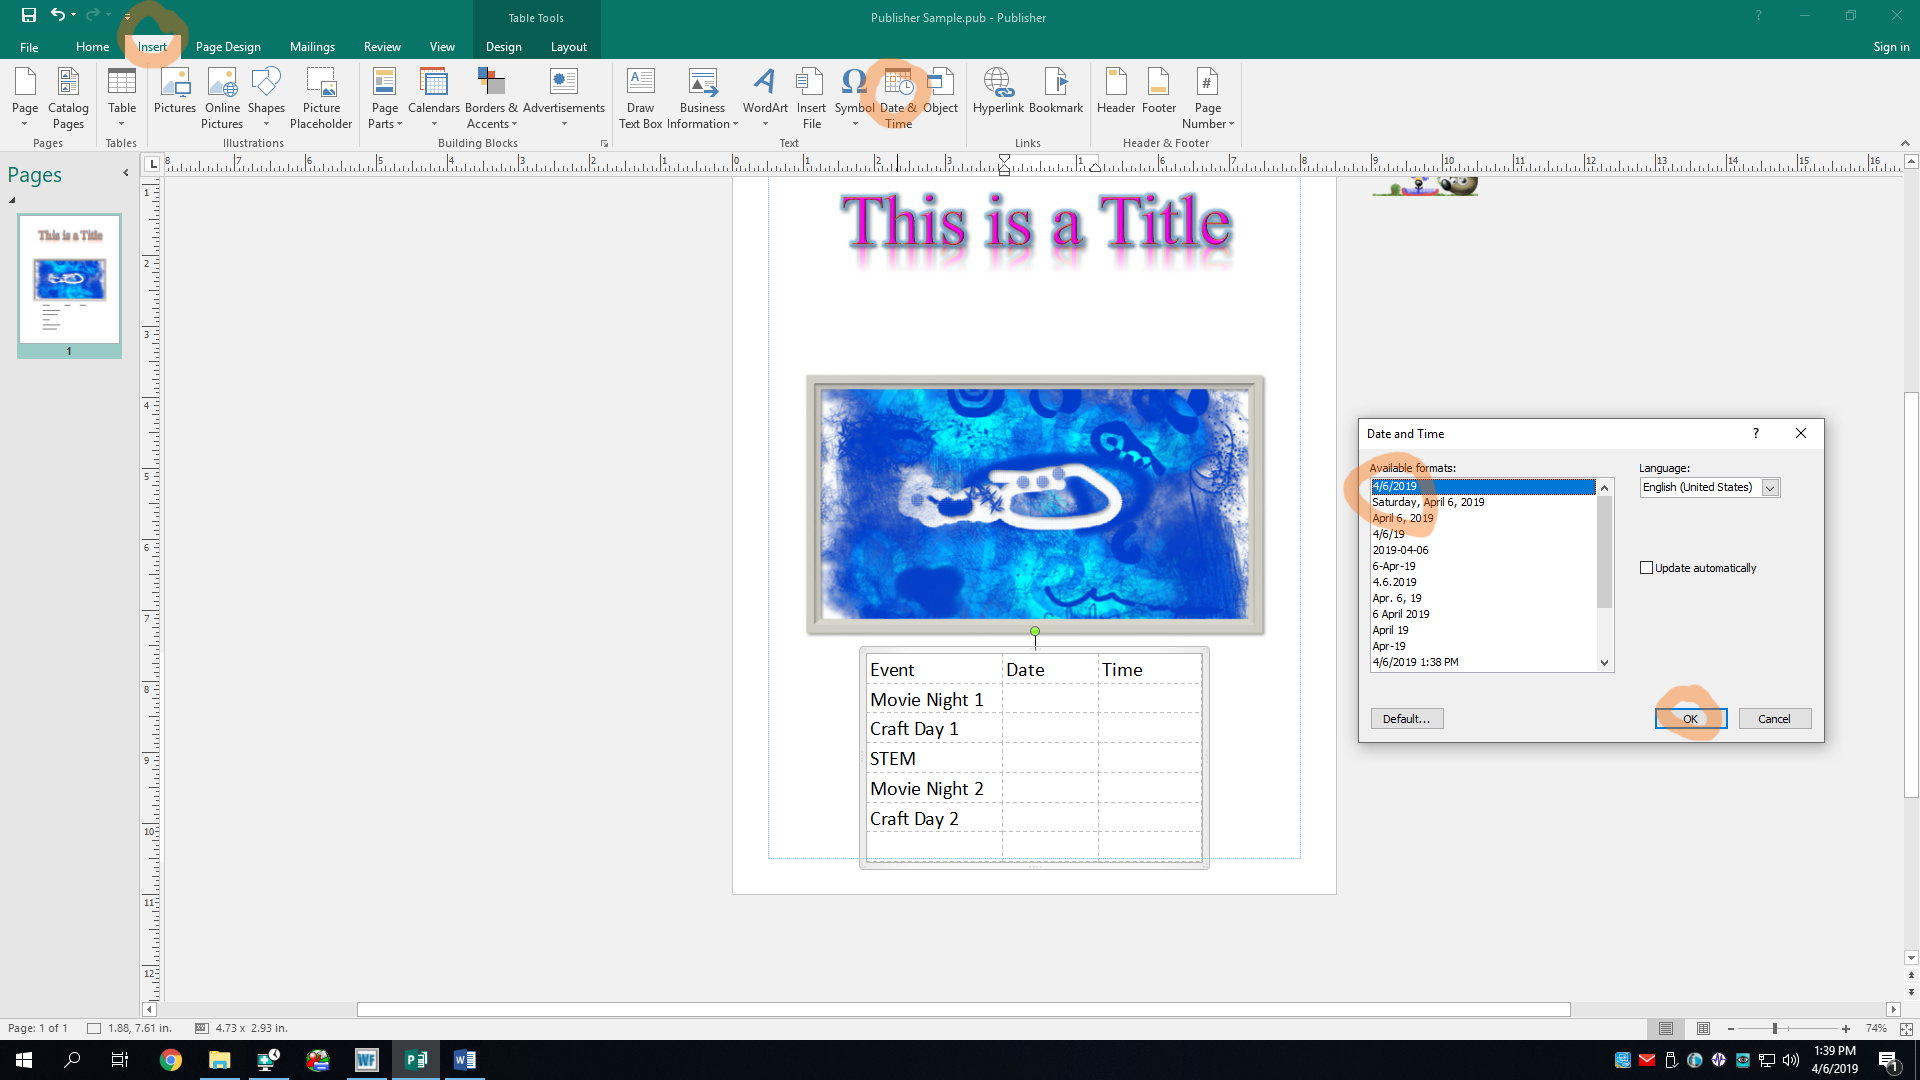
There we go! It now fits on the page, and I’ve centered it so it looks much nicer. Now let’s fill in the rest of these cells, shall we? For these, Ima add the current date. Realistically, these fictional events wouldn’t take place all today, but let’s pretend they do. To add the current date (and this works for any text box as well), click the Date & Time button in the Text section of the Insert tab. This will open the Date and Time dialog box, which will prompt you to choose a date/time format. Oh, there are lots of standard formats to choose from here. I personally like the first choice, the month/day/year format. I'll use this for all the cells in the second column of our example table.
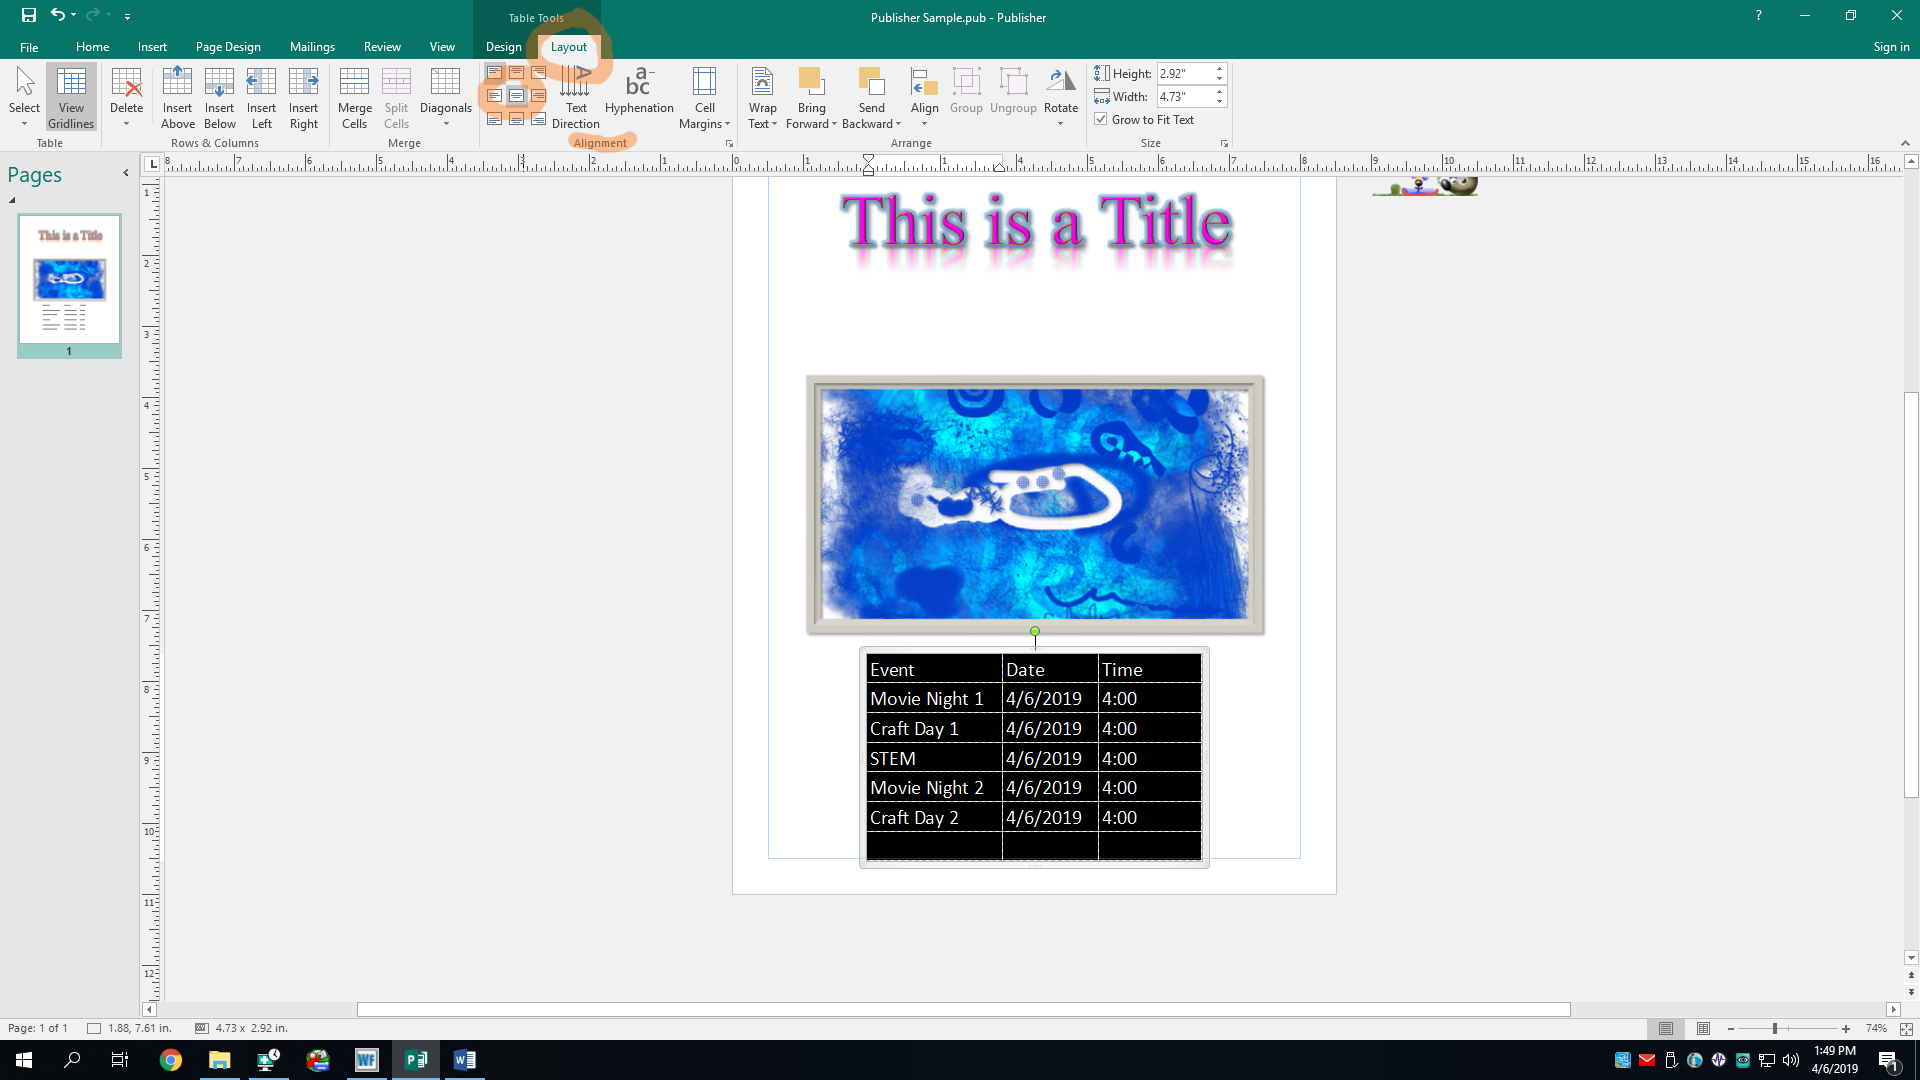
There. I also threw in a buncha generic times that these events could take place. Yes, it’s all coming according to my master plan (which I’m making up as I go)!¡! Now let’s change the layout of this evil lovely schedule. We can check out a buncha layout options in the Layout tab, which only appears when we have something to lay out selected. I won’t go too deep into these advanced options, although we should consider making the table’s text centered. Wouldn’t you agree? In the Alignment section, choose an alignment just like we did with the text box earlier. I’m choosing “Align Center” for mine. Don’t forget to select all of the cells you want to align so Publisher knows which ones to change.
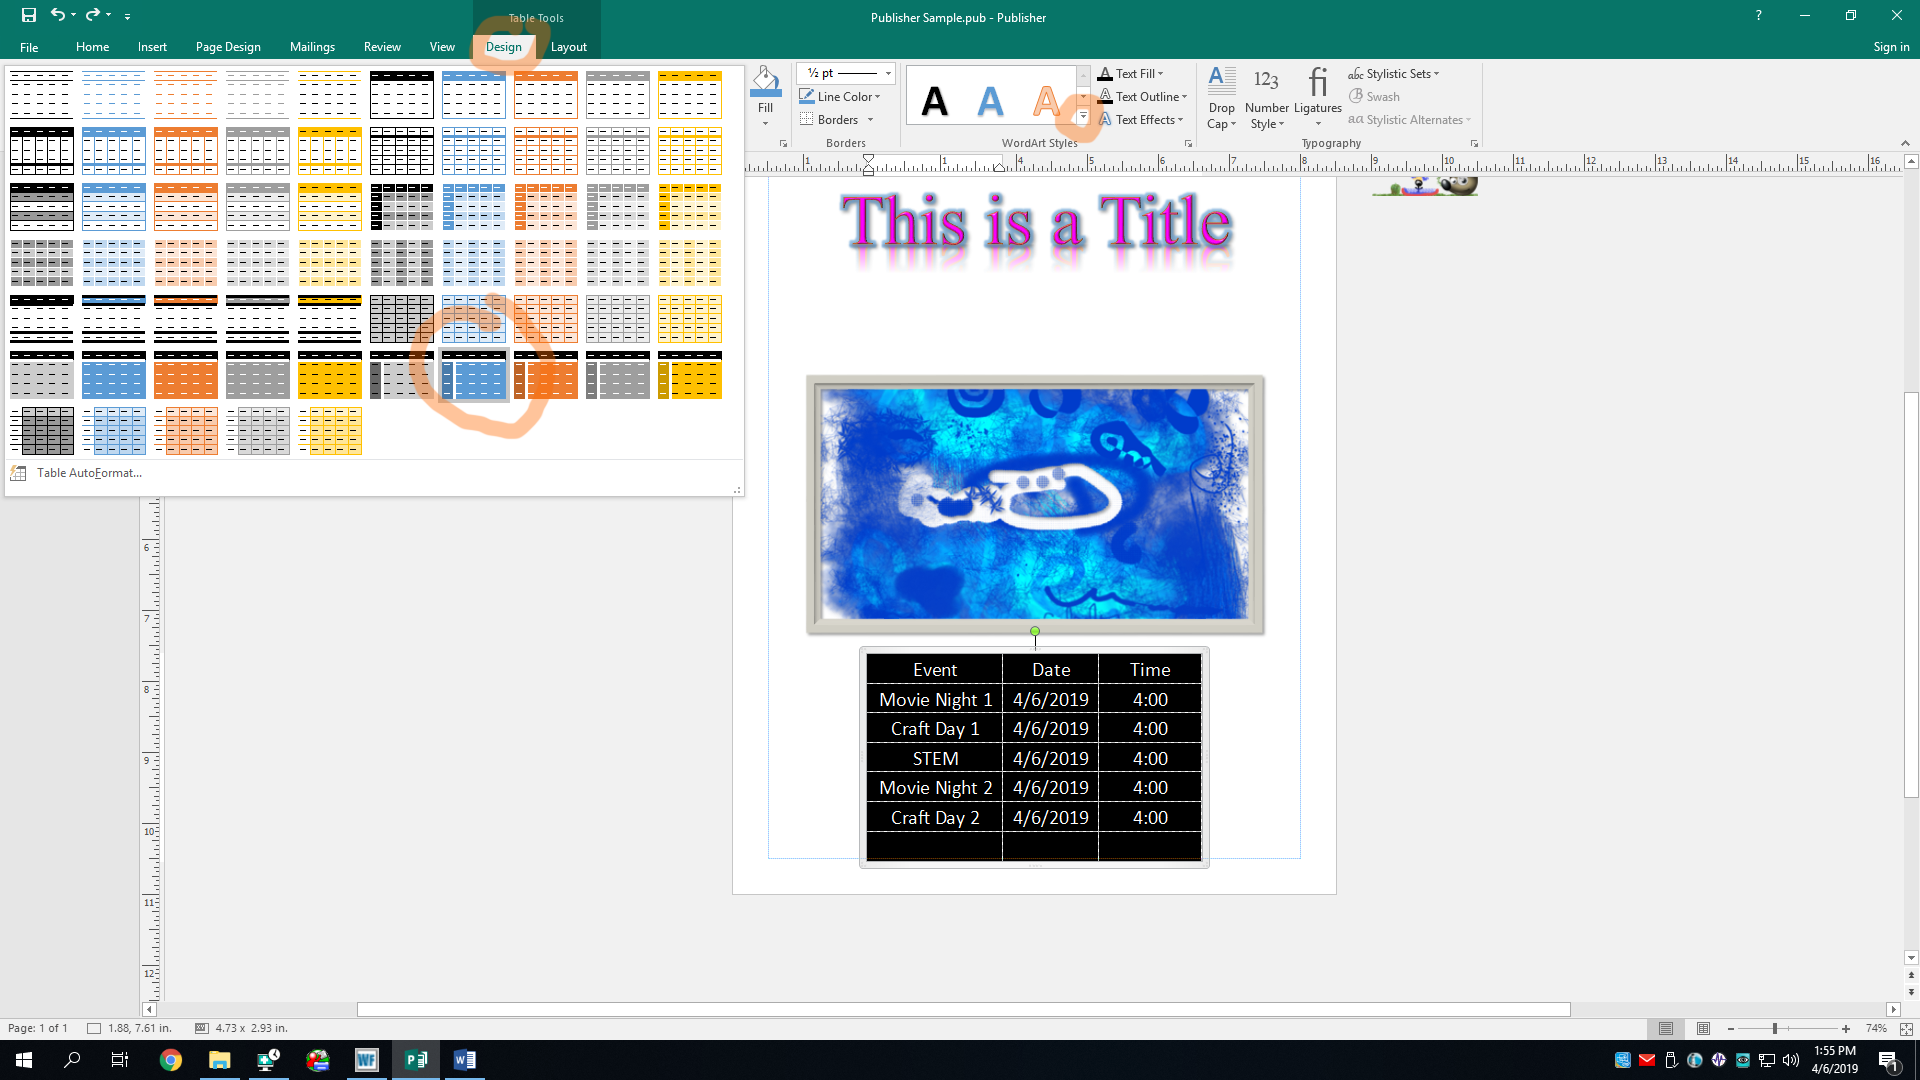
K that looks nice, but not nice enough. What’s it missing? Ah, cholours of course. (Note to grammar Nazis: misspelled dat on purpose.) Let’s slide next door to the Design tab and see what horrific styles we can add to our table. In the Table Formats section, there’s a lot of table design templates to choose from, and in many colors as well. Ah yes, I do believe we’ll be choosing “Table Design 57” for this one. Not only does it highlight the first row and first column, but it’s also blue, [arguably] the greatest color known to man (other than infrared of course, but that’s not an option since it’s invisible).
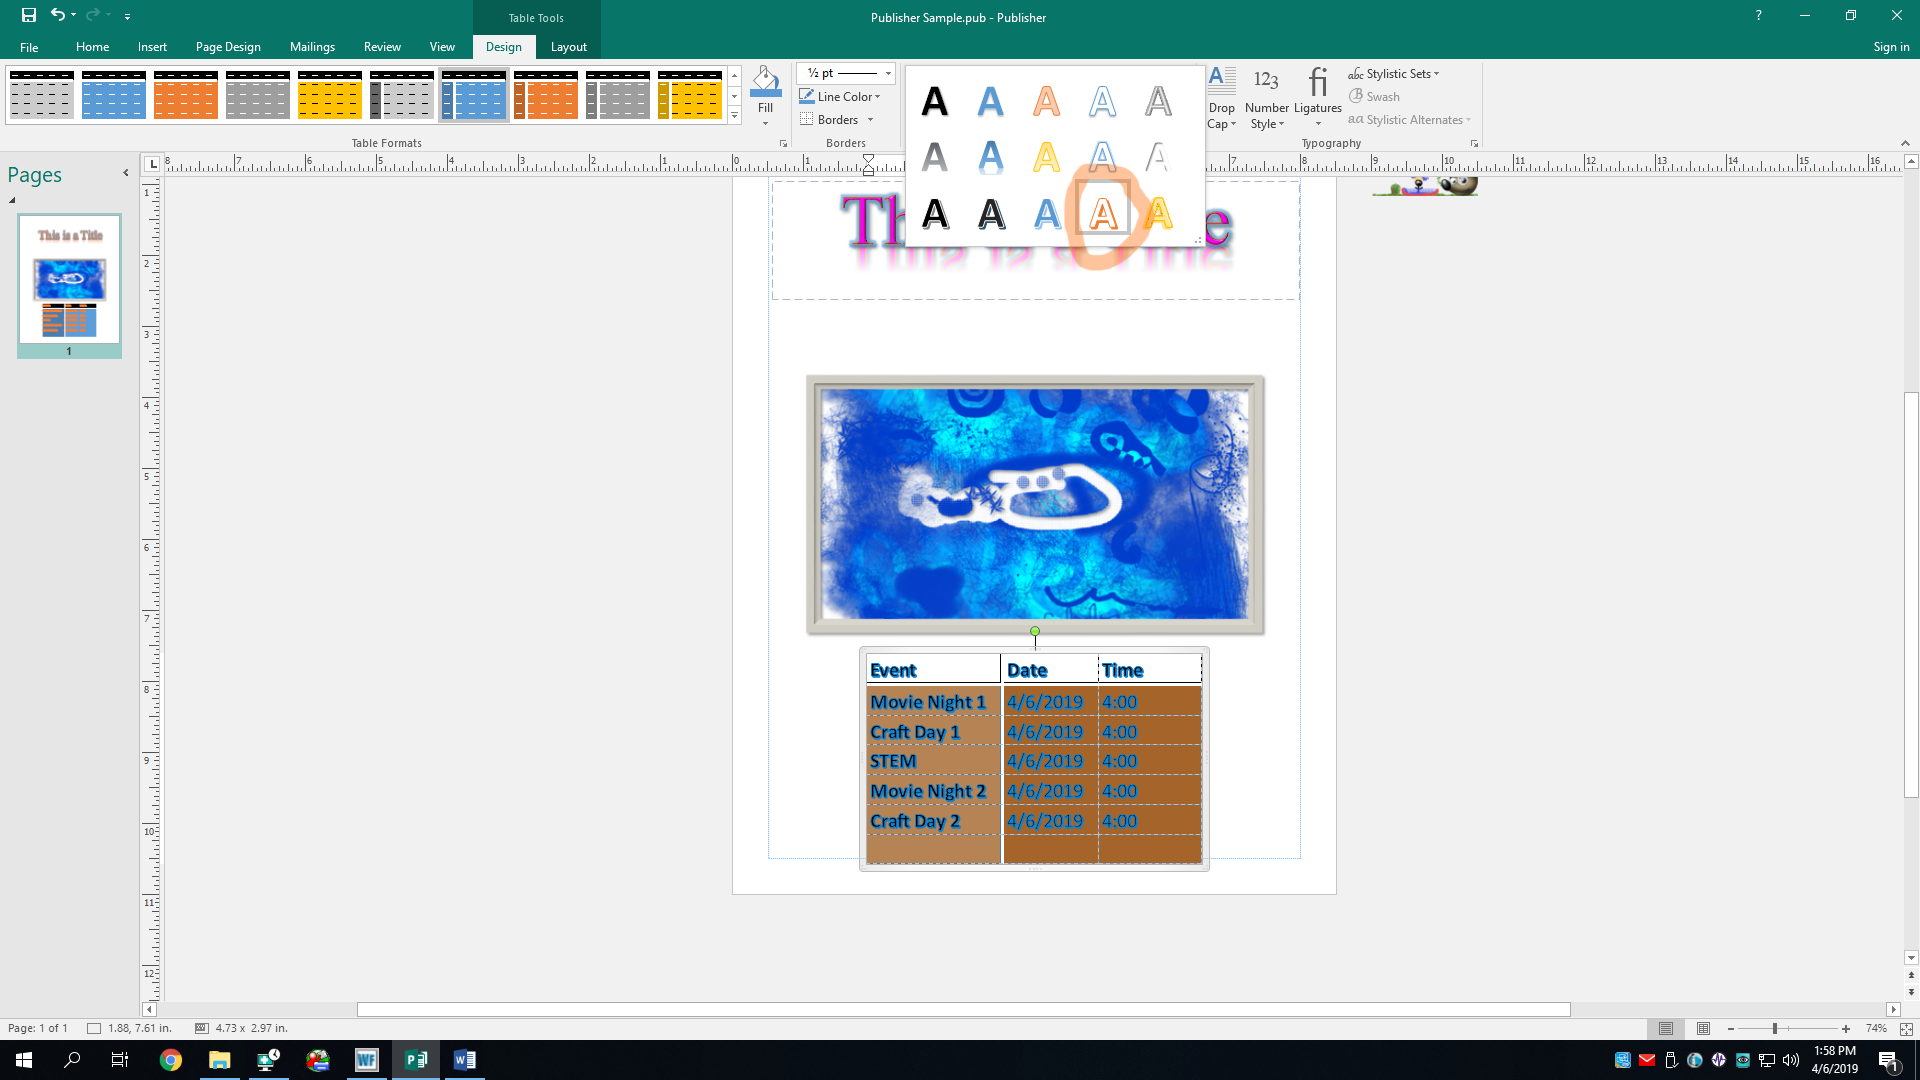
But of course, we must also change the text style as well, select all of the cells, even if it temporarily inverts the colors, and pick a Word Art Styles.
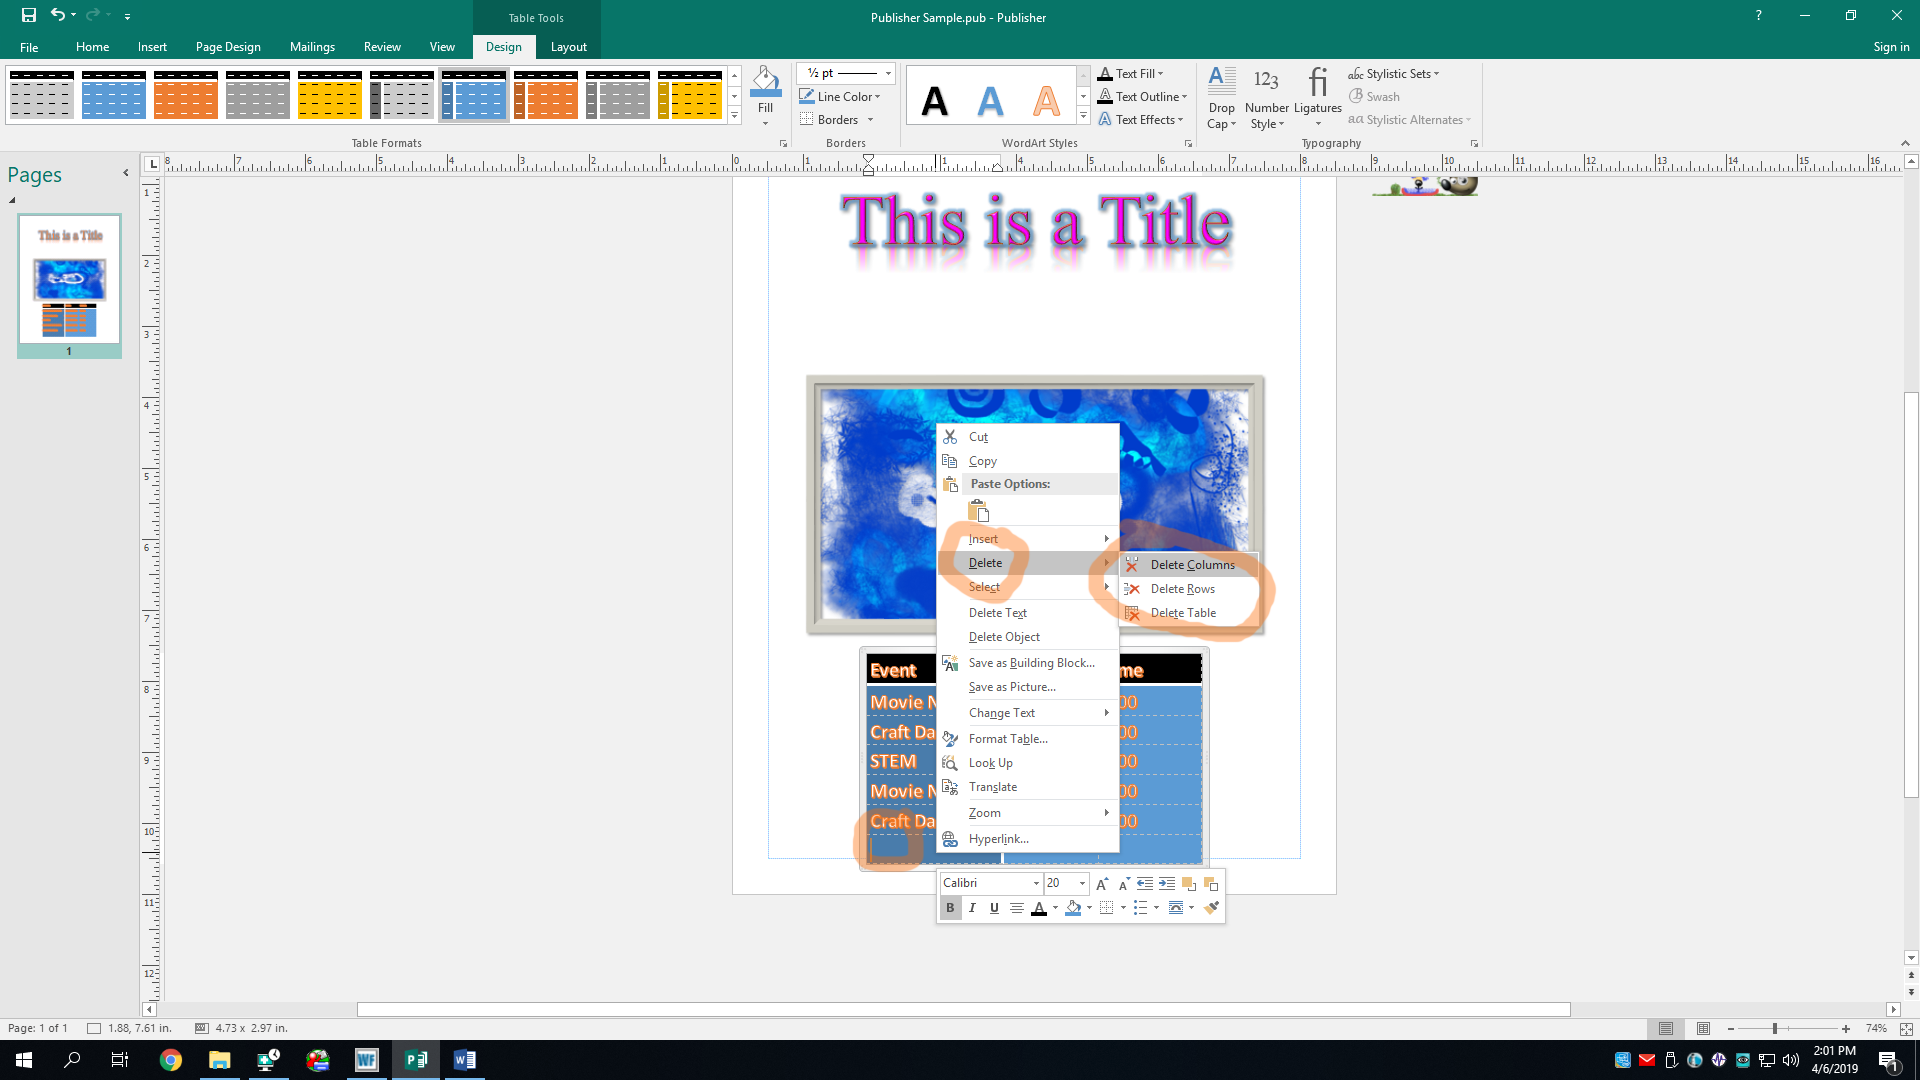
You know what, though? We have an extra row that we don't need because the head librarian's ultimate birthday party extravaganza was canceled by the president of the Being Alive Club, so naturally, we can delete this row. Just right-click on any cell of this row, hover over the Delete option, and select Delete Rows. You can do the same for a column if you want. If you gone done messed up and deleted the wrong thing, the undo button is your BFF.
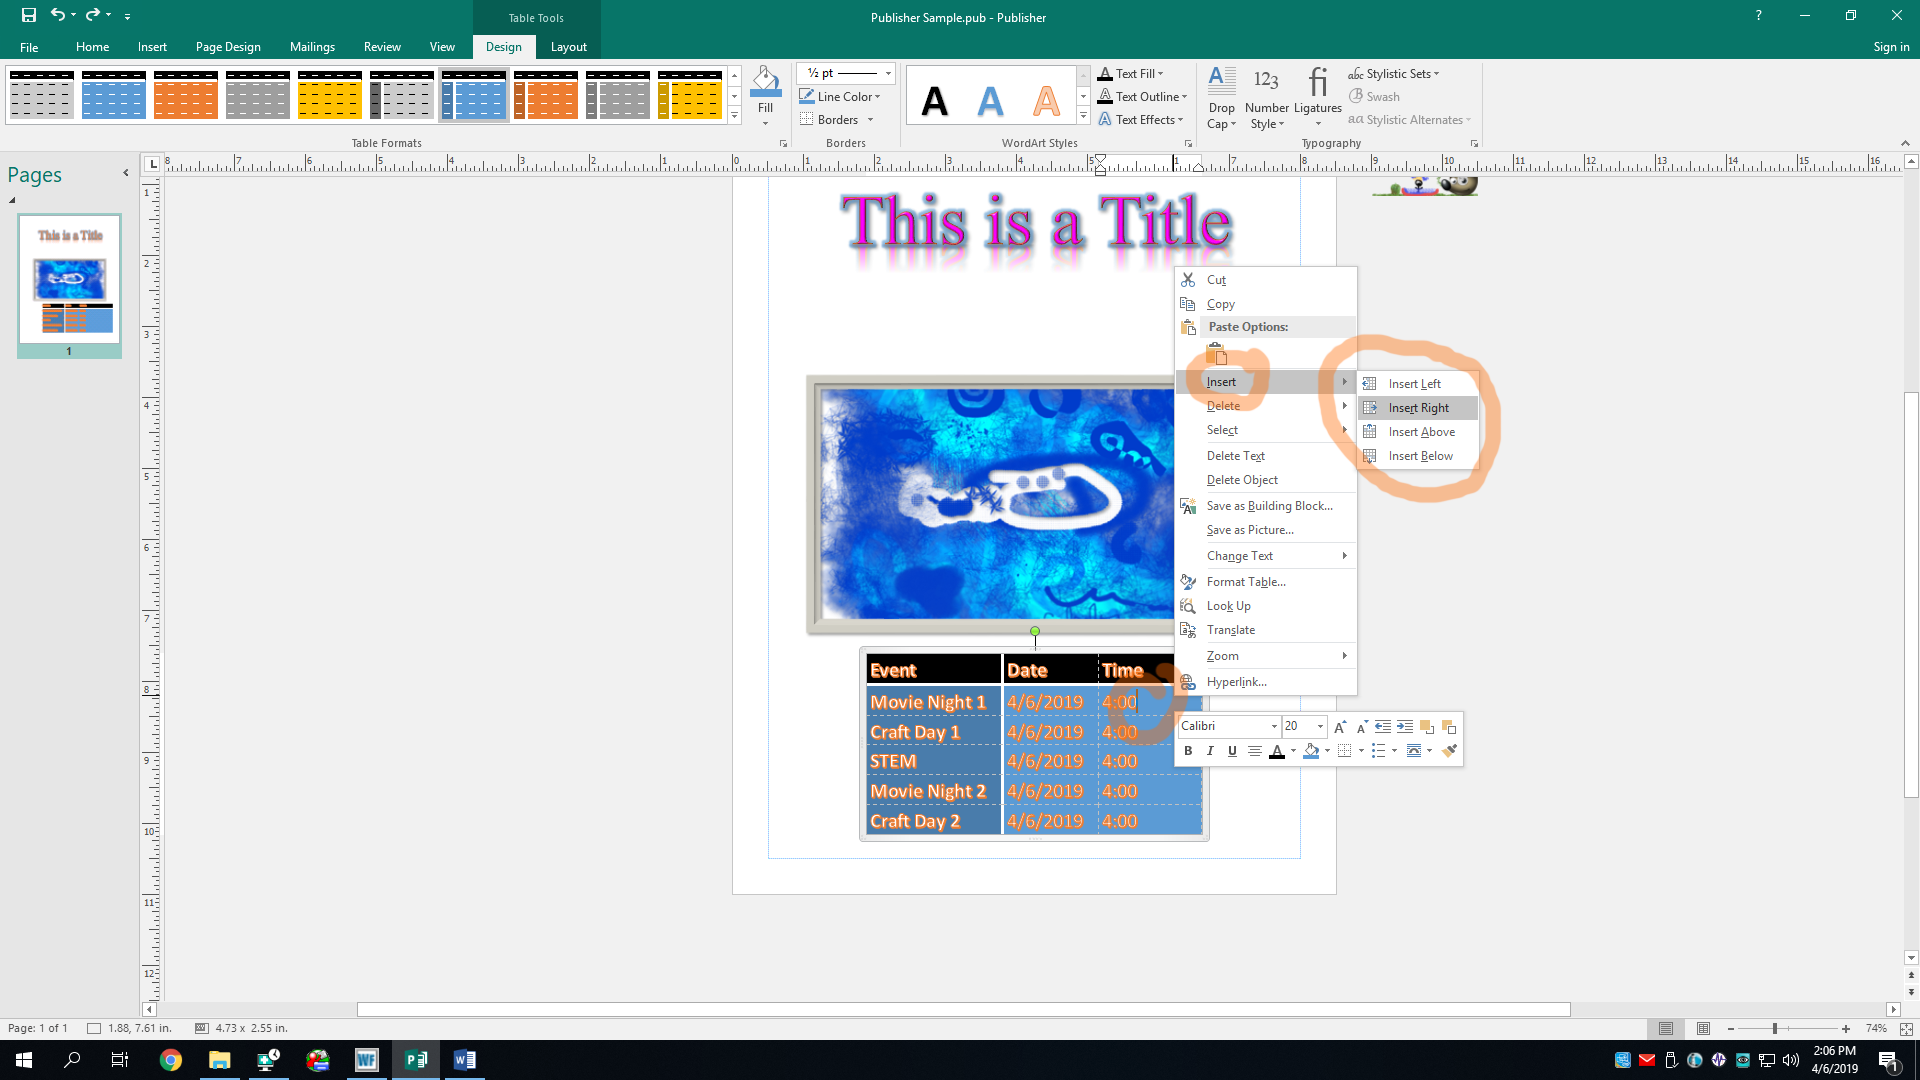
You know what else we can do? We can add rows and columns as well. Sometimes we just forget a thing or two and need to add stuff. Just right-click a cell that you want to insert a row/column next to, hover over Insert, and select where you want to add the thing. Inserting left or right will add a column while inserting above or below will add a row. I’ll choose “Insert Right” to add a column to the right end.
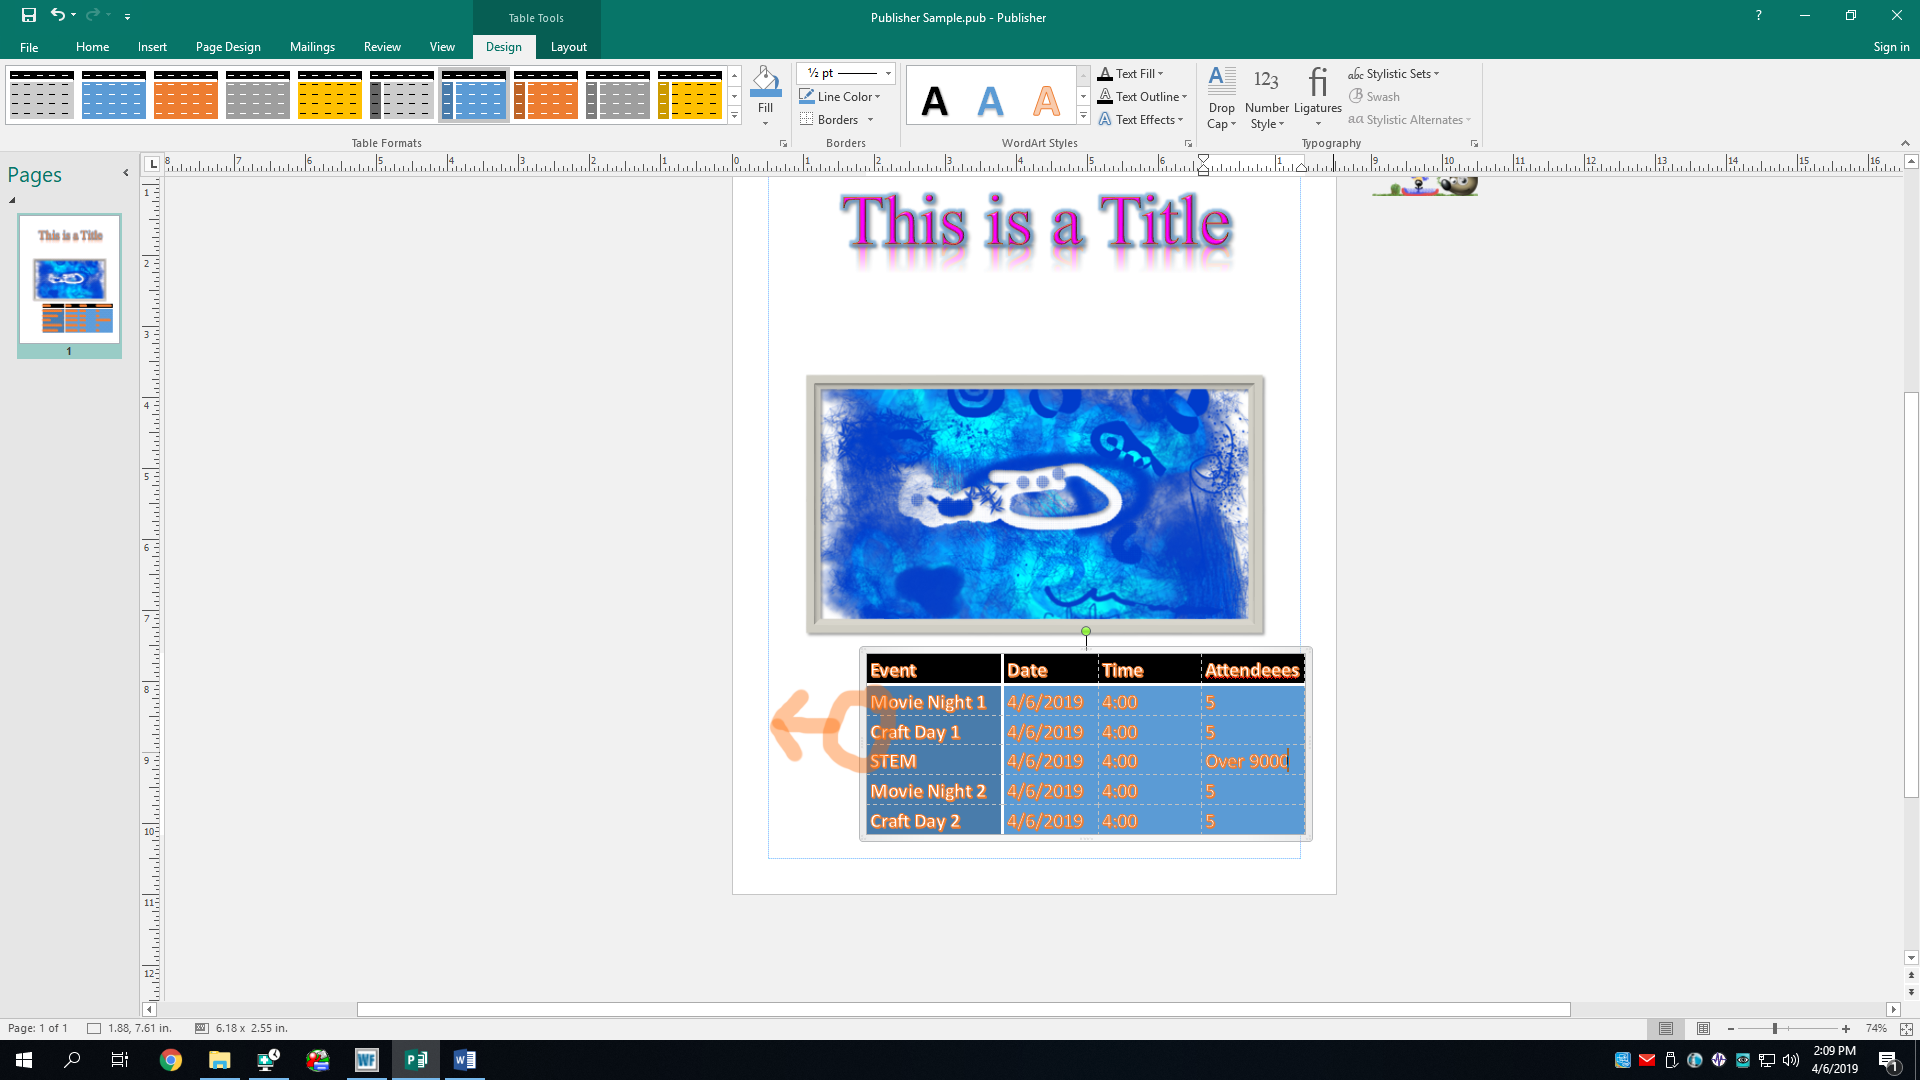
And baboom! There it is. I’ve also added content to the new row to count the number of people going. Pay no attention to the number of peeps attending STEM day, tho. But oh loop, it’s moved off center again. Don’t worry, we can fix this. We’re pros at moving objects by now! Hopefully. Let’s move its butt… oh nose, I’ve done it thrice now. I guess third time’s the charm, as they say in Spain. I won’t use that word ever again. I promise this time.
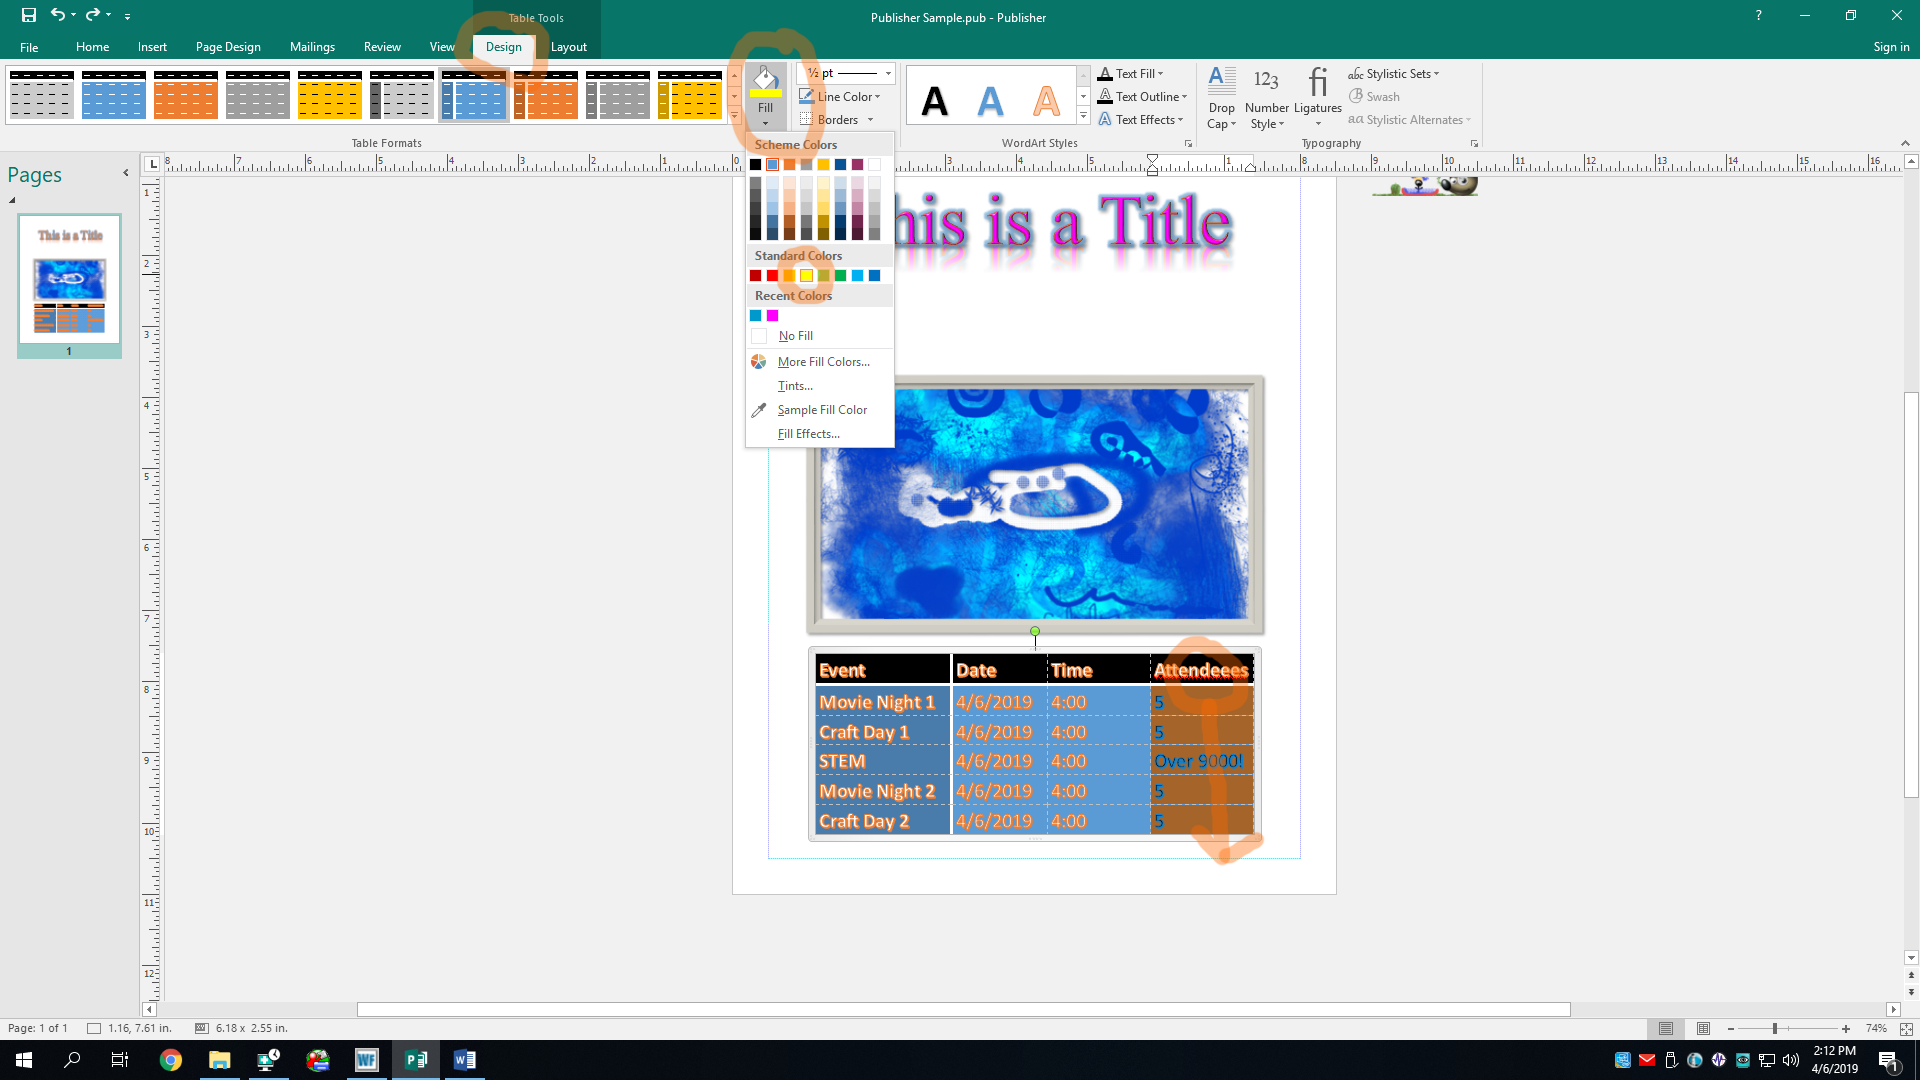
You know what else I want to do? I wanna change the color of that last row. We can do this by selecting the rows we want to change the color of and then selecting the Fill button in the Table Formats section of the Design tab. Then you can pick a color like so.

Great, but now the text color doesn’t contrast very well with the blinding color I chose. Thankfully, the Word Art Styles section gives us the same color and effects options as a normal text box would, so we can give it a pink and purple fill and outline. How lovely!
And while we’re at it, let’s also give it some unnecessary effects, like a GLOW!
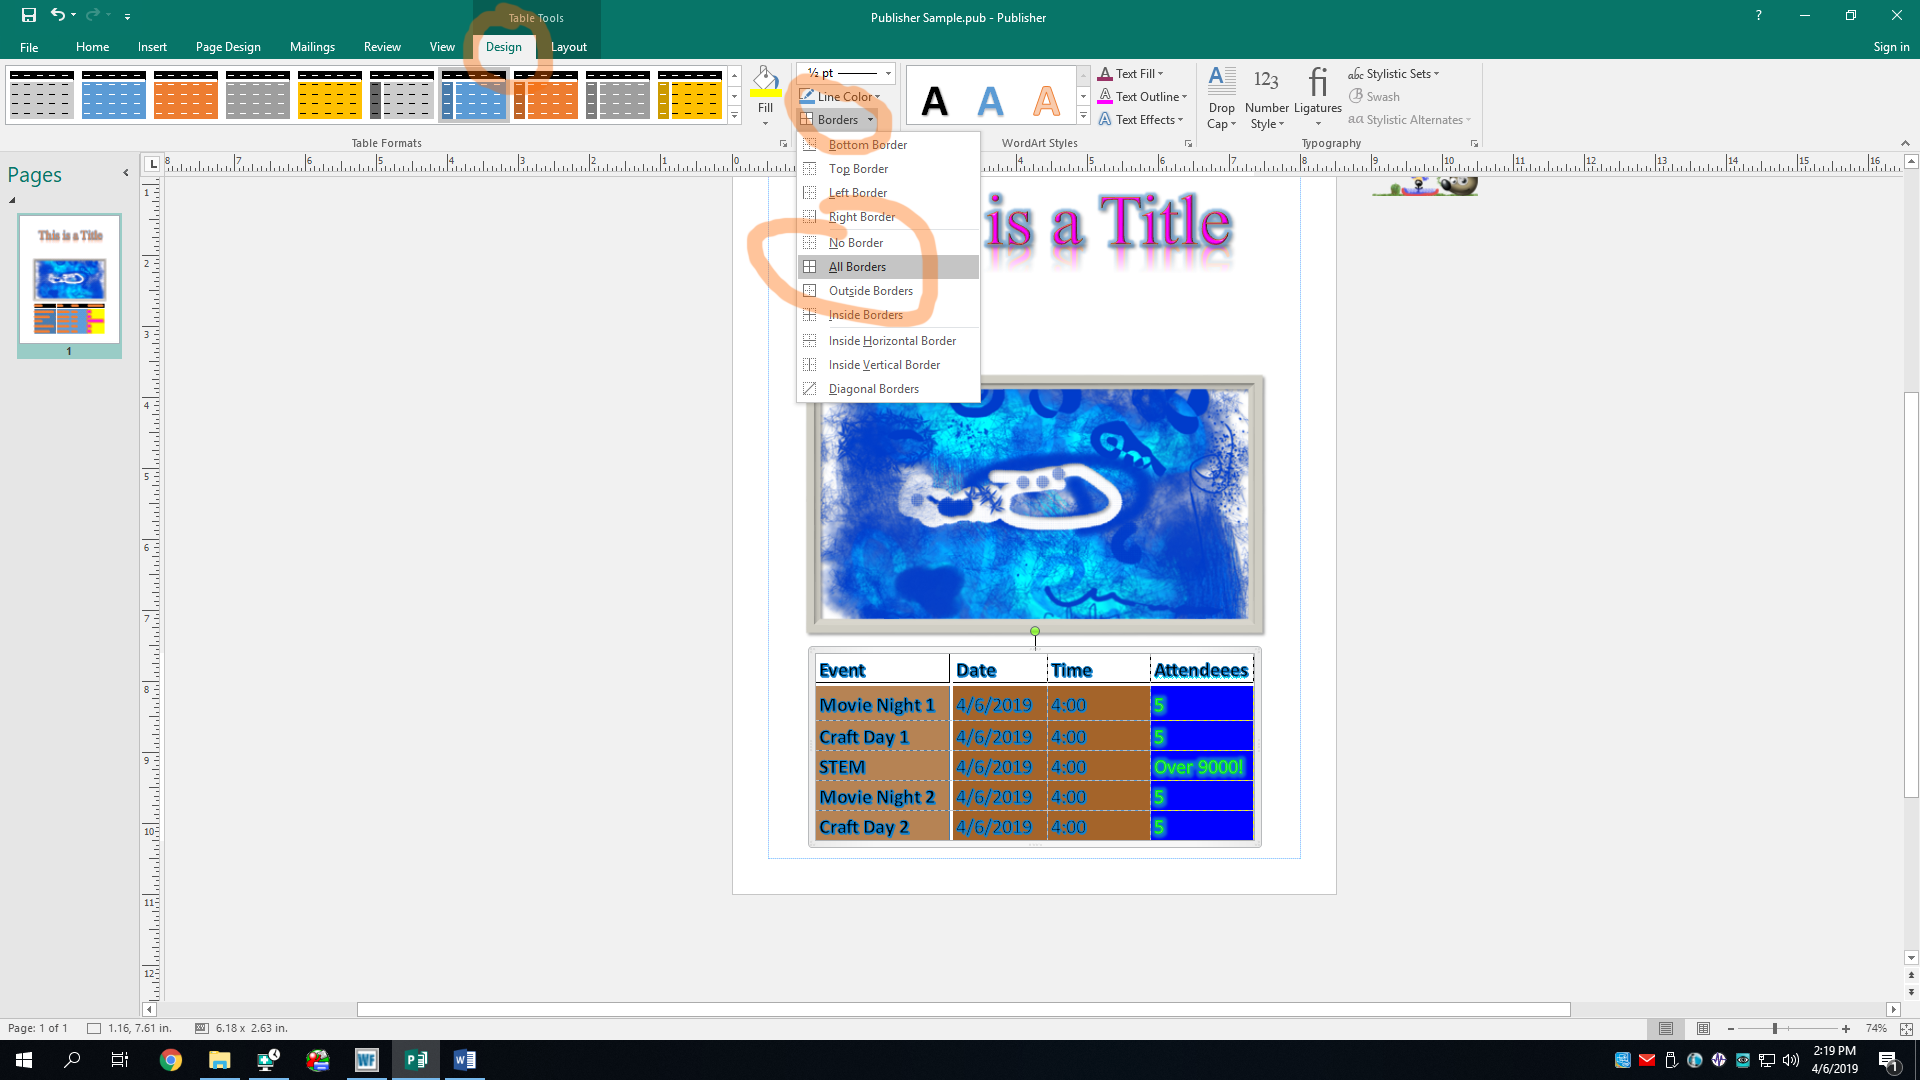
Perrfact! And lastly, let’s add one more thing to finish off this catastrophe. Let’s add a border to our table. To do this, click the Borders button in the Borders section of the Design tab. I’ll choose the “All Borders” option.
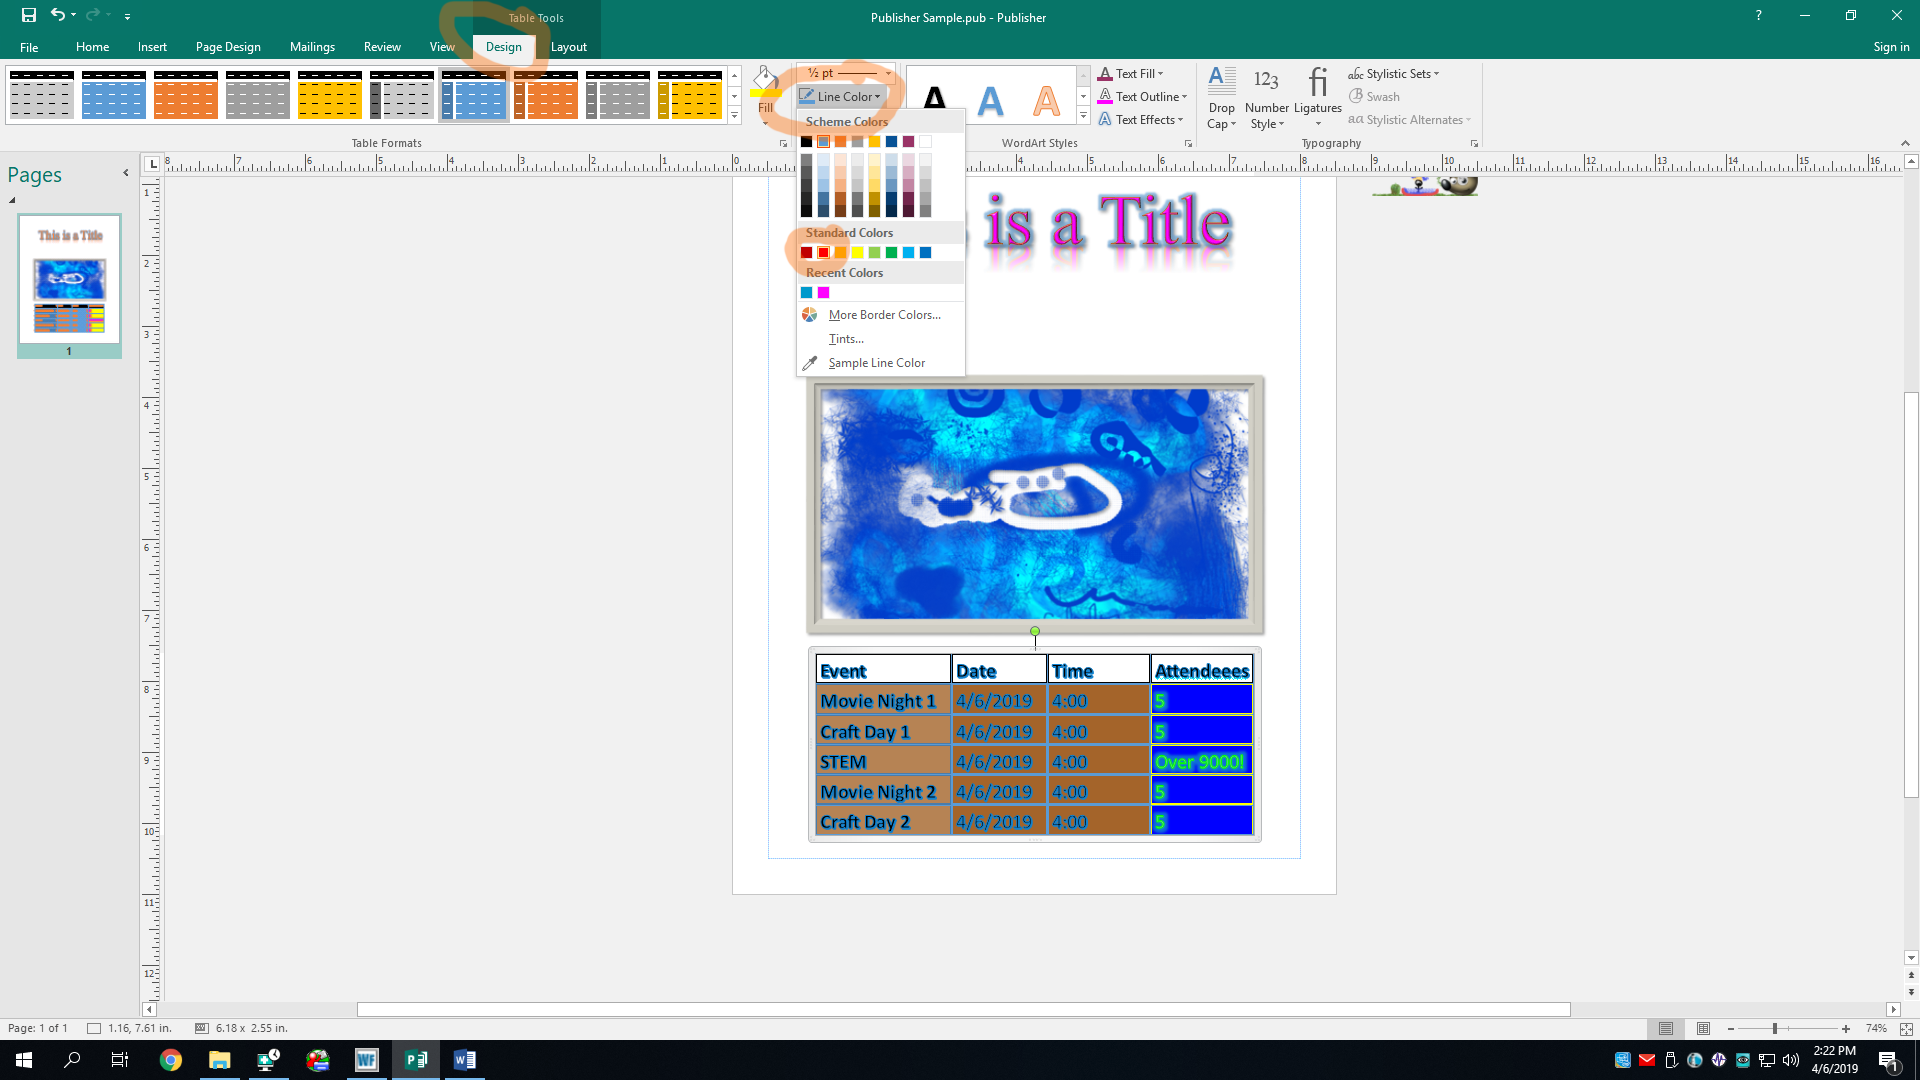
K, now that we have a border, it has assumed a default blue color. Let’s change it by clicking the Line Color button of the Borders section. Pick a color! We can also change the thickness of the border with the drop-down menu at the top of the Borders tab. Ima simply make it 1 pt thicc and the generic red color. You may need to apply the border again with the Borders button once more.

Now, we can click off of the table to view our wonderful creation. Ah yes, it is quite lovely indeed. Our schedule will trick invite the people to come to our events, where they will probably make ugly creations in Krita, GIMP, and a bit of MS Paint as I have. That’ll be it with tables for today’s tutorial.
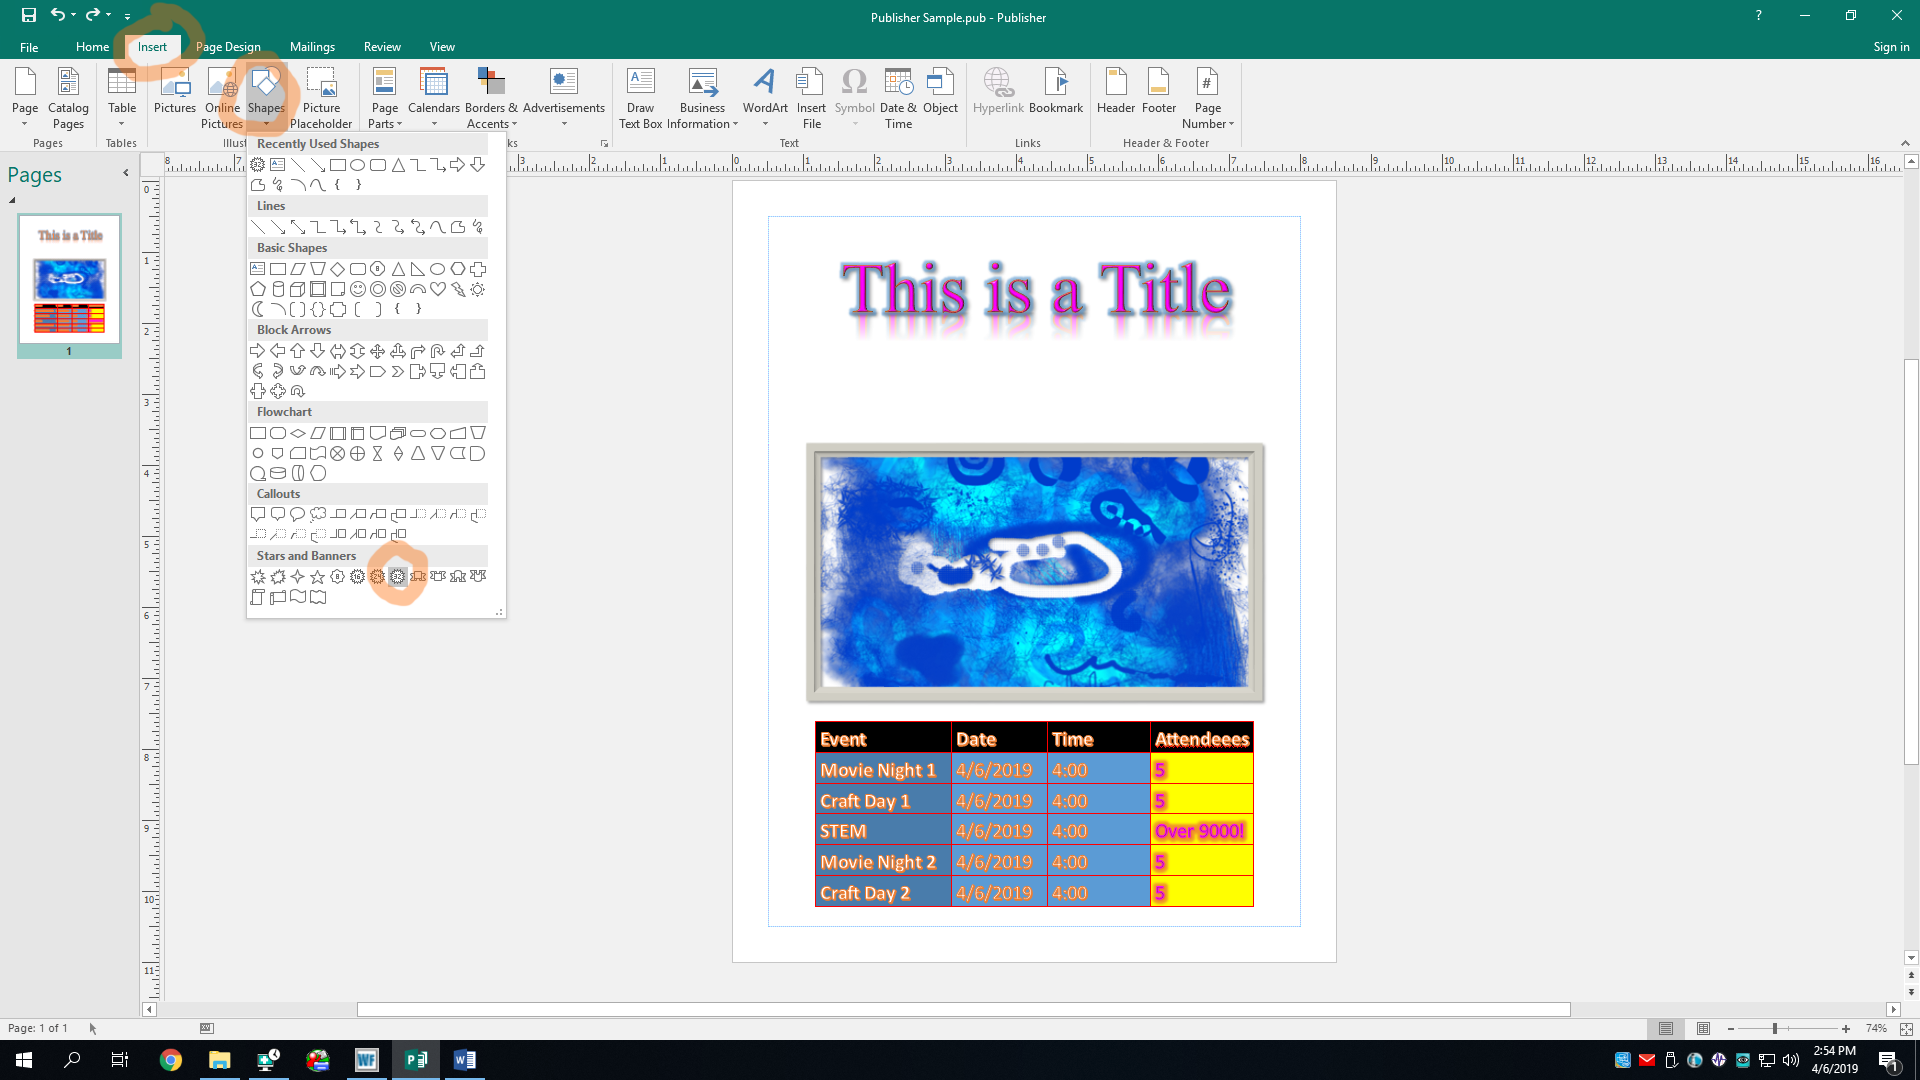
Something else we can insert are shapes. You can find them in the Illustrations section of the Insert tab. Just click the Shapes button and pick a shape. There are lots of shapes. I'm obviously going to insert myself a nice 32-pointed star. Obviously. Then, we'll have to draw it onto the canvas by click-and-dragging.
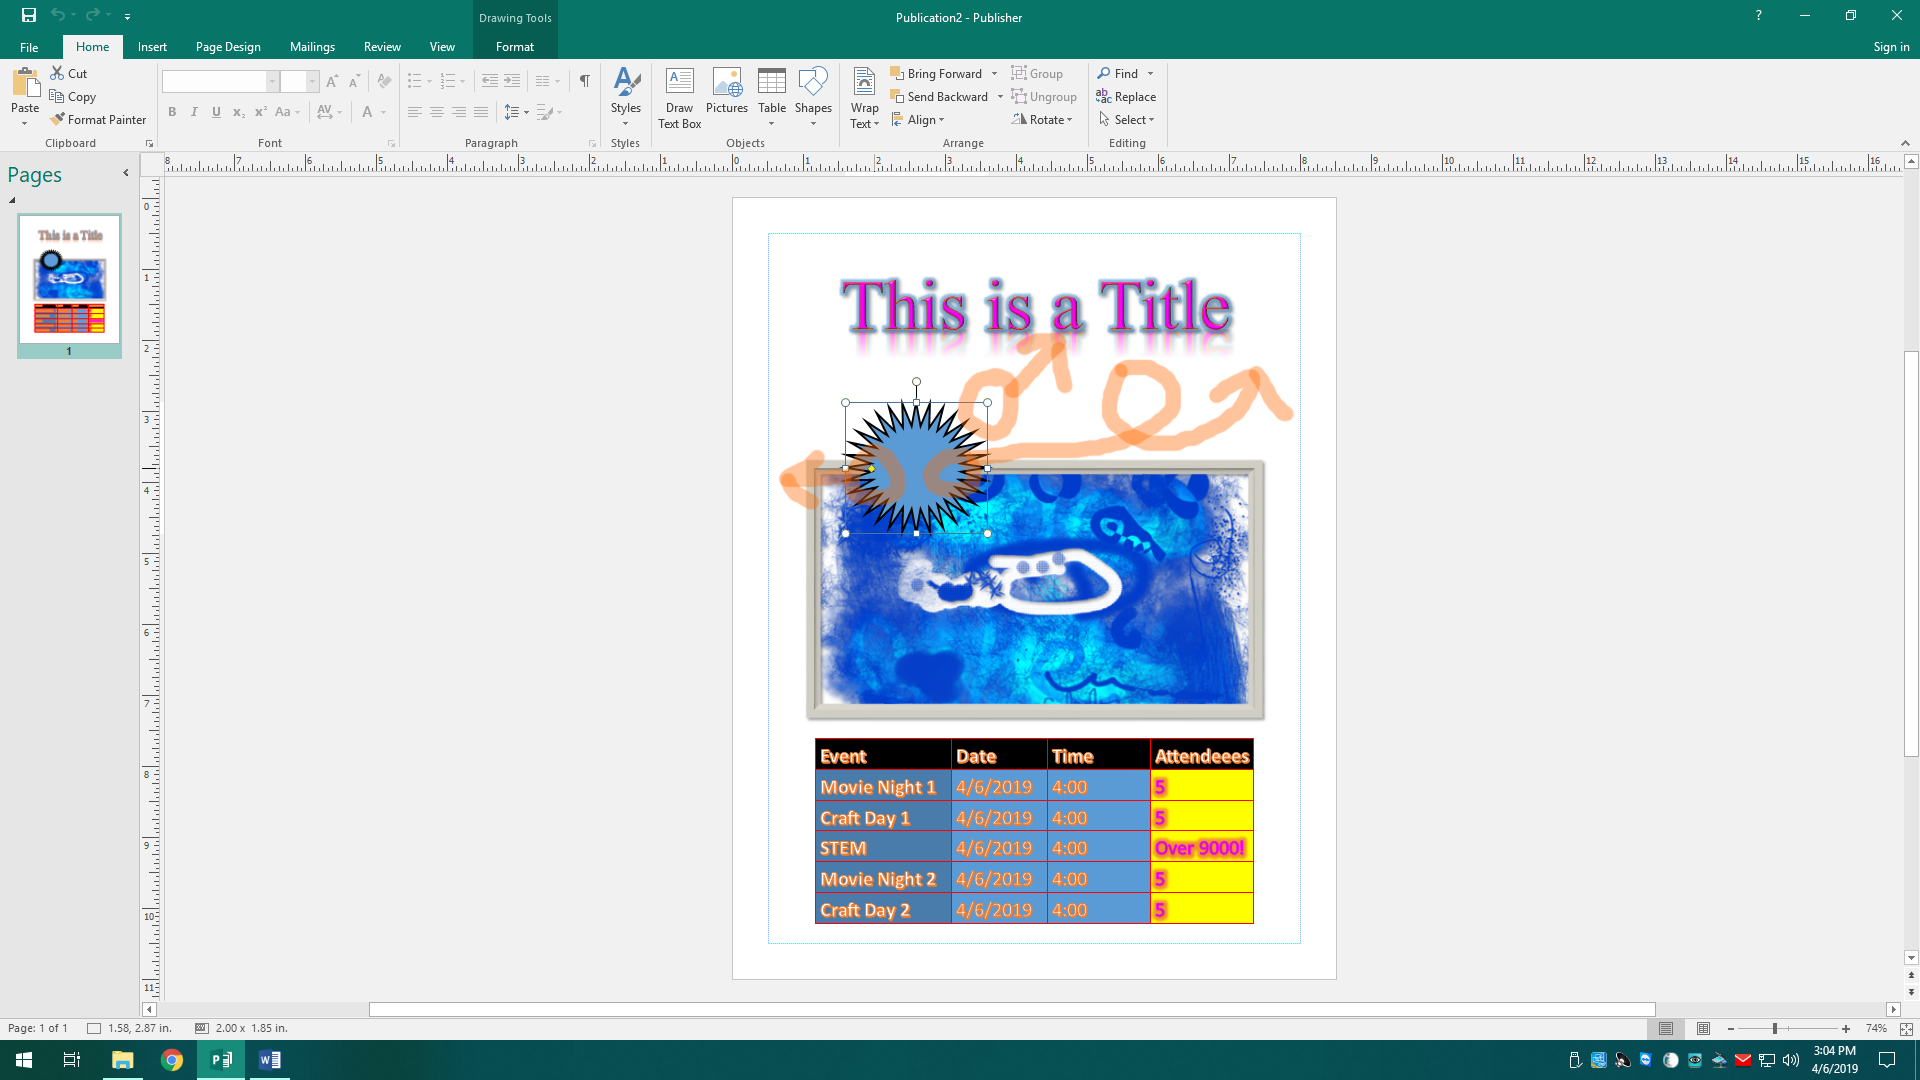
There’s our star, which has spawned with default formatting. Before we get to formatting it, we can change its size and position using its handles and by dragging it around like a ragdoll. Some shapes also have special gold diamond handles used for changing specific parts of the shape. Not all shapes do, but stars have one for changing the inner part of the points.
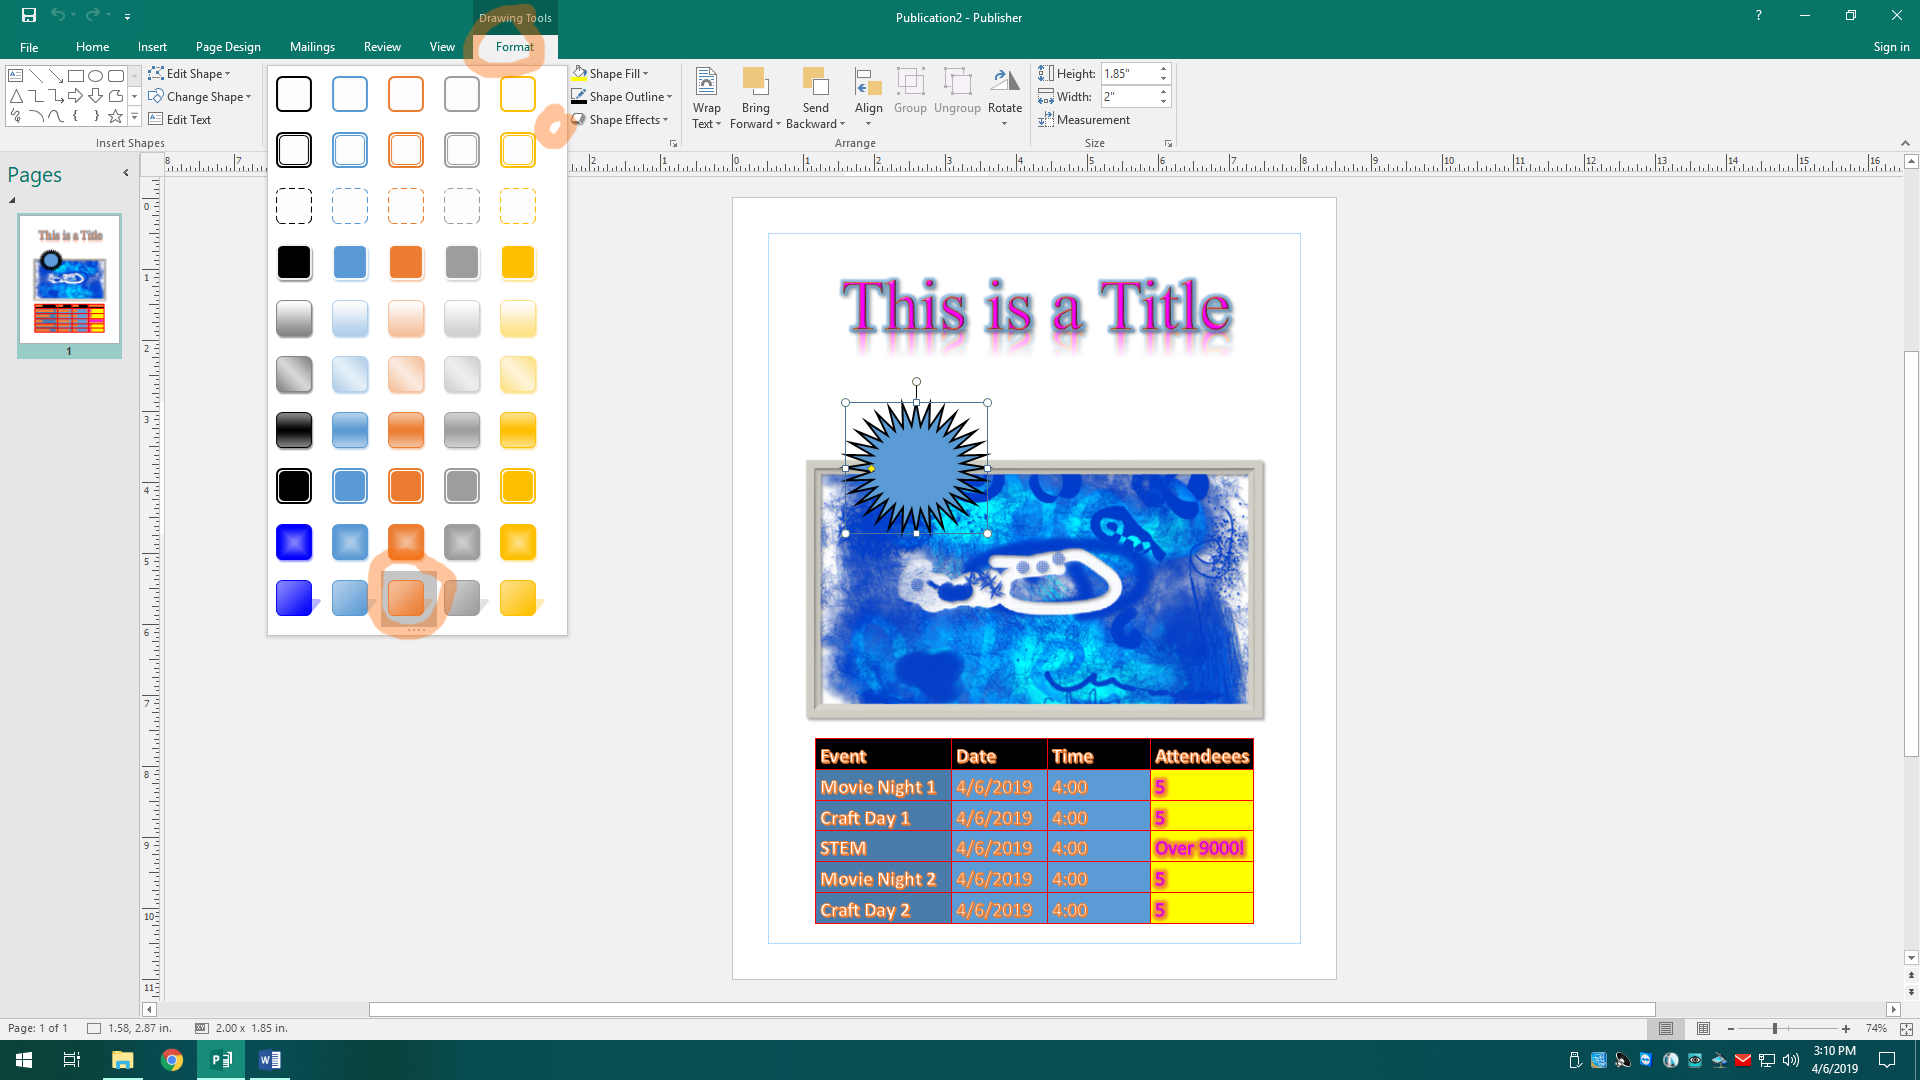
After we size up our shape and put it where we want it to go, let’s head on over to the Drawing Tools Format tab. Make sure the shape is selected so the tab actually shows up. Here, we can pick a shape style template from the Shape Styles section. Ima pick the orange one that comes with a drop shadow ‘cause oranges are super great and juicy. “And they’re good for you, too!” as they say in Spain.
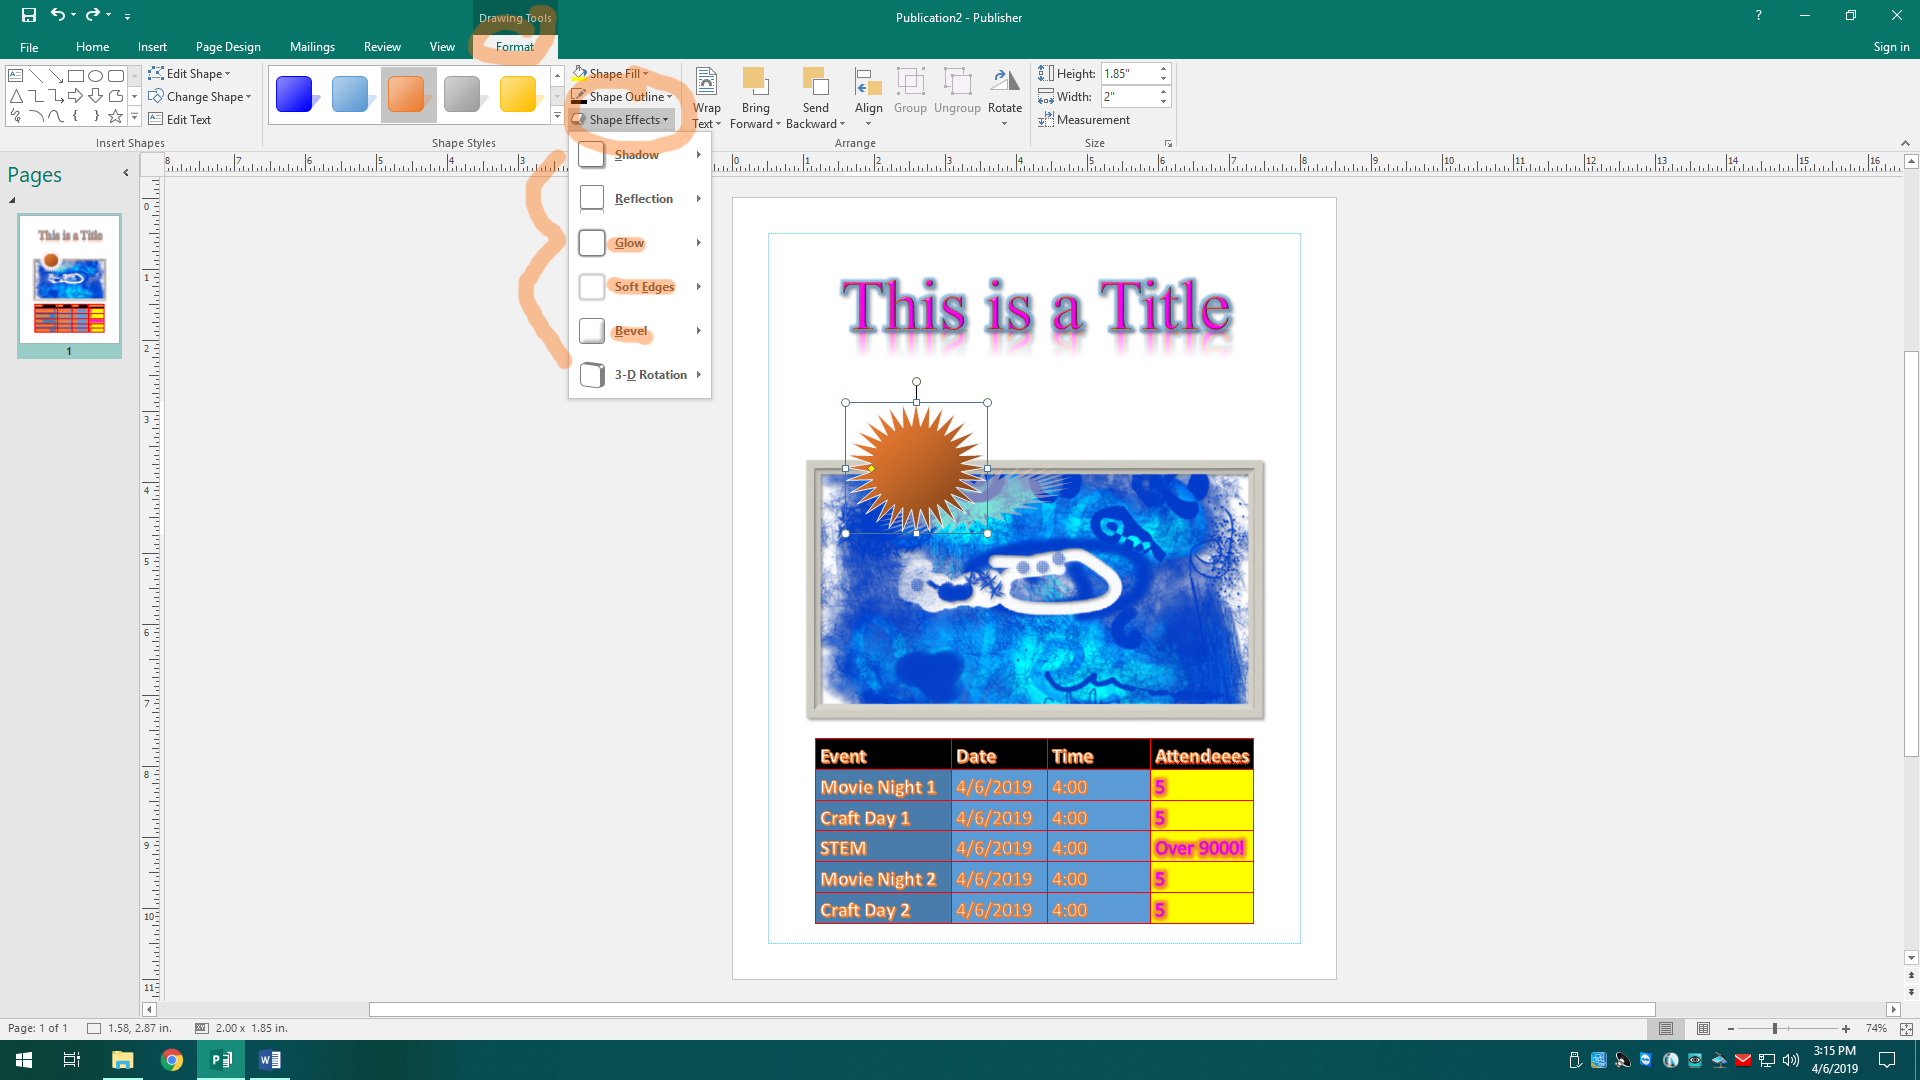
If there’s something you don’t like about the template, you can change or add effects by clicking the Shape Effects button in the Shape Styles section. I’m going to give our shape soft edges, some glowy thingies, and a bevel effect.
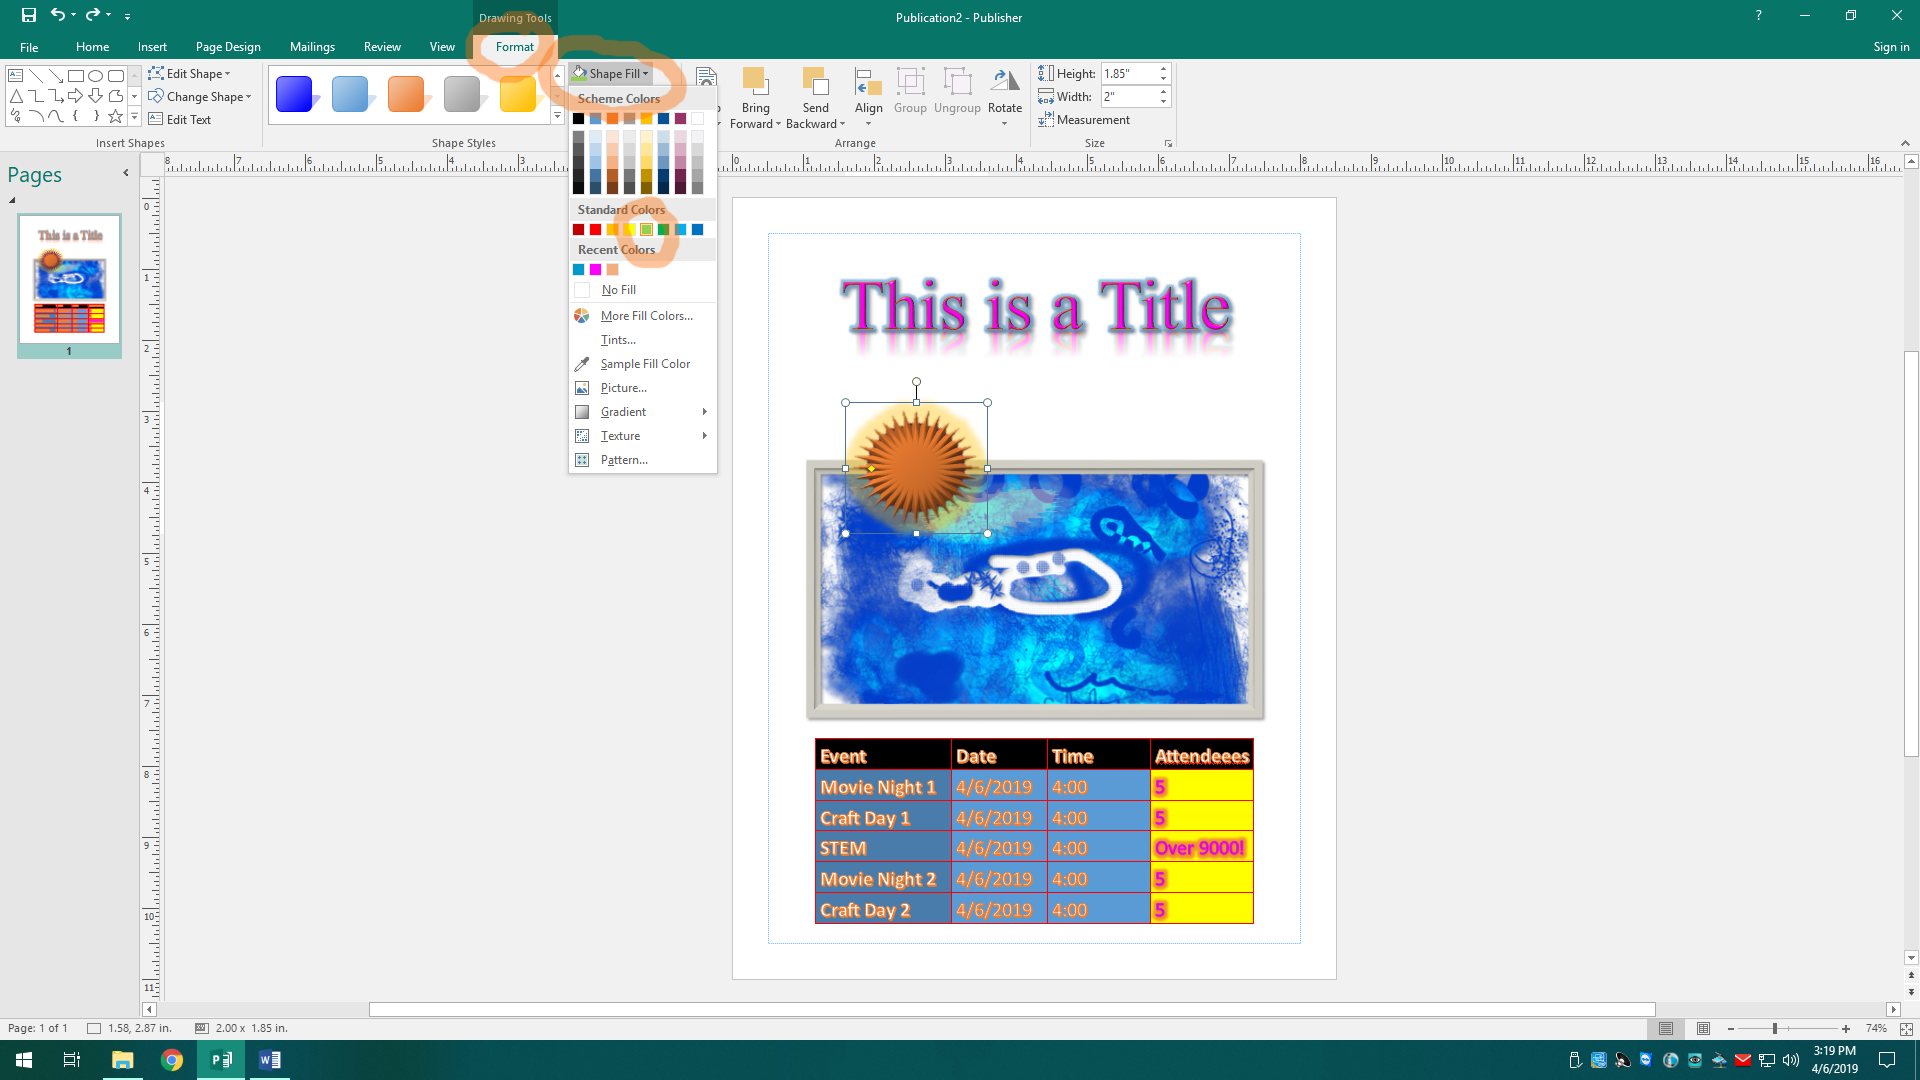
My my my, this looks atrocious. Oh well! We can also change the fill and outline colors, which have buttons in the Shape Effects section. Changing the outline color doesn’t do much for me because of that soft edges effect I added earlier, but I changed my mind about the orange. Oranges are overrated. Limes are where it’s at! They’re practically the superior citrus, so we’ll make our 32-pointed star a glorious lime green color.
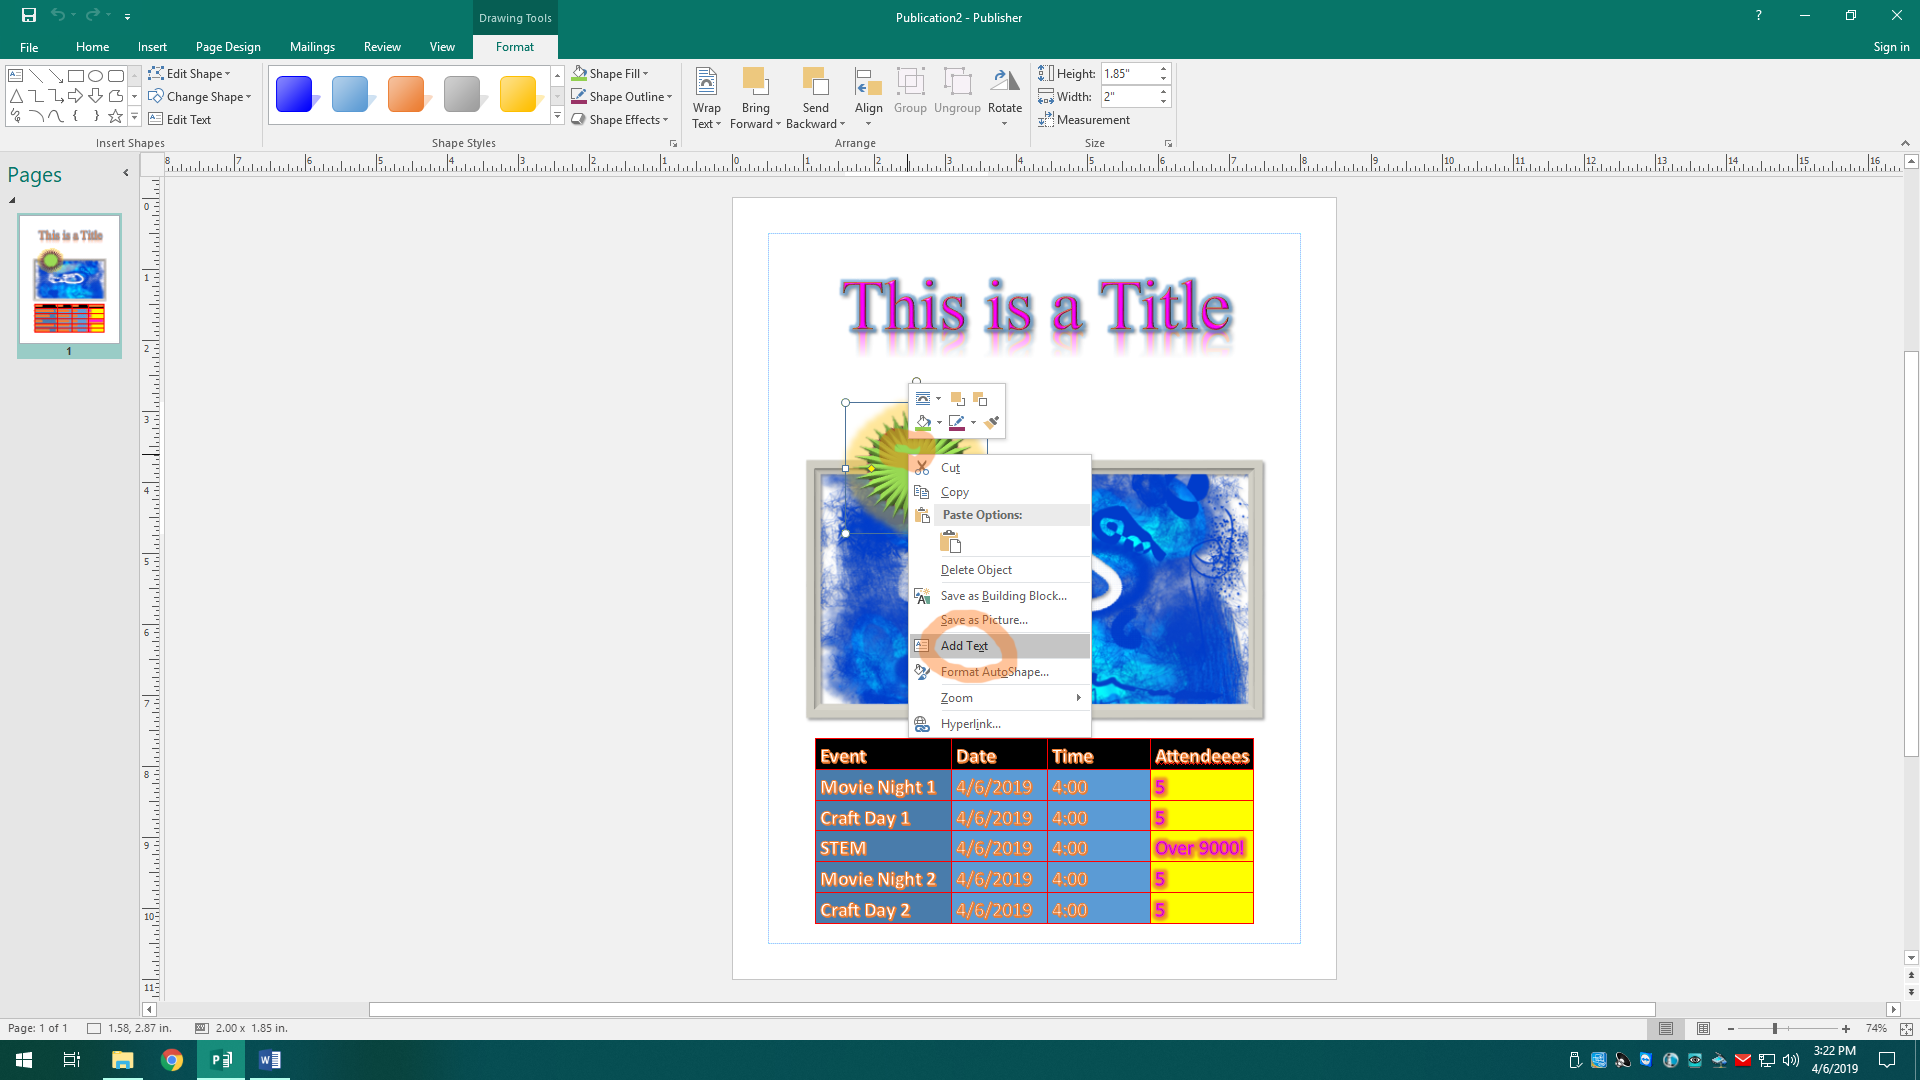
I think that looks great, don’t you? Probably not, but that’s fine because this is just a tutorial. Now, as James Veitch says, “If there’s nothing written on it, it’s just a shape!” We need to add some text to our shape. If you’re a noob, you might think about just drawing a text box on top of our shape, but no no no no no. Our shape IS the text box. To add text to our shape, right-click on it and select Add Text.
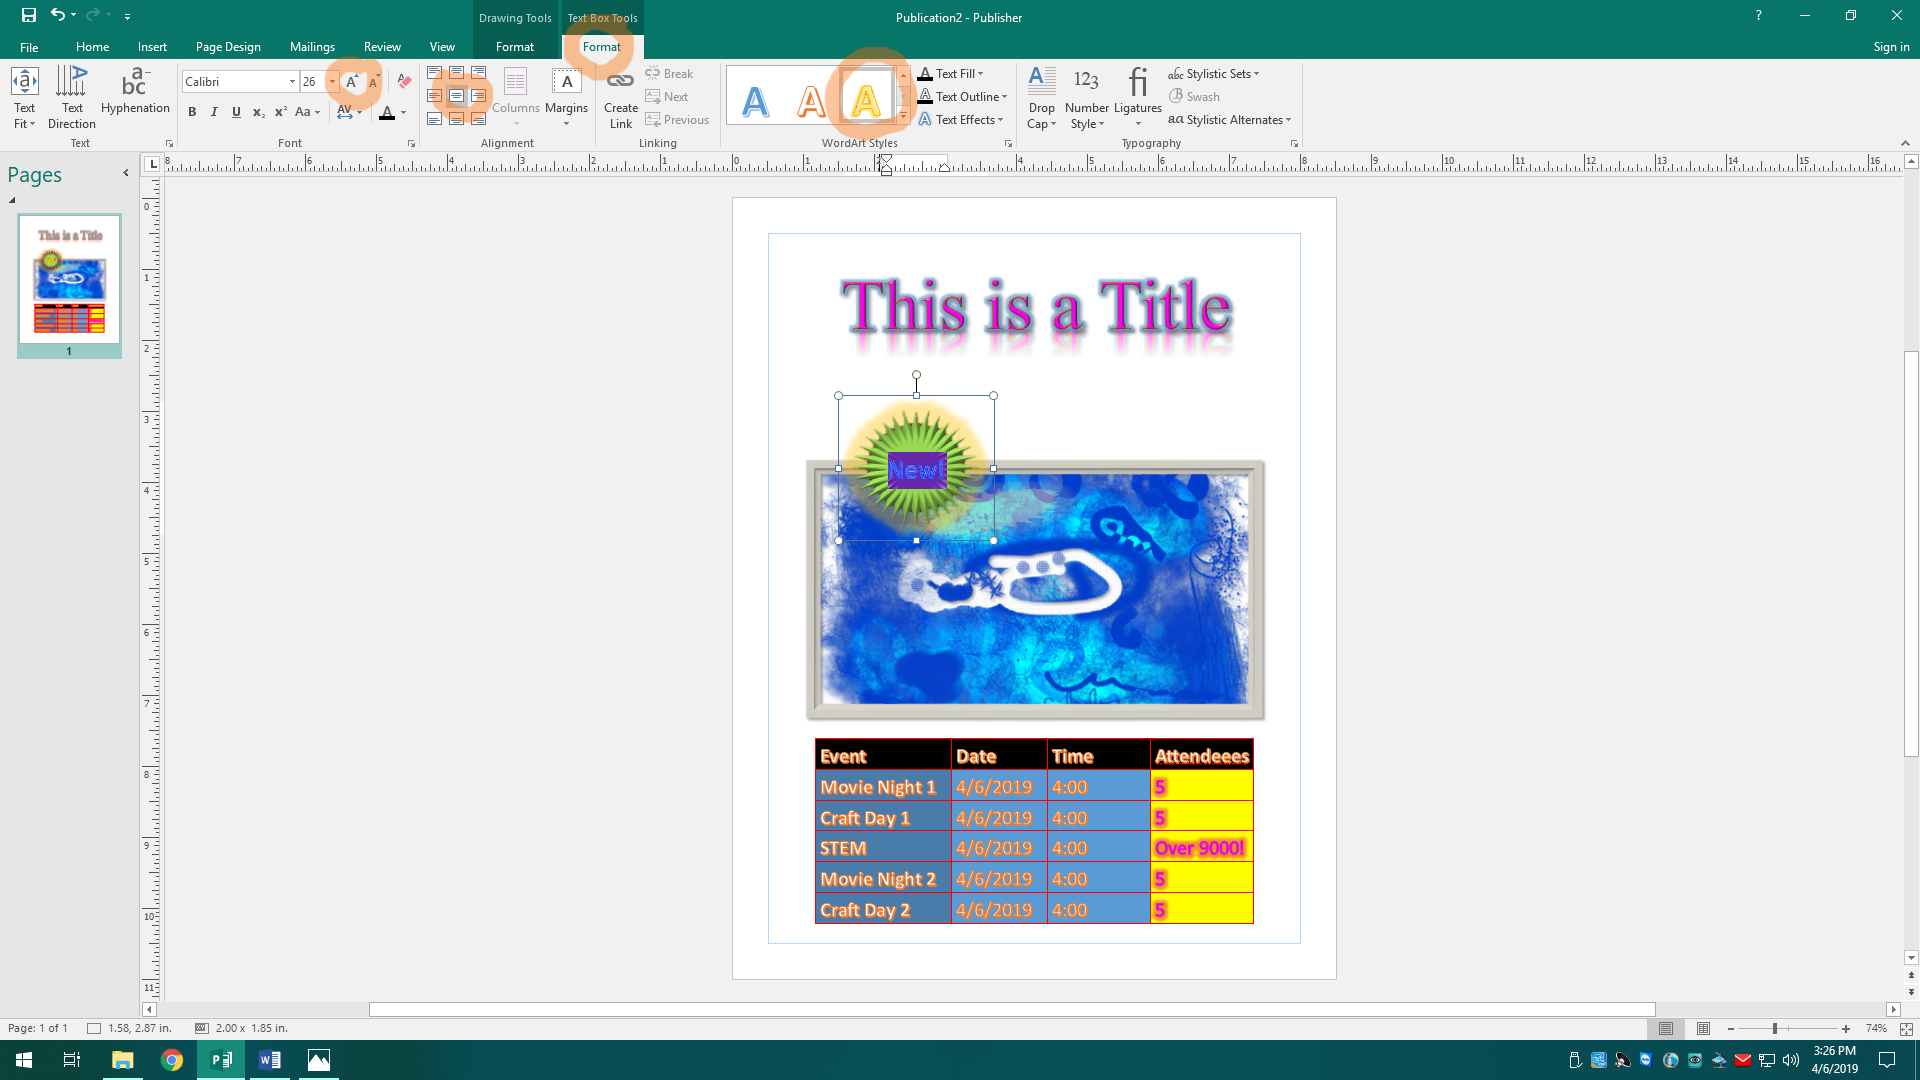
Now that we’ve added text, we obviously gotta format it, too. You may not have noticed it because it snuck in while you were typing, but now that we’ve enabled our shape to be a text box, there’s now a Text Box Tools Format tab for us to play with utilize. With the text in the shape selected, we can now format it any way we want to as if it were a normal text box. I’m going to pick a nice yellow Word Art template, up the font size a bit, and center it.
There we go! I think this looks pretty darn close to perfection, this flyer we seem to have created. I think I’ll just add one more shape. Be back in a bit.
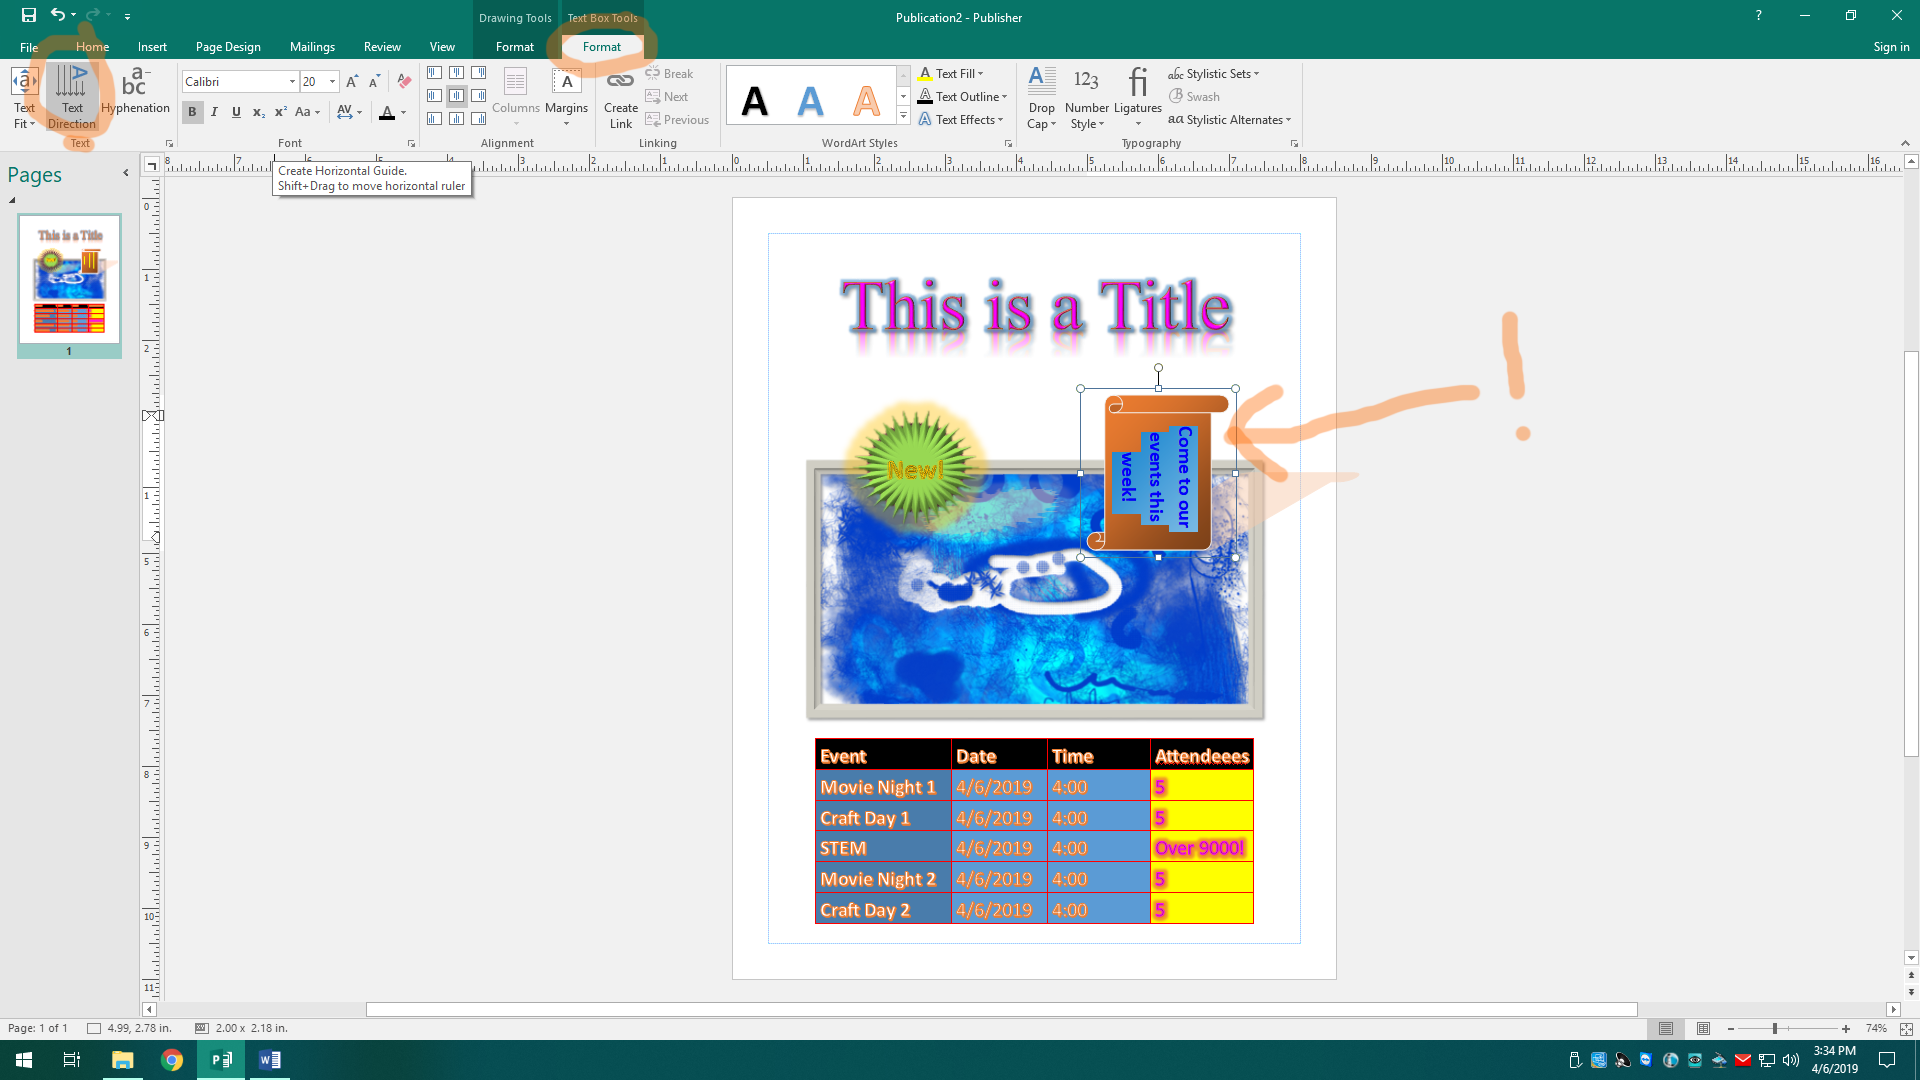
There we go, so I’ve now added this scroll ‘lookin shape and formatted it a bit to my liking, but apparently, the default text direction is sideways. No no no, this won’t do. In the Text section of the Format tab, and with the text selected, let’s turn off Text Direction to make it have a normal direction. We’re not barbarians after all.
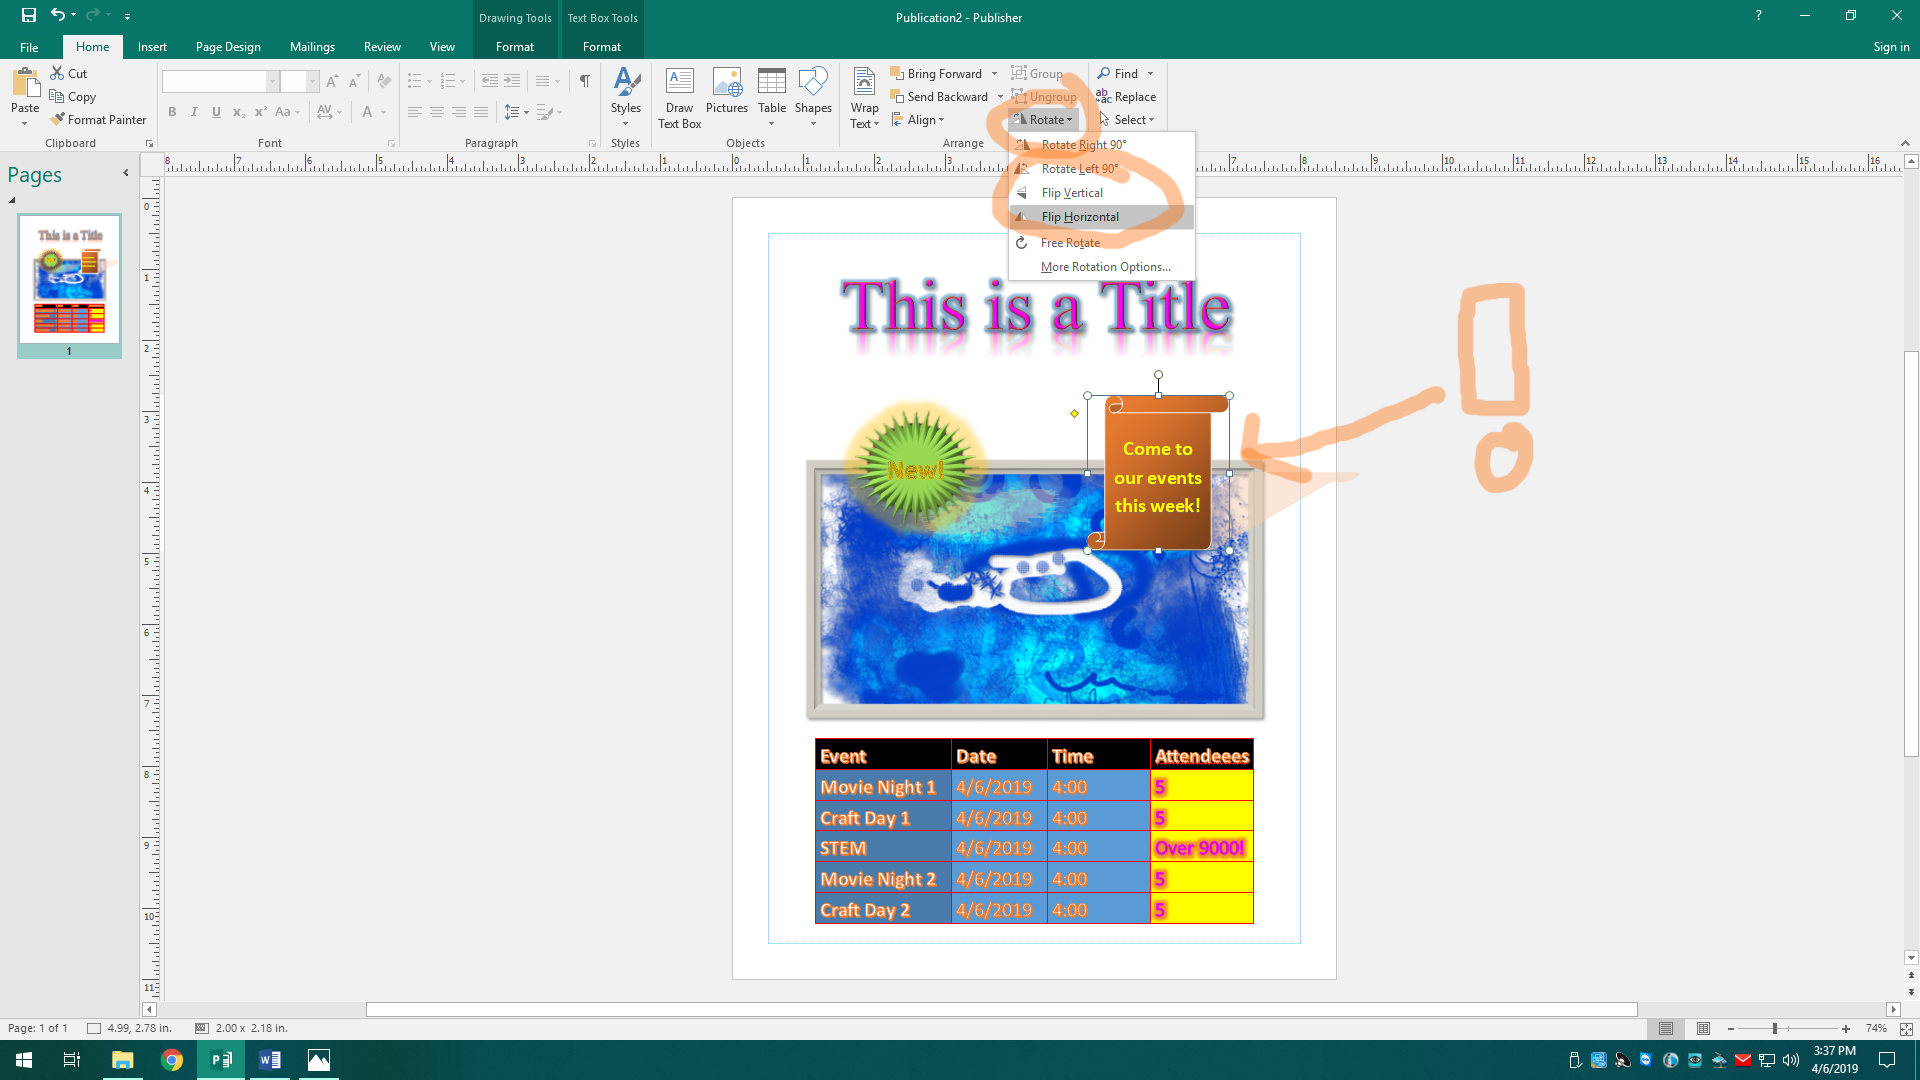
Yes, this is coming together nicely! There’s one last minor thing I want to tinker before we’re finished, though. I want this shape to be flipped. That way it looks like it’s facing the center of the document instead of away from it. We can flip it by clicking the Rotate button in the Arrange section of the Home or Format tabs. We’ll select Flip Horizontal to flip it the way I want it. You can also rotate it as well using this, or you can click-and-drag the top circle handle to rotate it any degree you wish. Remember to have the shape selected when trying to format it.

We can also insert some other stuff to our Publisher document. In the Building Blocks section of the Insert tab, there are a few options. I won't go too far into explaining them, as you can experiment with them on your own if you wish. The Advertisements option is basically a template group of shapes and text you can use if you’re lazy, and the Borders & Accents option has a buncha template shapes you can resize and recolor to use as borders if you need that. Page Parts has some nice templates with objects grouped together you can edit. Calendars has some template tables made for you to add a custom calendar for whatever monthly events you may have to show. When creating a new Publisher document, you can also search for "calendar" to find some nice calendar templates ready for you to edit. There are many other things you can insert as well, so I recommend just experimenting with the stuffz. And remember, if you mess up anything, the undo button is your toats lit bud, a phrase which here means… actually, that's not a phrase; ignore that.
This is just the tip of the iceberg of the things you can do with Publisher. Today, I have covered the basics. Sure, the little flyer I made was silly and unprofessional and breaks almost every rule of graphics design, but you can use publisher to make professional or personal flyers, brochures, business cards, calendars, cards, and much more. My science professor even showed me how he uses it to edit his website, which is so advanced I don’t even know how it works. Need help gaining some inspiration or don’t know where to start? Check out the main screen we saw back in step 1 (press Ctrl + N for new document), and search for what you want. There are many templates you can download and edit all you want. Editing is as easy as inserting objects, formatting them like I showed you, and resizing and moving them around. I also always recommend just playing around and experimenting with stuff and see what the many buttons do. I don’t know about you, but that’s how I learn. Before I go, here’s a challenge. Did you notice the gradient I added to the scroll shape in that last screenshot for step 43? See if you can find how to add a gradient to your own shape. I’ll leave you to it, then. And remember, the undo button is your companion, partner, comrade, pal, mate, chum, buddy, crony, compadre, and friend.